It’s getting personal here. I love nuts. Yes, I do. So you can just imagine the absolute joy I experienced when I saw that the theme for this month’s Recipe Redux was nuts. “What!? Really?” I’m pretty sure I gasped that exact sentence when I read the good news. Then, just excitement…what was I going to make to celebrate my love for nuts? Immediately, I went to my new obsession (yes, I have a new one now, pumpkin has taken 2nd place), butternut squash. Just what could I do with that?
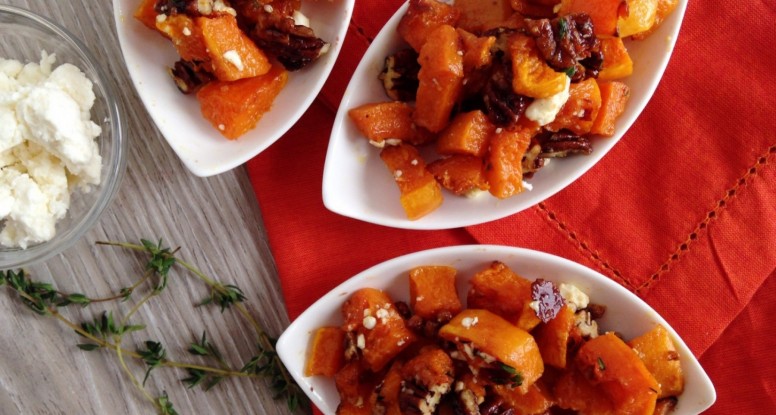
Oh yes, yes, I’ve got it, Butternut Squash with Brown Sugar Roasted Pecans!
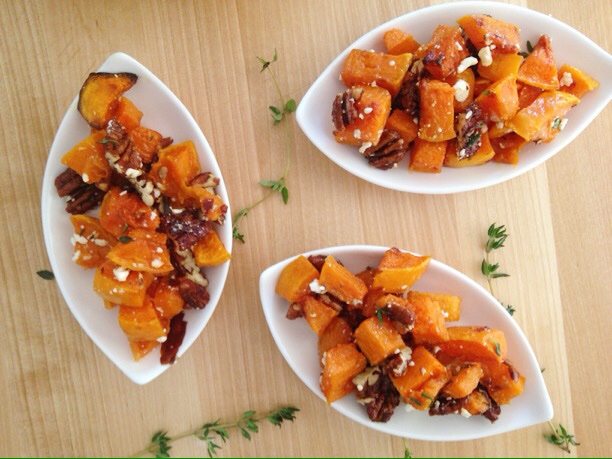
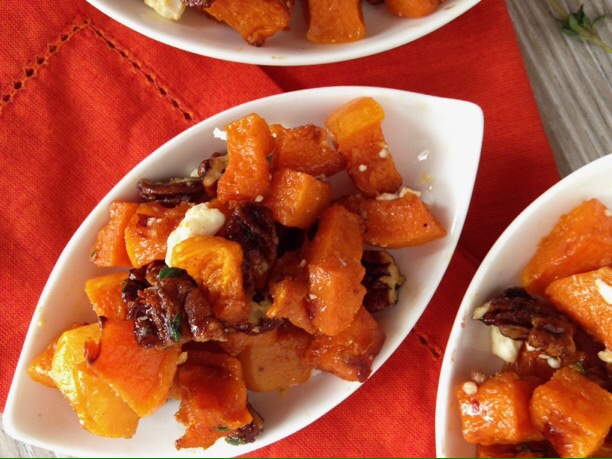
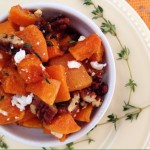
Um, it’s pure heaven. Because who doesn’t love roasted, sweet butternut squash? And who doesn’t adore candied pecans or tangy feta cheese? Right? And so, how about I put all of those together? Um, ok, done! This one is really good people…it got two thumbs up around here in my house and I have to say that I’ve been going back to my fridge multiple time for big, heaping spoonfuls. Pair it with a roasted chicken or turkey or add it to a salad made with dark greens. And just a word of advice, you’ll want to make a double batch.
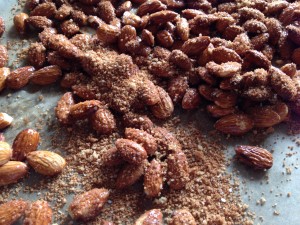
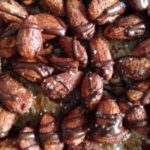
The Picture Montage Honoring The Fabulous Butternut Squash with Brown Sugar Roasted Pecans
Butternut Squash with Brown Sugar Roasted Pecans
Description
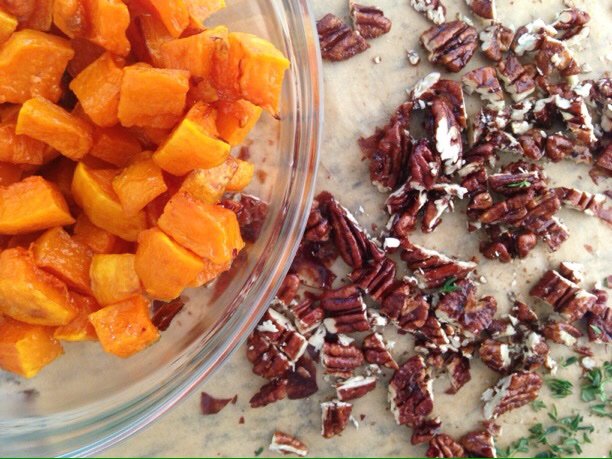
A side dish that will make everyone happy. Roasted butternut squash is paired with lightly candied pecans then tossed with fresh thyme and feta cheese.
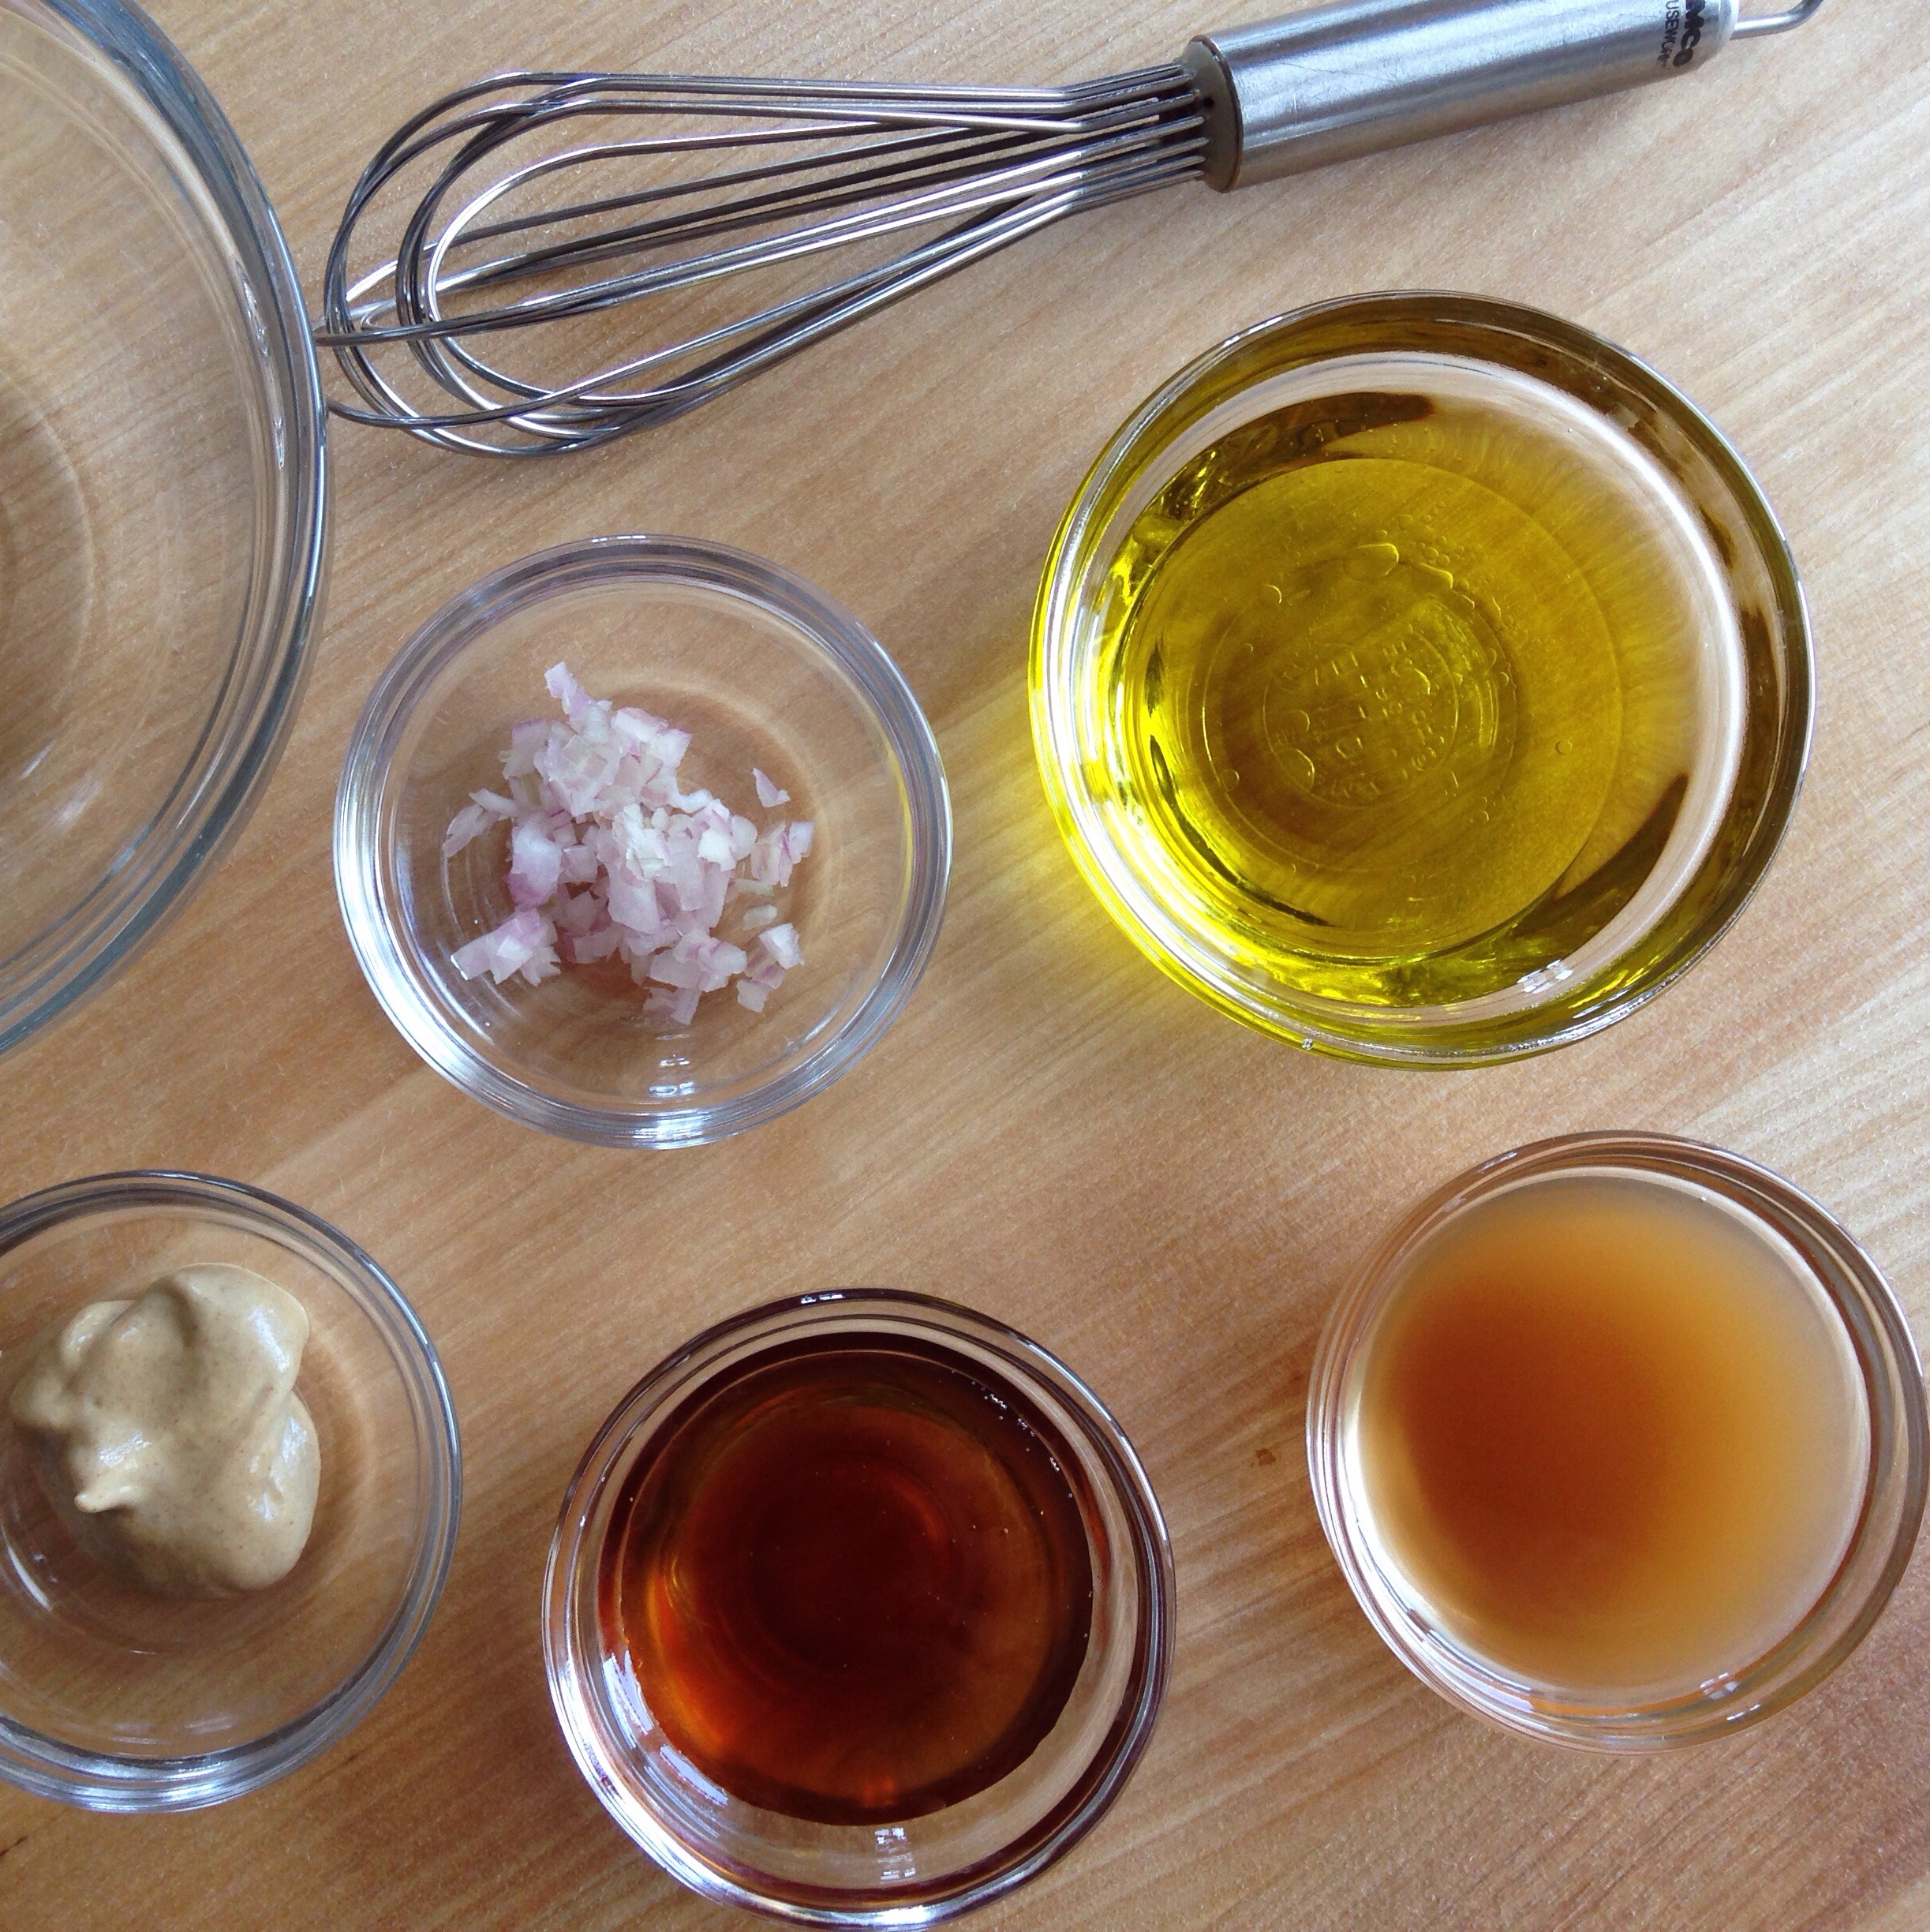
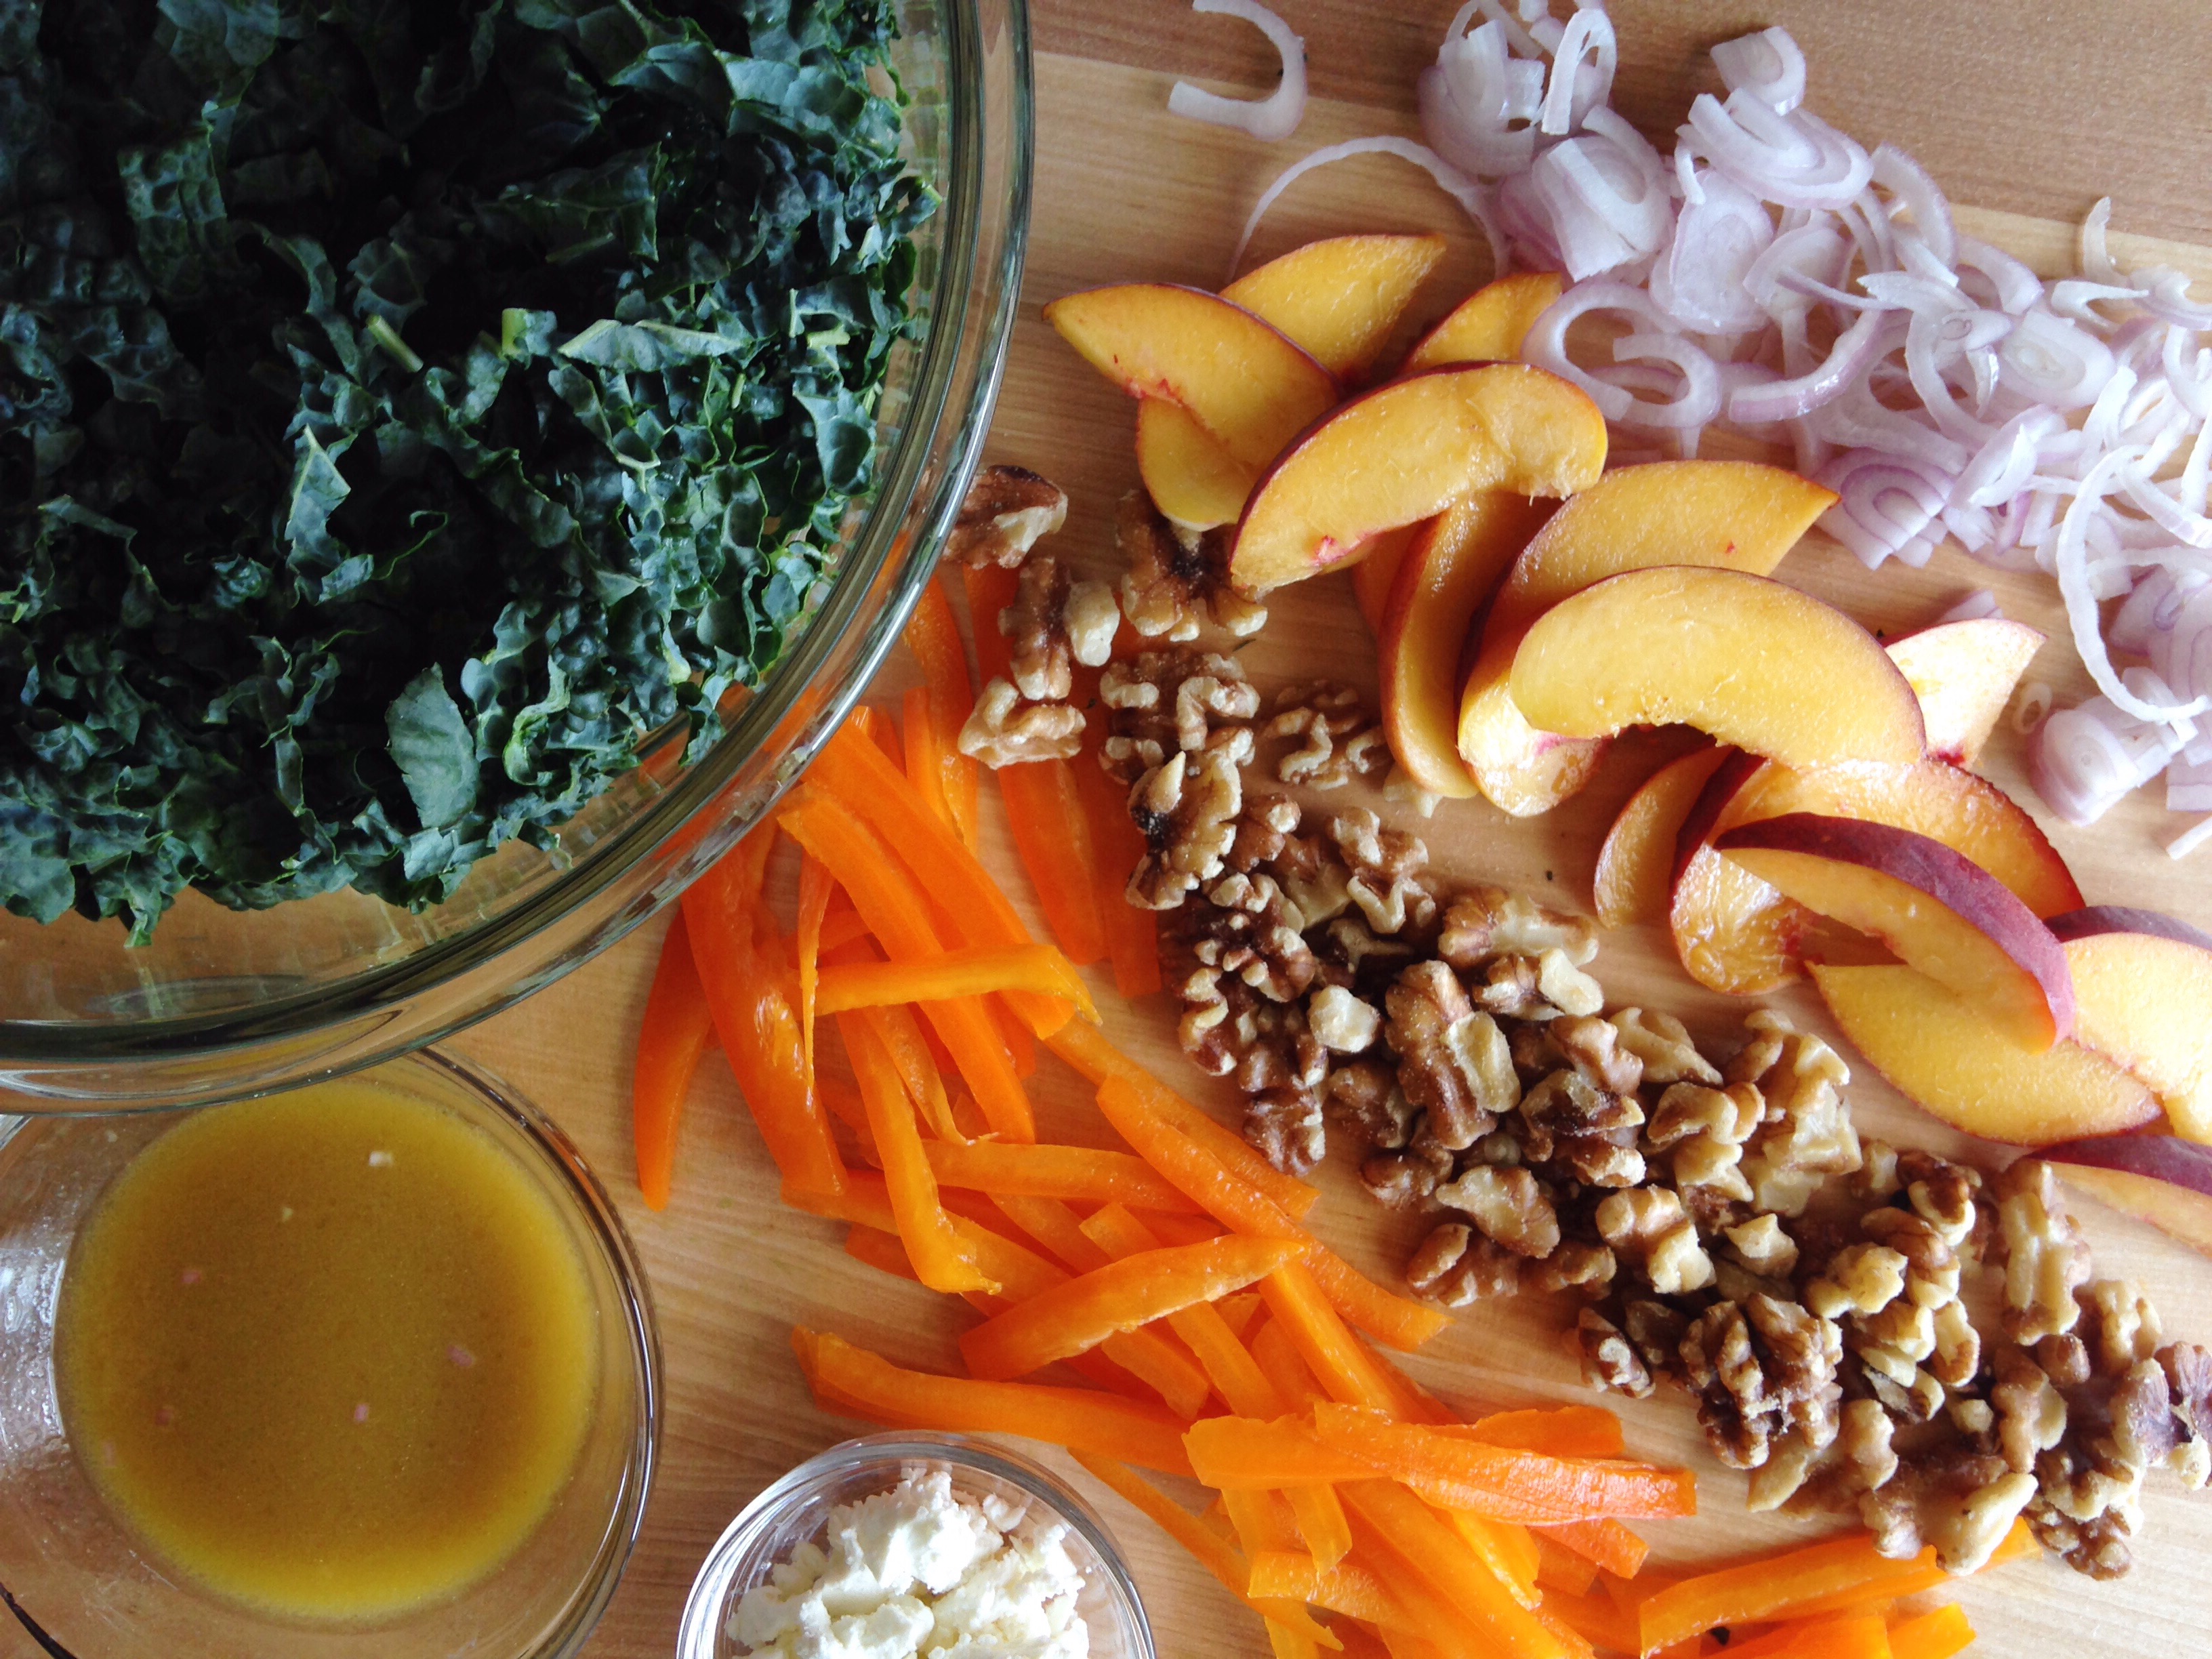
Ingredients
For the pecans
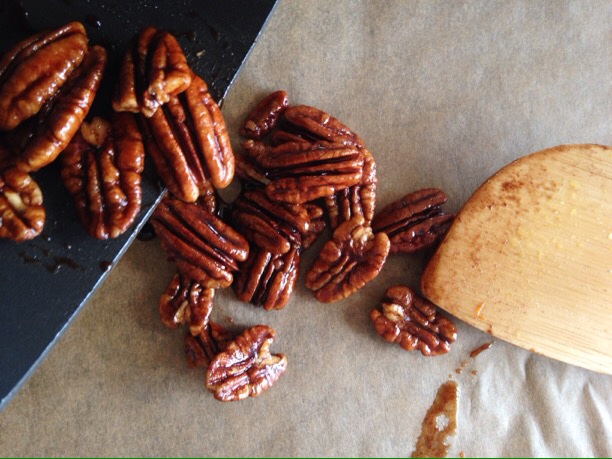
- 1 tablespoon packed brown sugar
- 1 tablespoon water
- 1/4 teaspoon ground cinnamon
- 1/4 teaspoon sea or Kosher salt
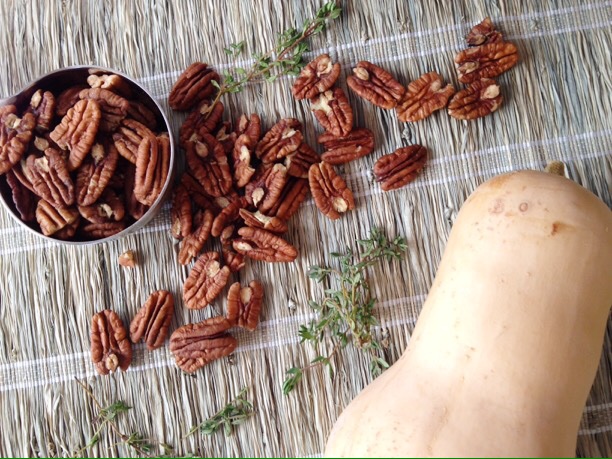
- 1/2 cup whole pecans
For the squash
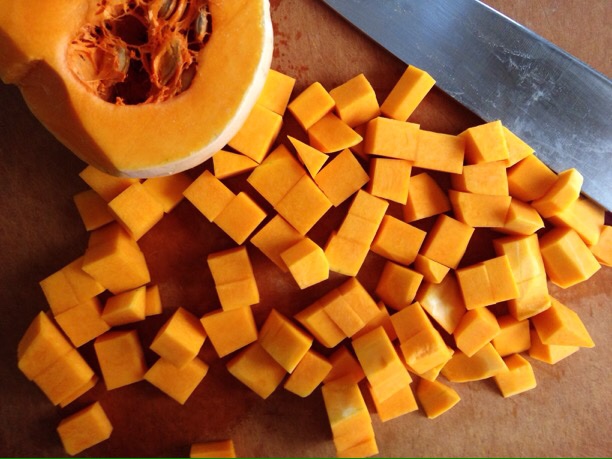
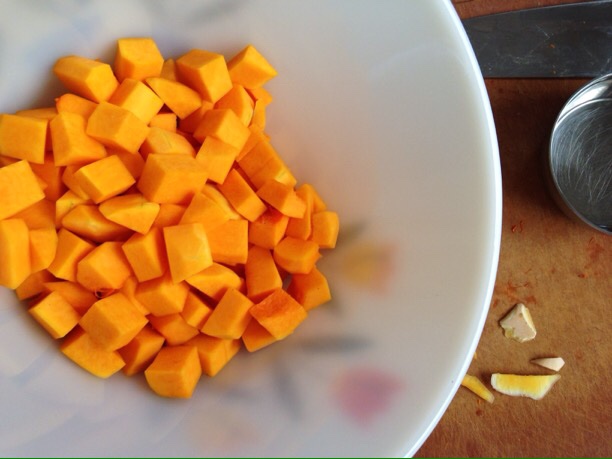
- 1 butternut squash (about 1 1/2 pounds), peeled, seeded and cut into 1-inch cubes
- 1 tablespoon olive oil
- salt, to taste
- black pepper, to taste
To serve
- 1 teaspoon fresh thyme leaves, chopped
- 2 tablespoons crumbled feta cheese
Instructions
Prep
- Preheat the oven the 400’F and line one large sheet pan with foil or parchment paper and one small sheet pan with foil or parchment paper. Spray both with non-stick cooking spray.
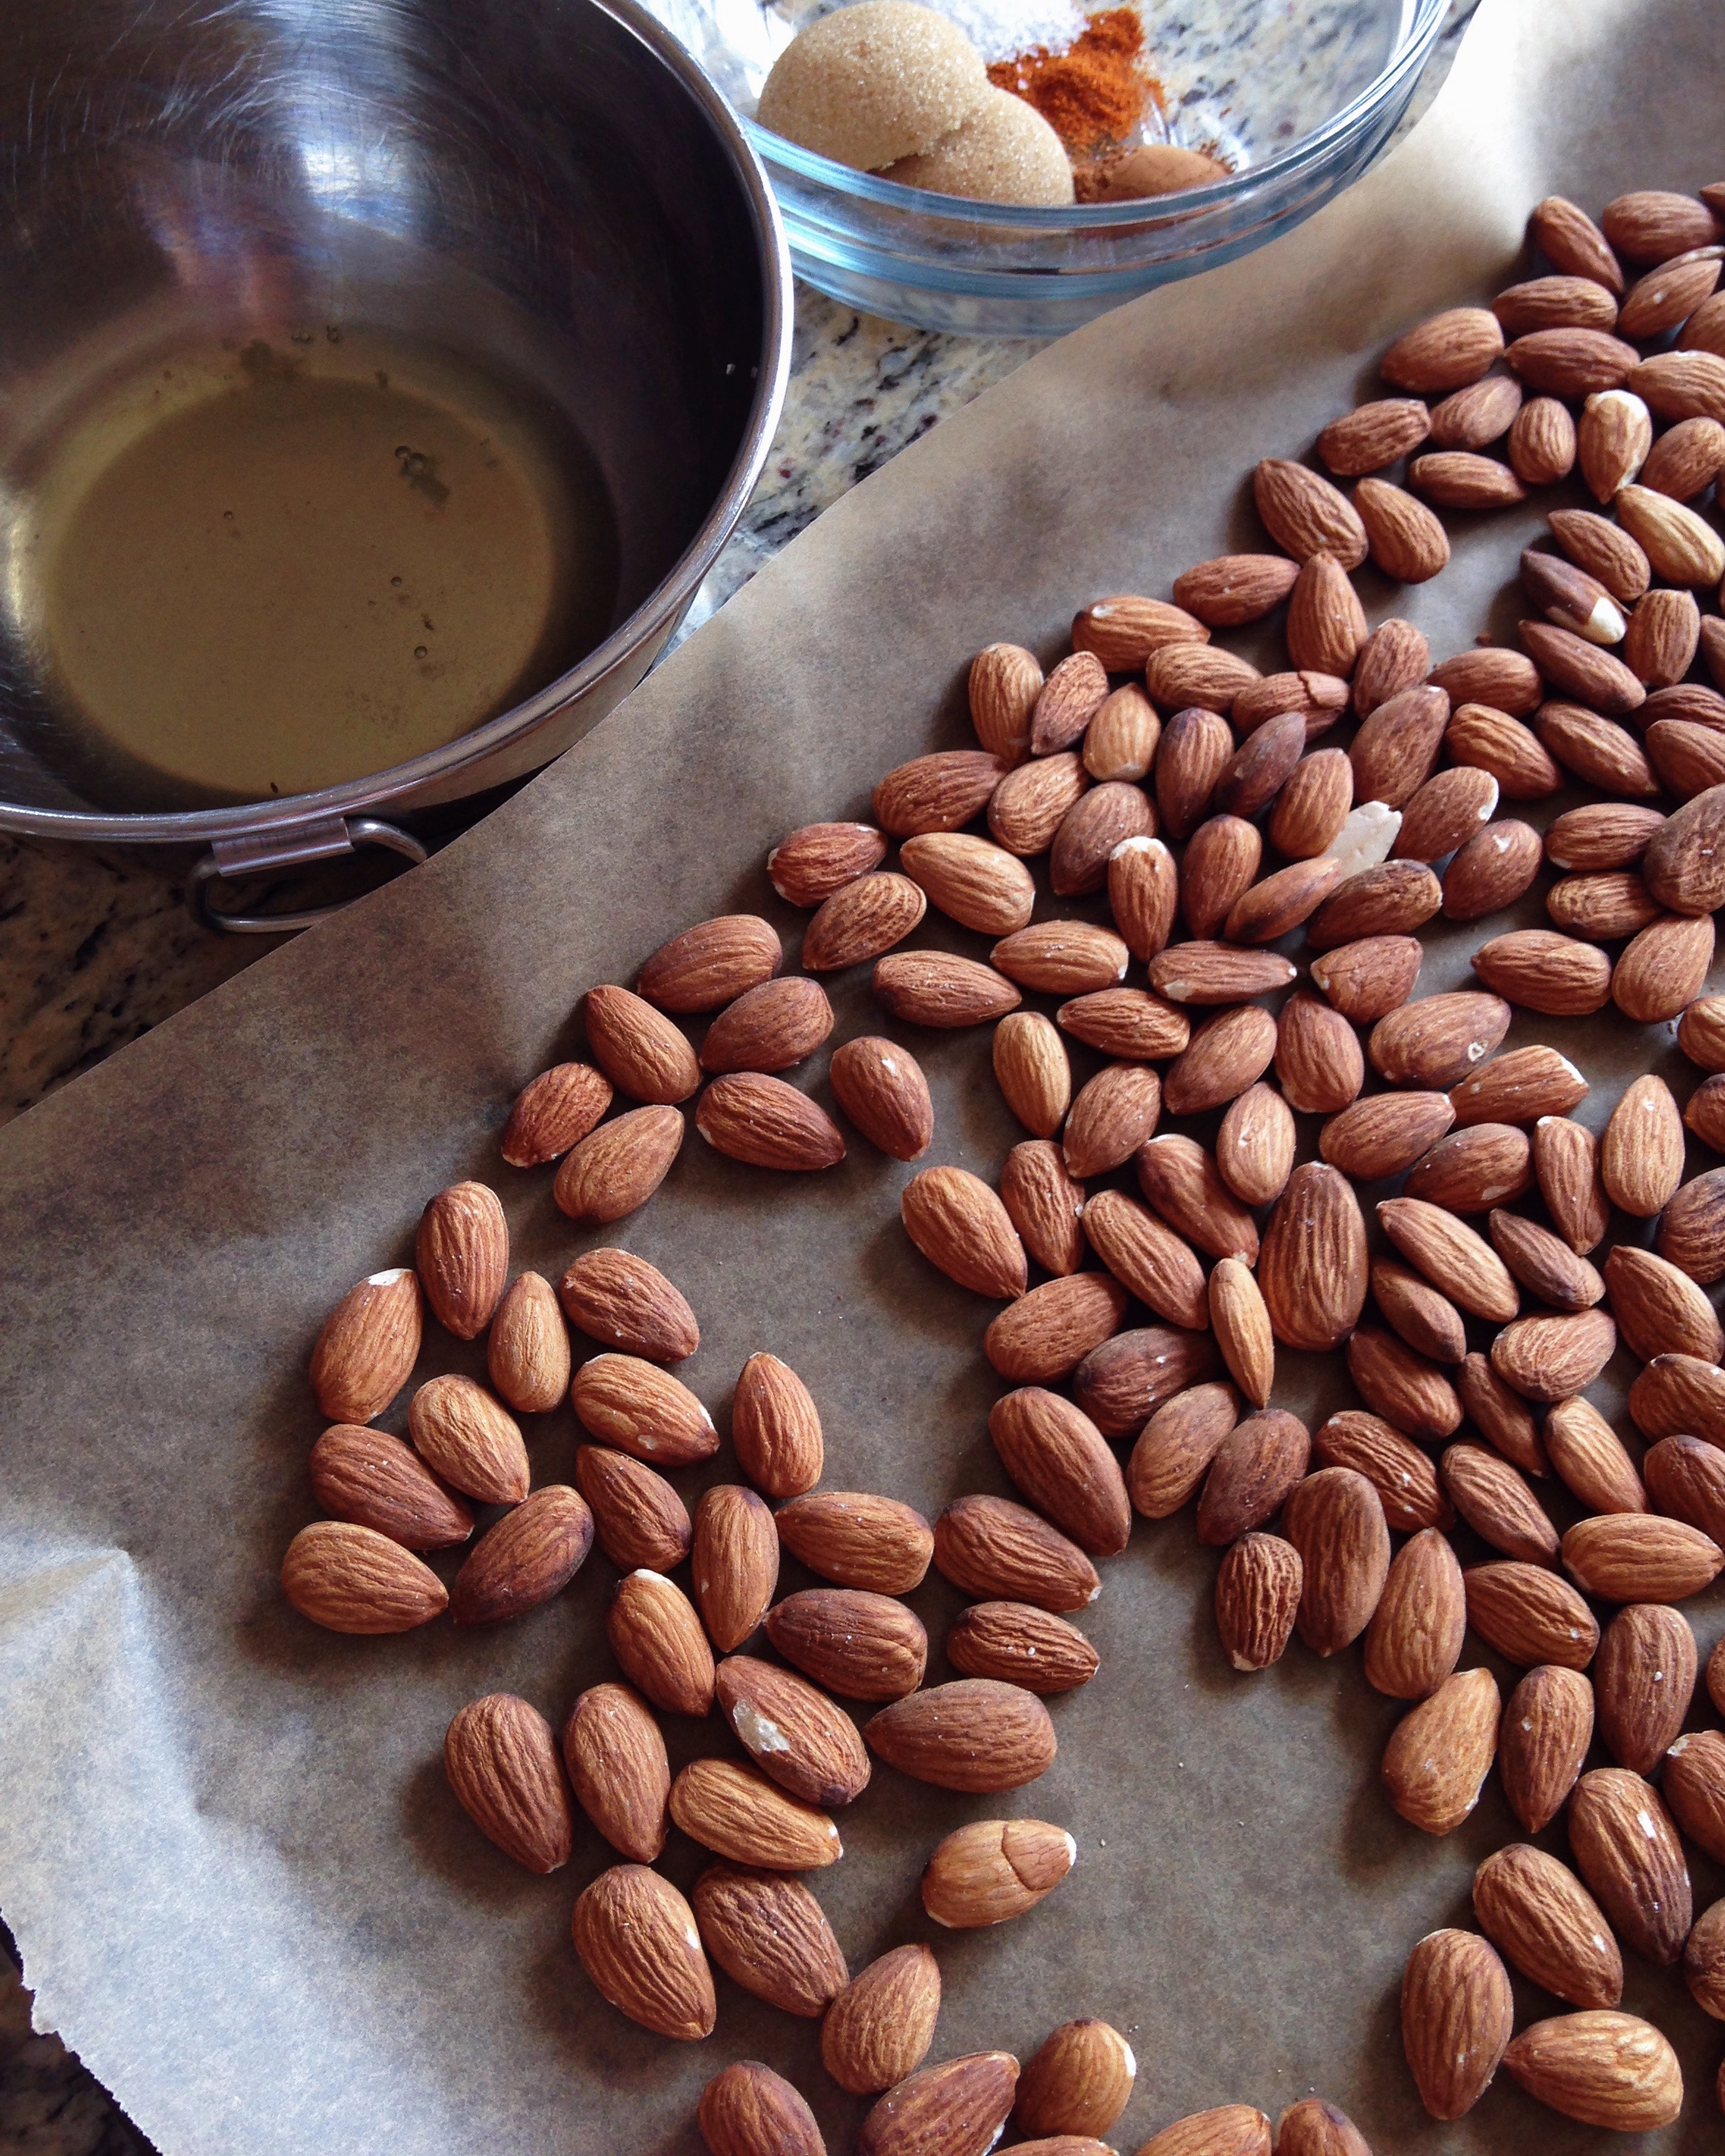
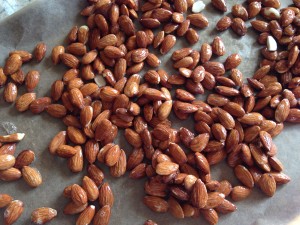
For the pecans
- To a medium pot, add the sugar and water and bring to a boil over medium heat. Stir to dissolve the sugar. Add the cinnamon and salt and then the pecans. Cook, stirring constantly, about 1 minute or until mixture has thickened and pecans appear coated. Spread the the pecans out onto the small sheet pan and place in the oven for 5 minutes. Remove from the oven and place on a wire rack to cool.
To cook the squash
- Place the cubed squash in a large mixing bowl. Add the oil, salt and pepper and toss to coat. Spread the squash out in an even layer onto the prepared, large, rimmed baking sheet. Roast, stirring occasionally, until squash is tender and lightly brown, about 30-35 minutes.
- Transfer roasted squash back to the mixing bowl. Roughly chop the pecans and add to the squash along with the thyme and feta cheese. Toss to combine and serve.
Notes
- This recipe makes about 2 cups squash. About a 1/2 cup serving each for four people.
Nutrition
- Serving Size: 4
- Calories: 143
- Sugar: 4
- Sodium: 240
- Fat: 13
- Saturated Fat: 2
- Unsaturated Fat: 11
- Trans Fat: 0
- Carbohydrates: 6
- Protein: 2
- Cholesterol: 4