It’s time for a new recipe! And here it is, the Short and Sweet (this is what I am calling my new abbreviated, get-to-the-point recipe blog posts) version!
Why I made this recipe: Because I love Thai food and I adore veggie burgers, so why not combine them?
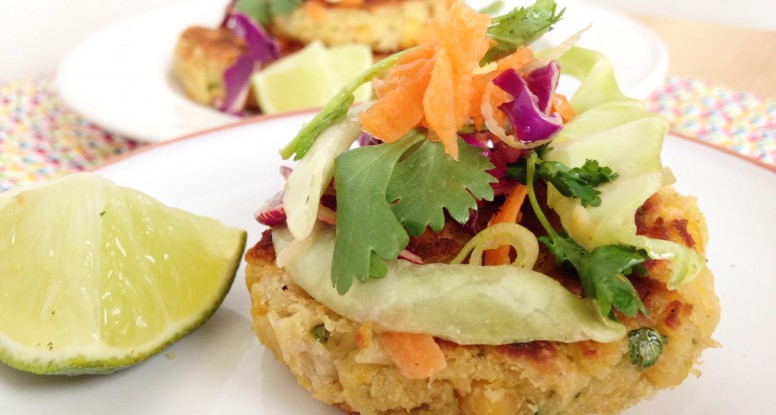
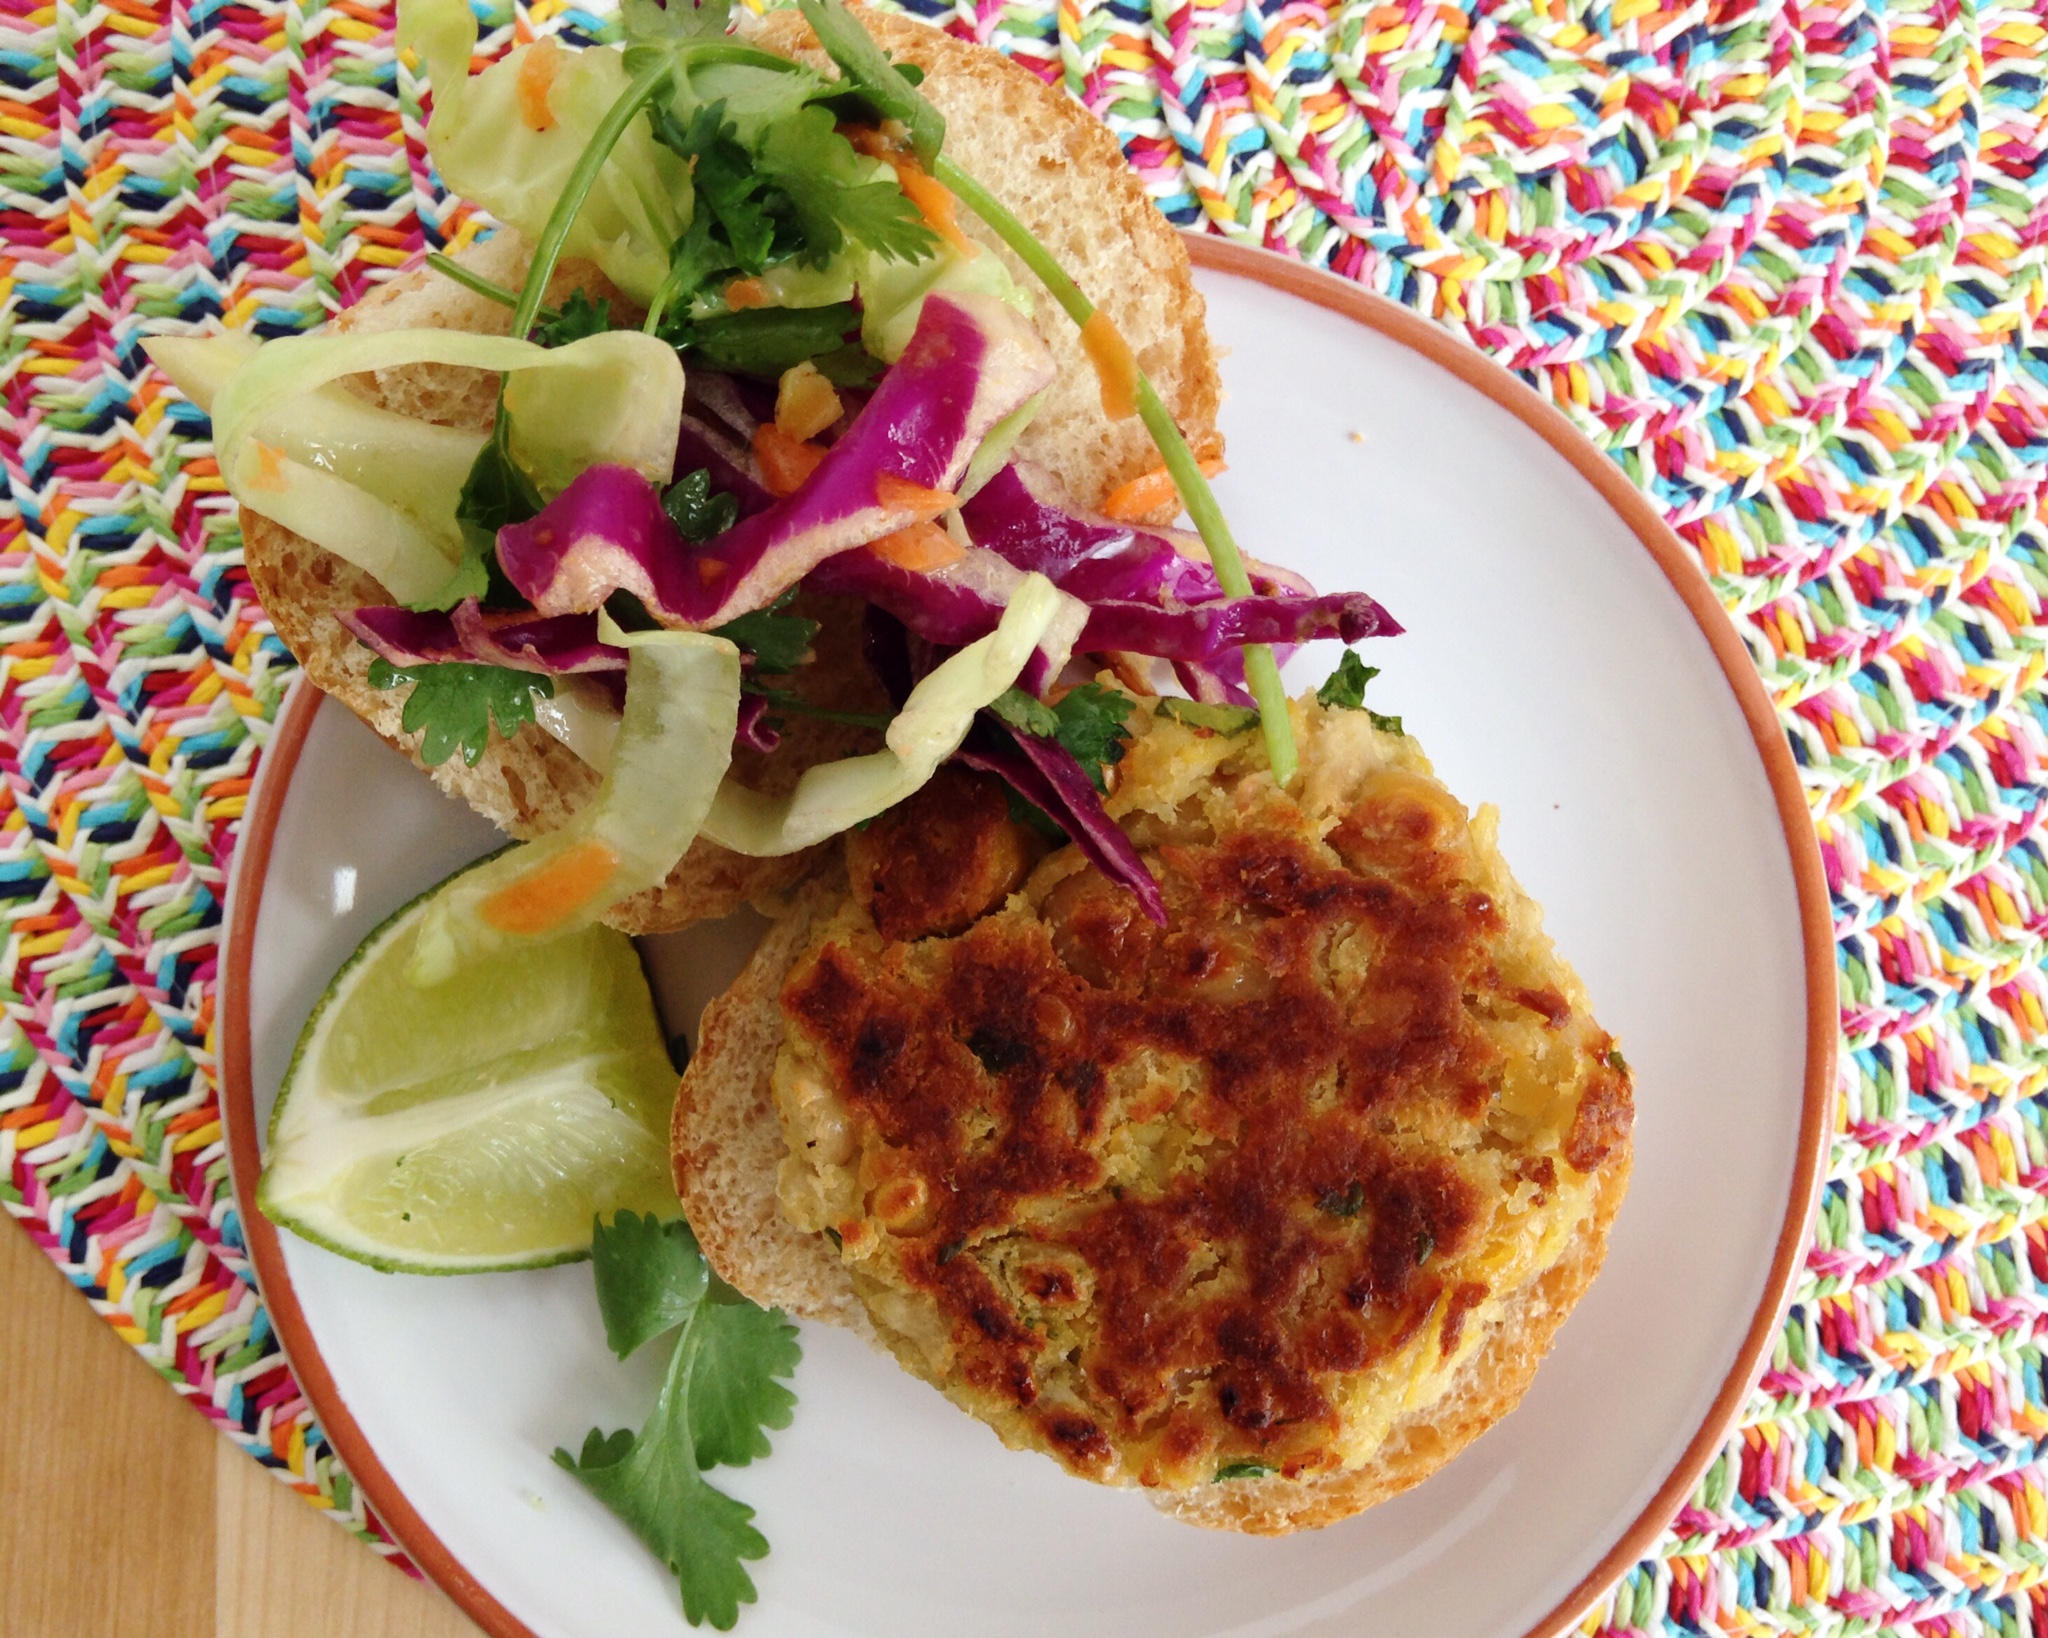
Why I love this recipe: Because these little chickpea burgers are super flavorful, satisfying and with the lime-infused slaw, taste so clean and refreshing.
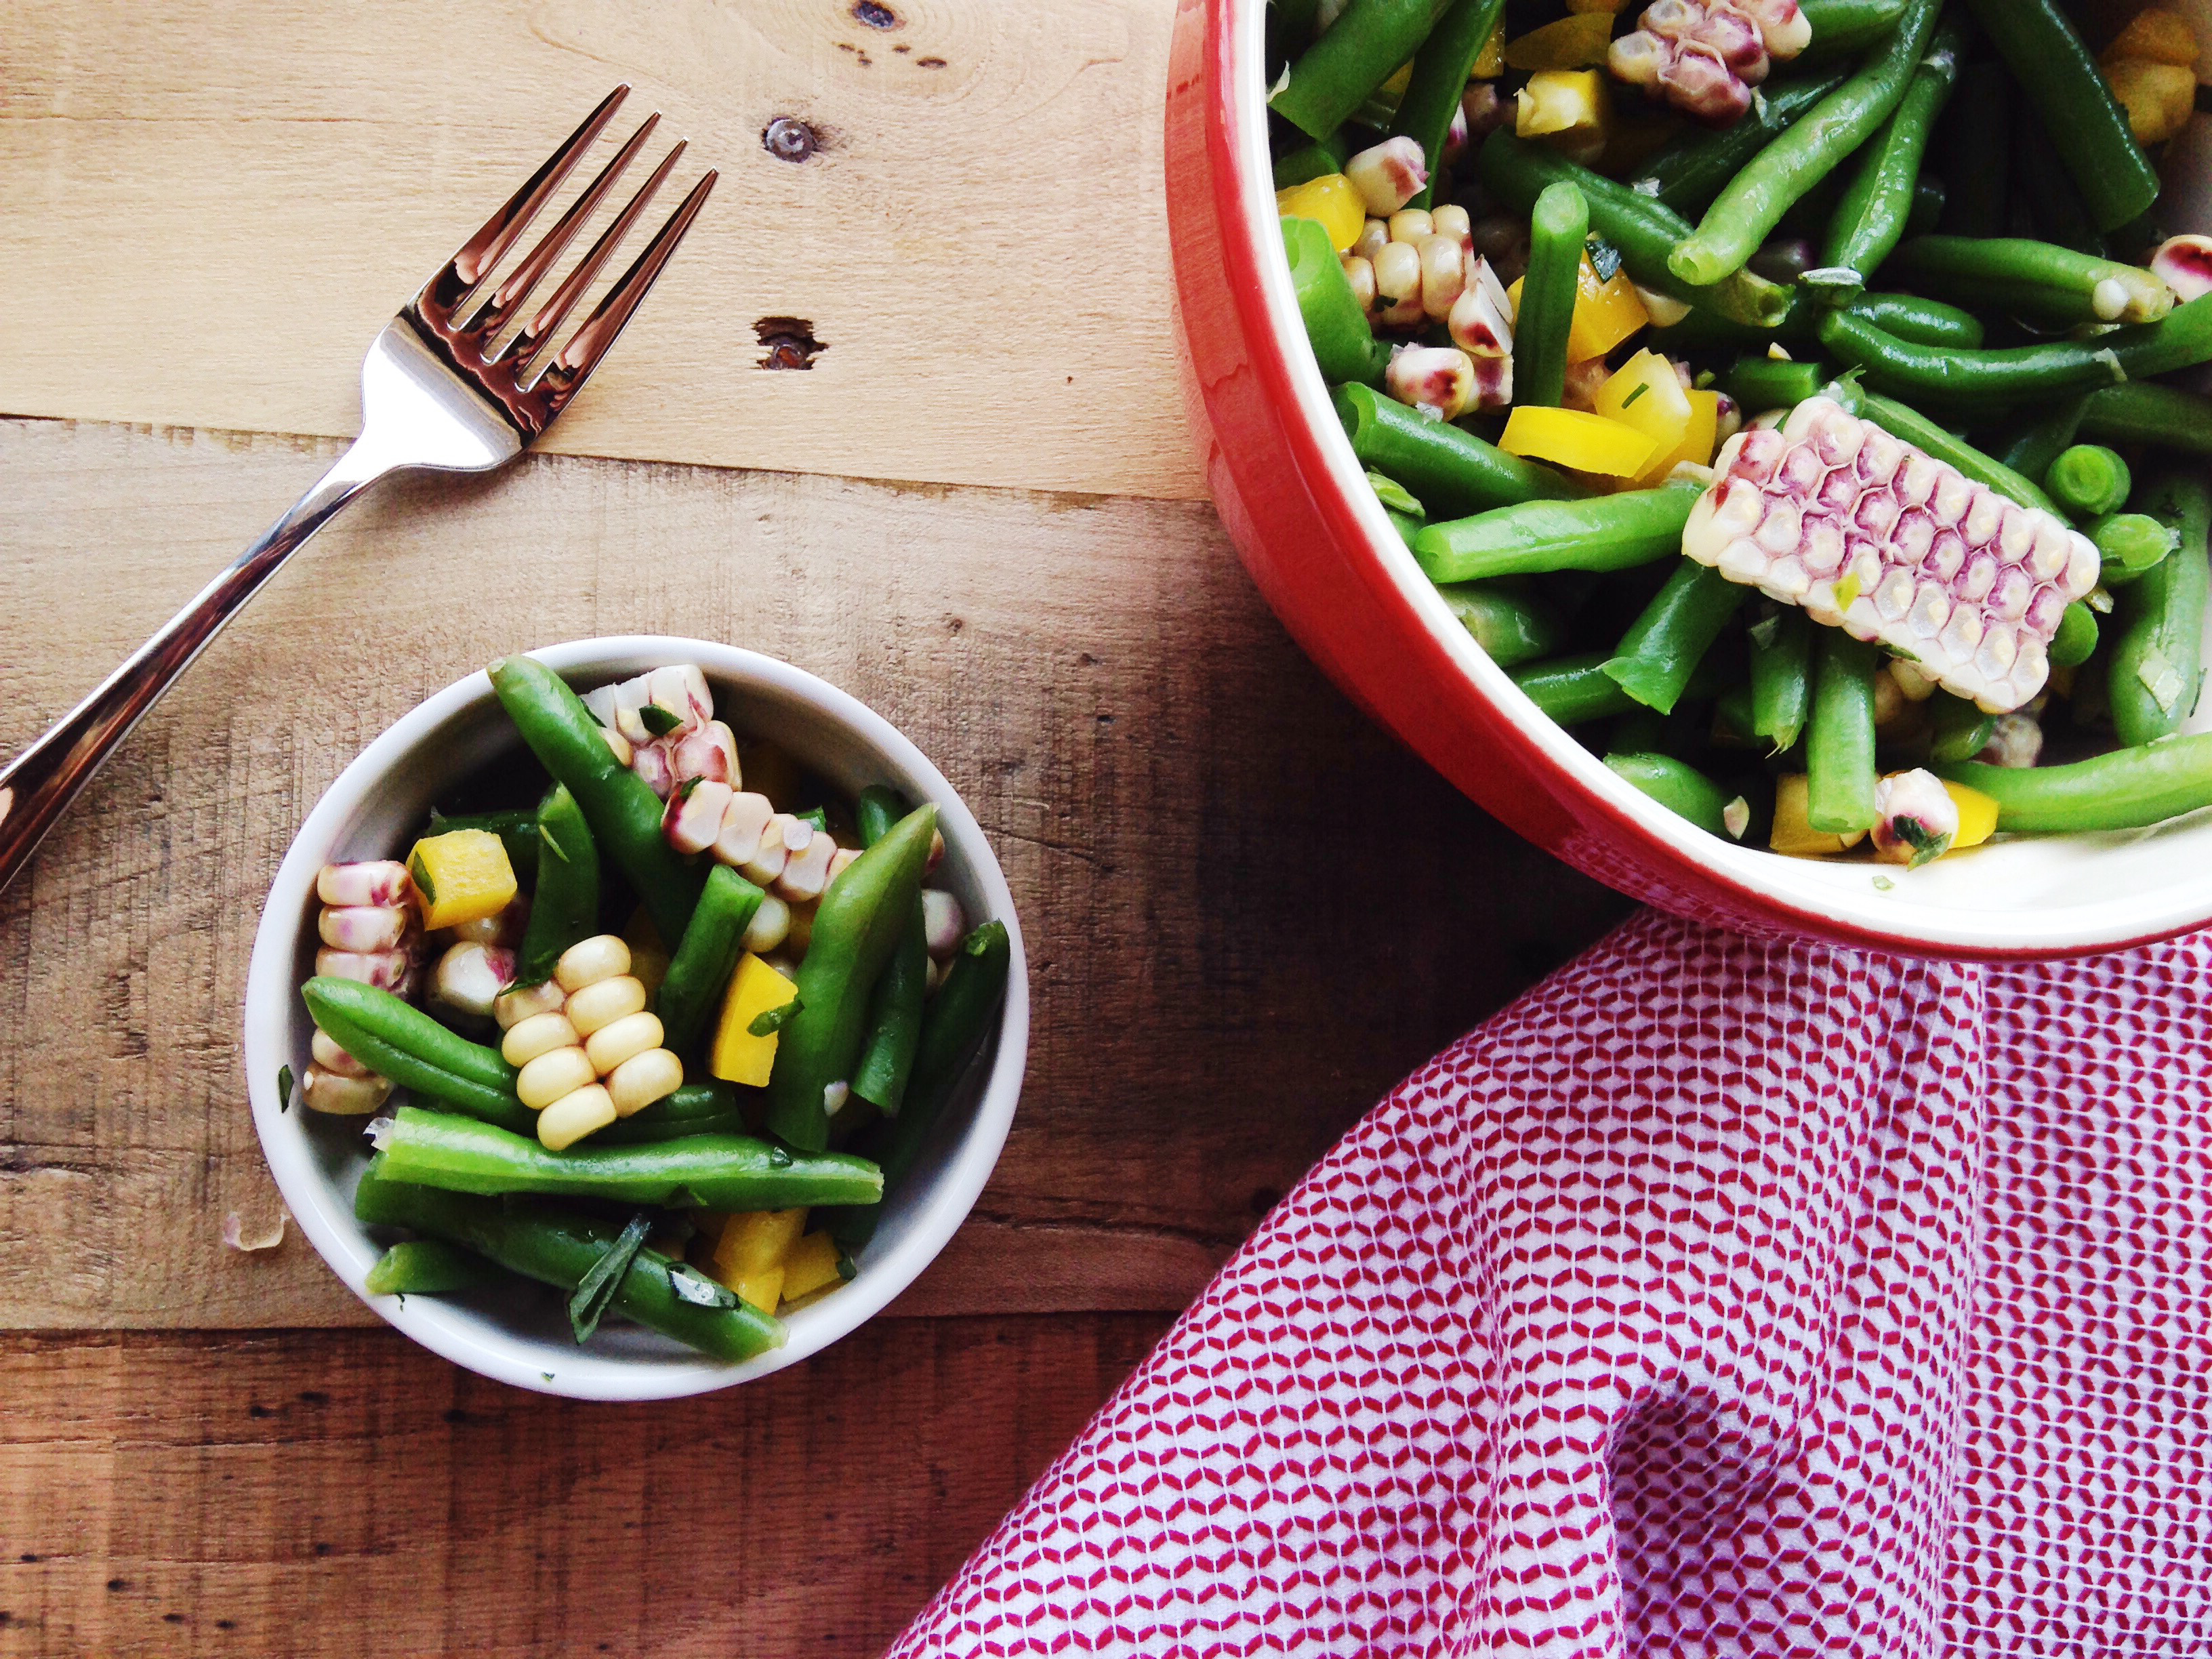
How this recipe is healthy: I’m sure I don’t have to tell you this, but Americans don’t eat enough fiber. Getting enough is a tall order considering the average adult needs between 25-35 grams of fiber each day! One easy way to get more fiber is to eat more beans. Beans can help fill your “fiber bucket” to the tune of about 8 grams per half cup, and these burgers make it easy. And there’s more! Besides fiber, beans are also a superb source of lean vegetarian protein and they offer other goodies like folic acid and iron. The beans are great, but so is the slaw, which is made with fresh veggies including cabbage and carrots then tossed in a light lime-infused vinaigrette. It’s a nutrition-packed, satisfying meal!
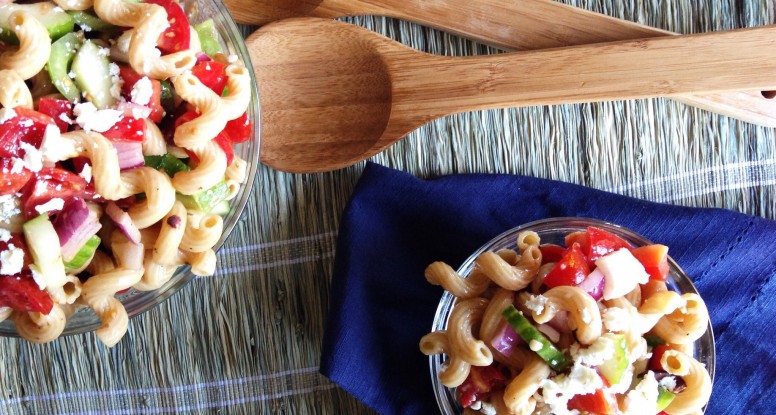
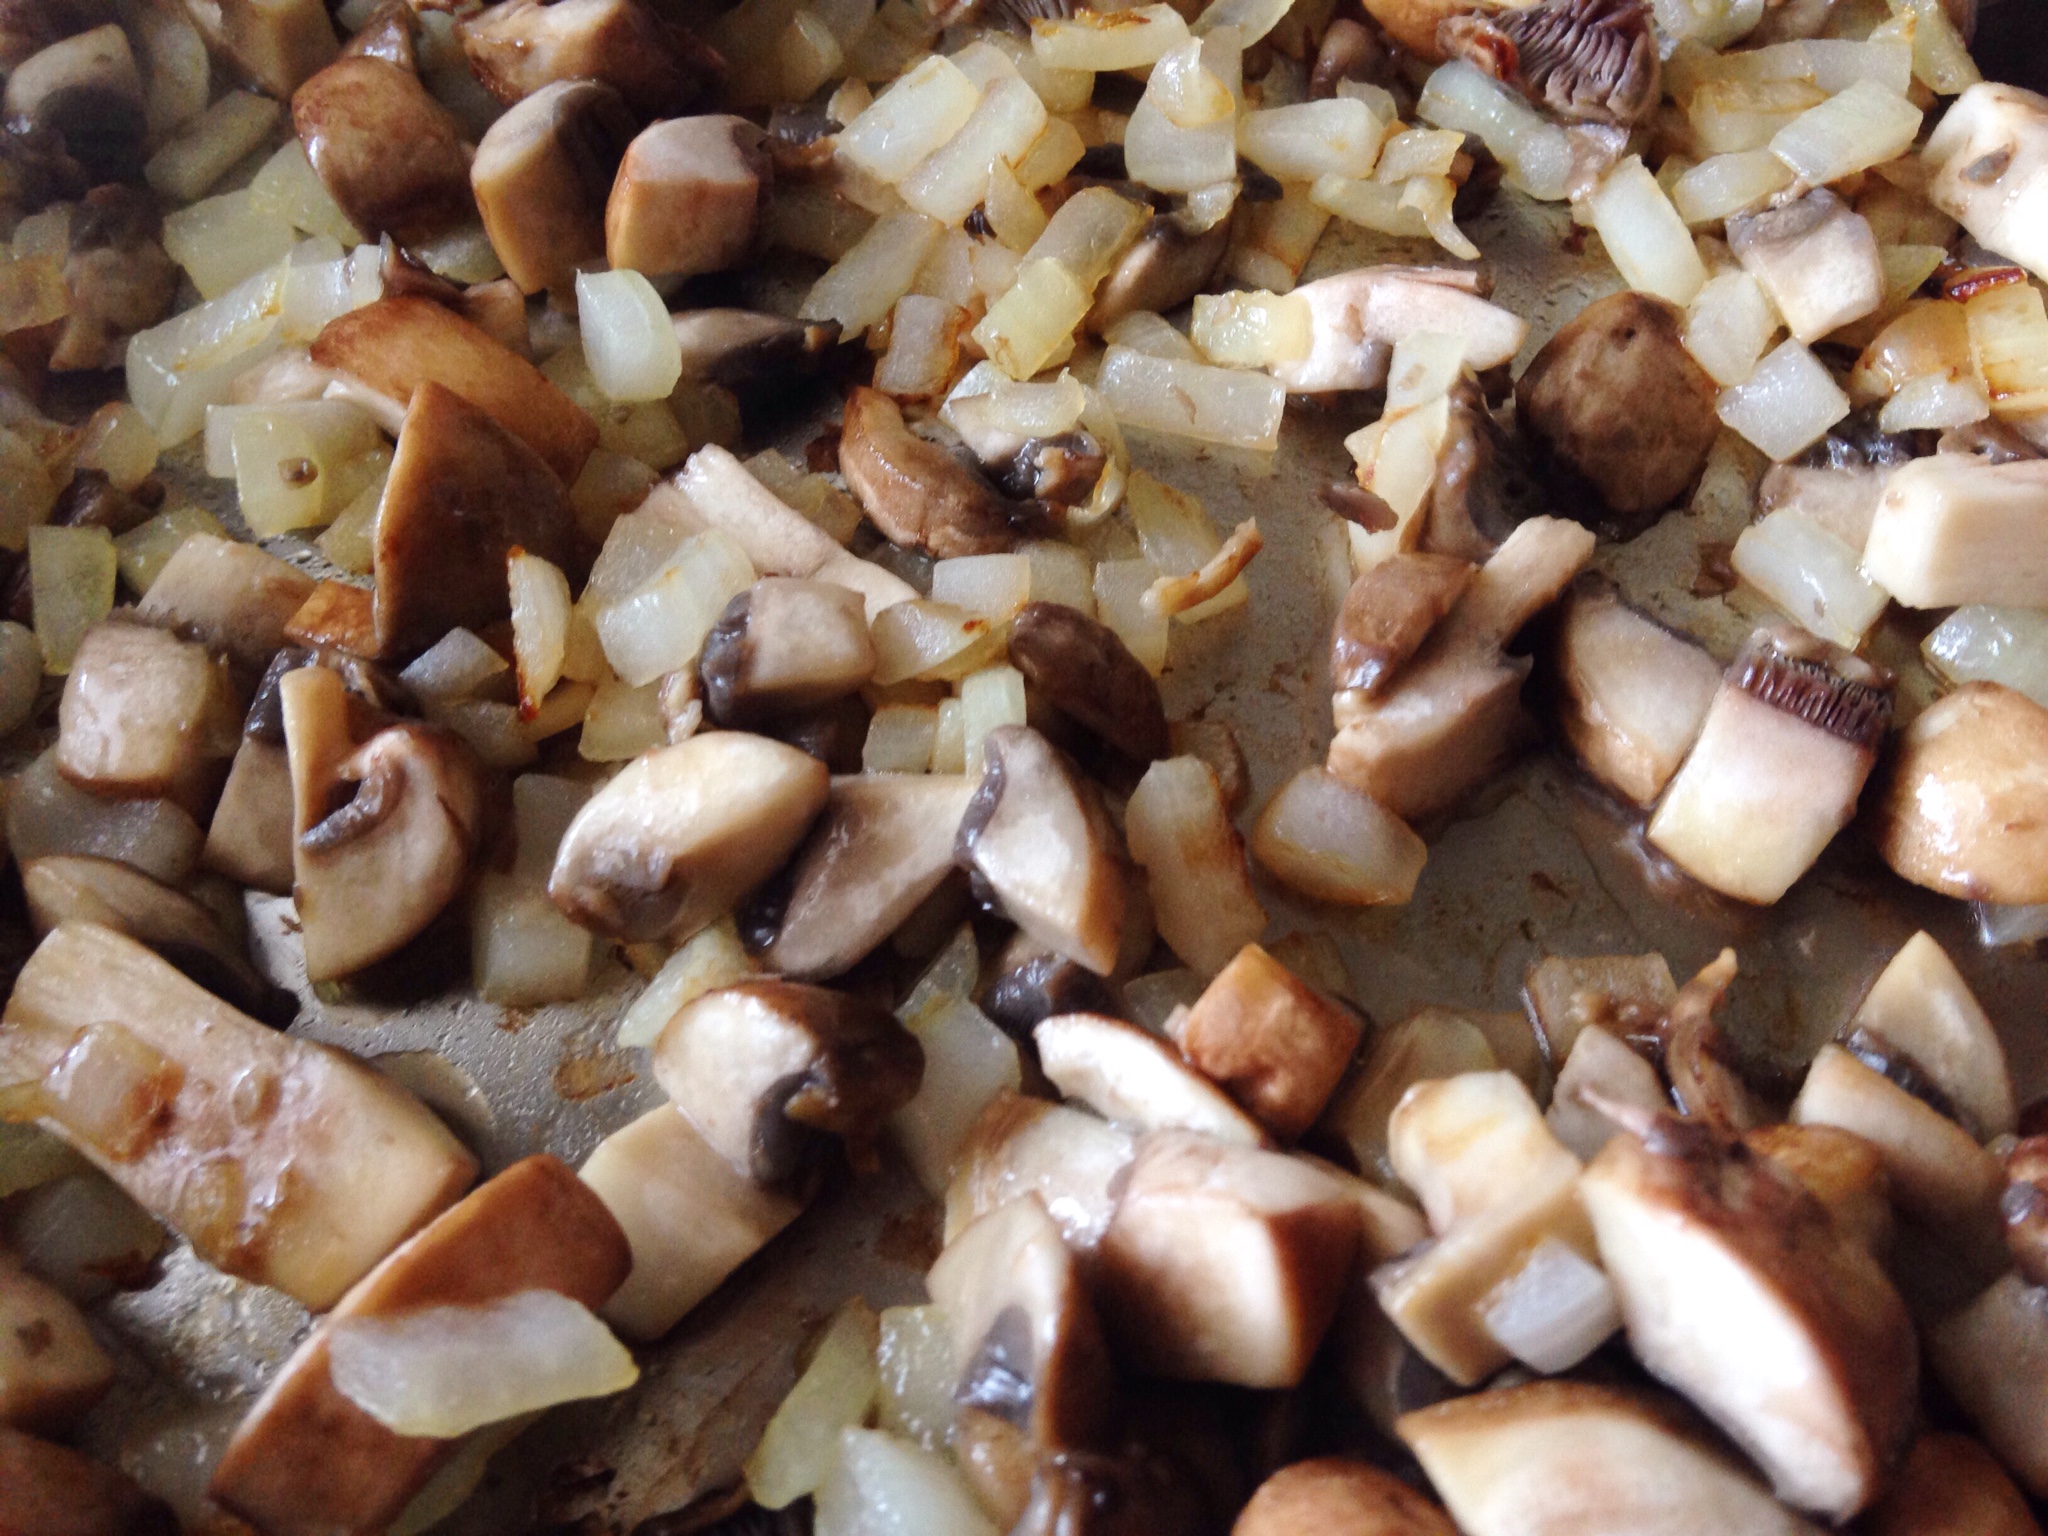
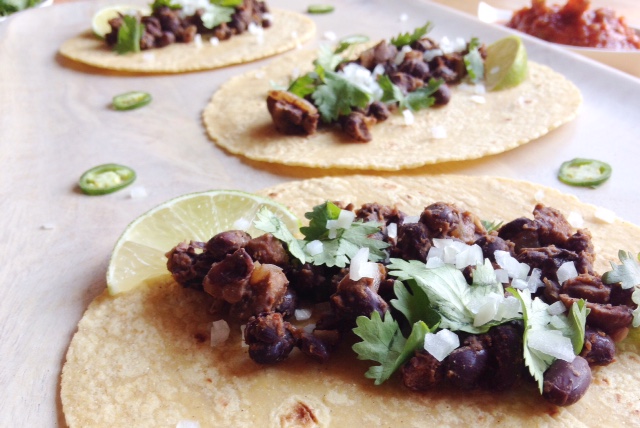
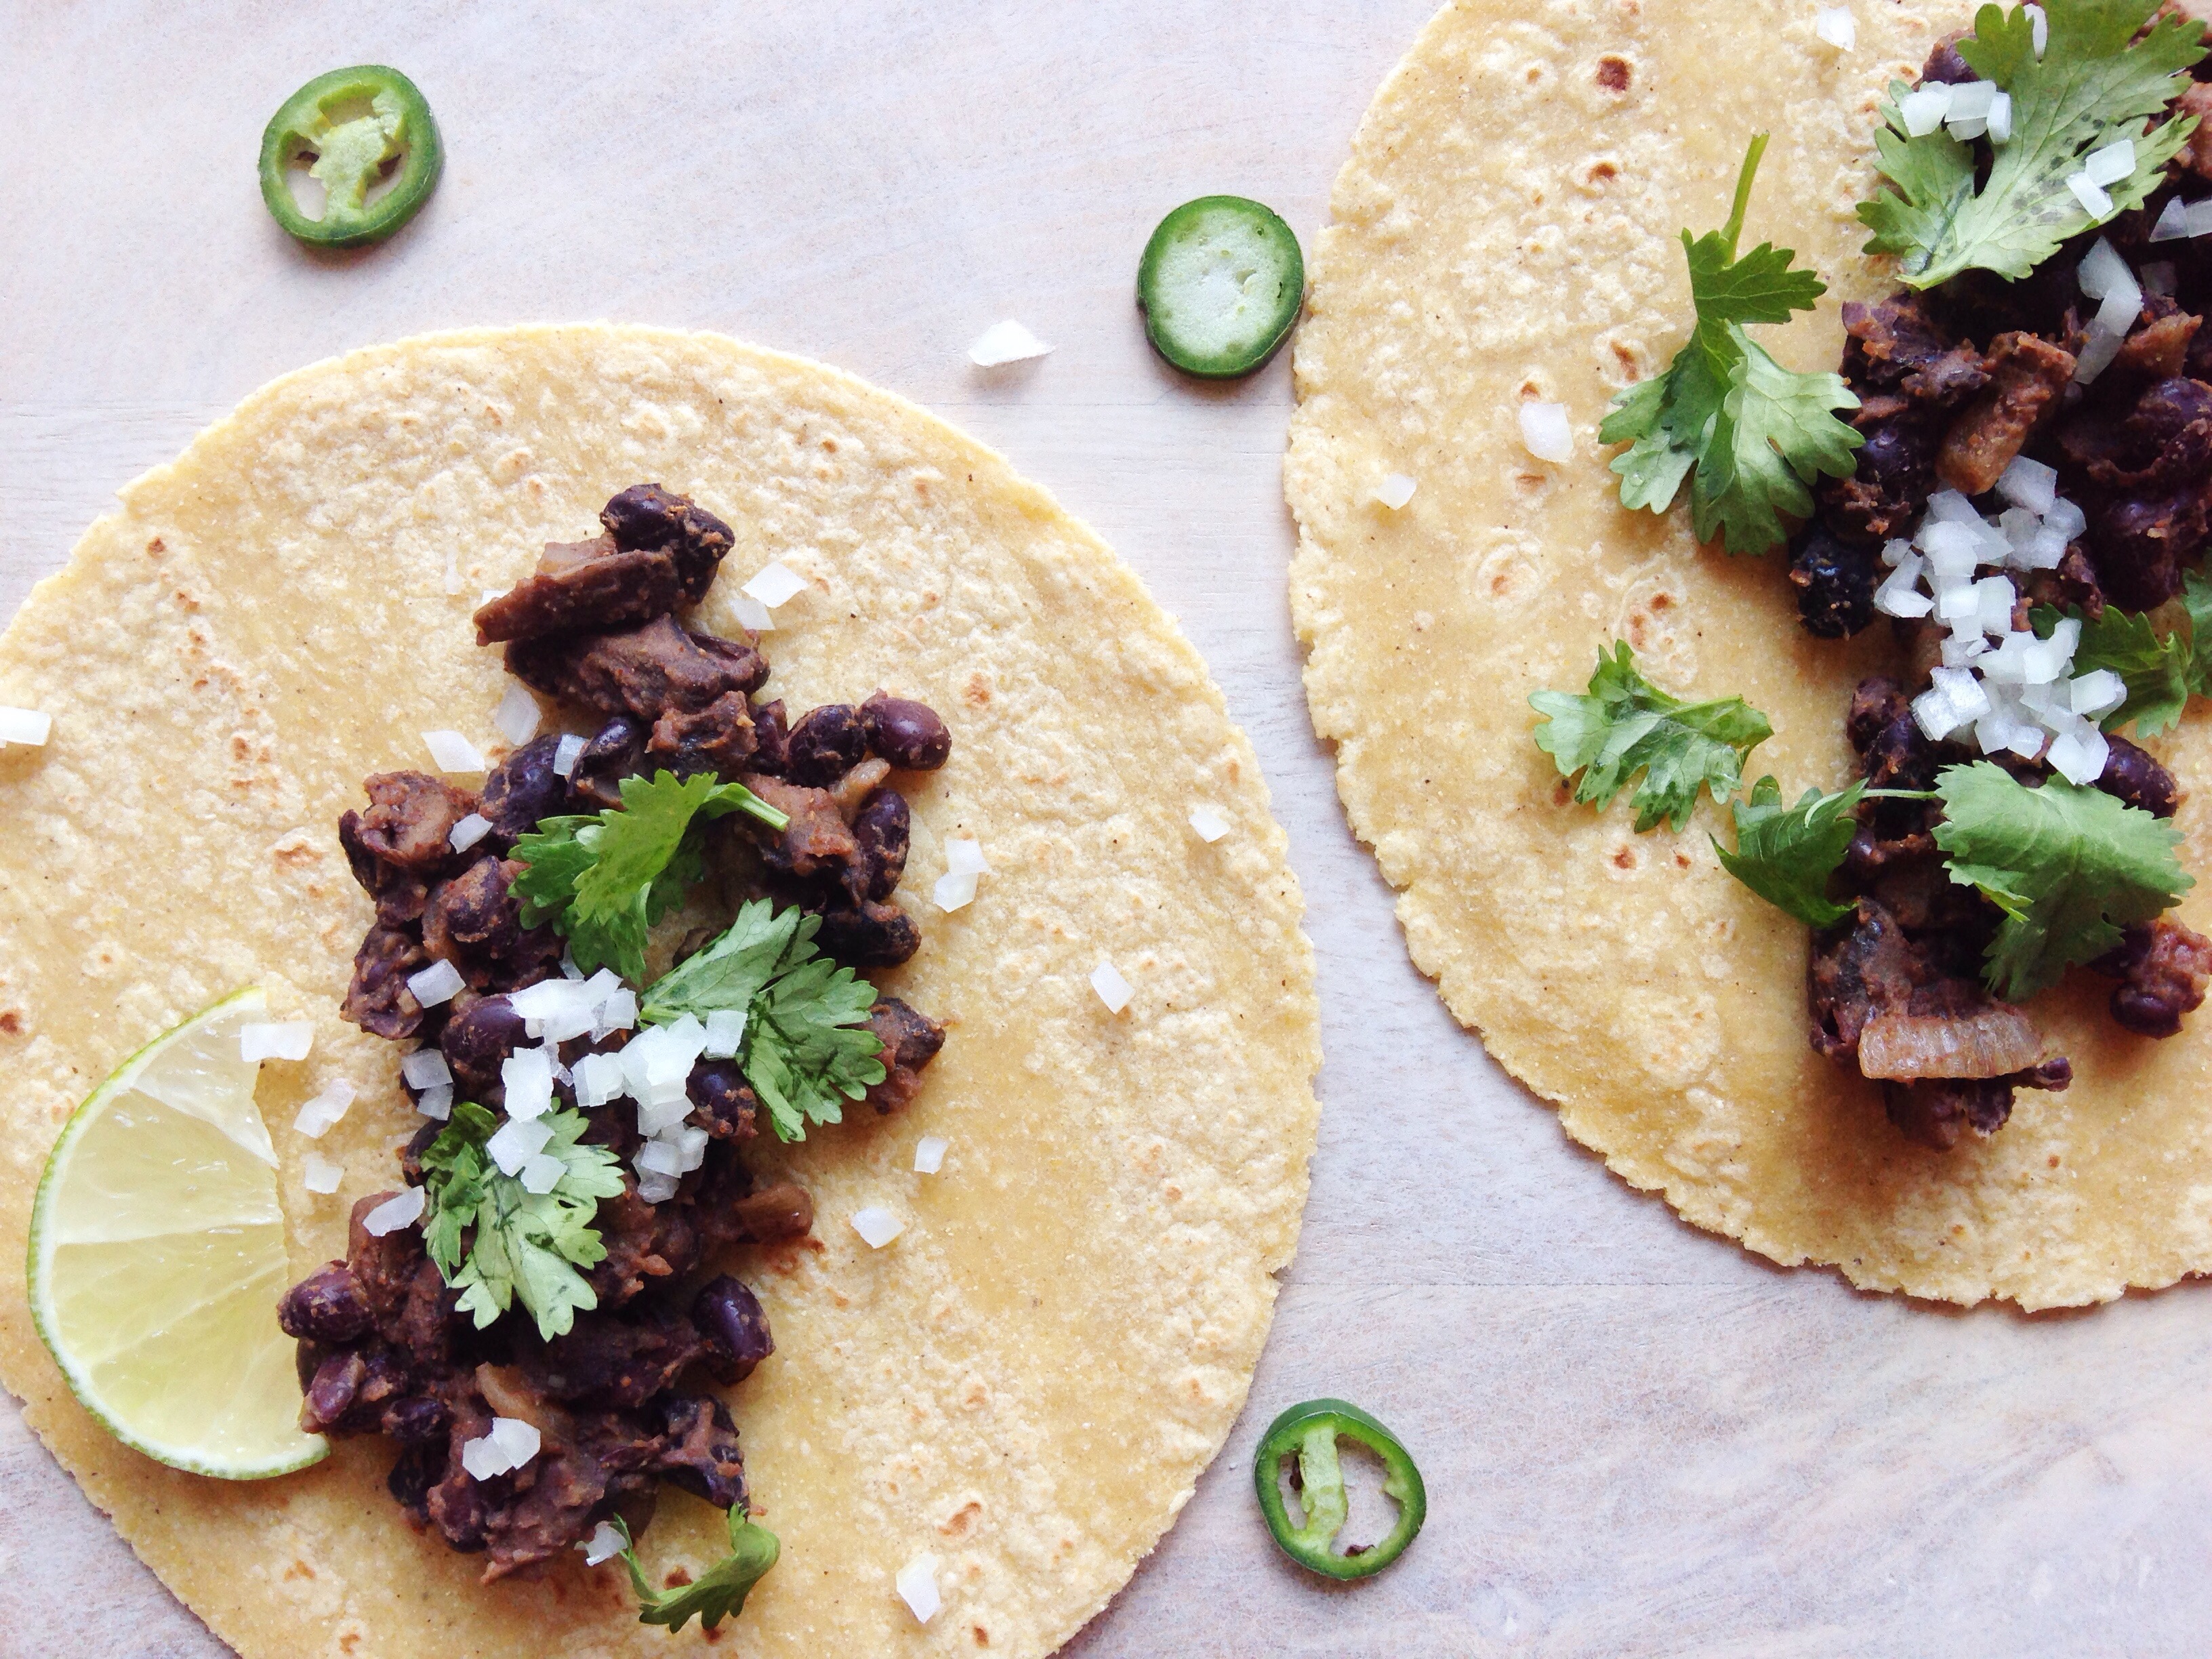
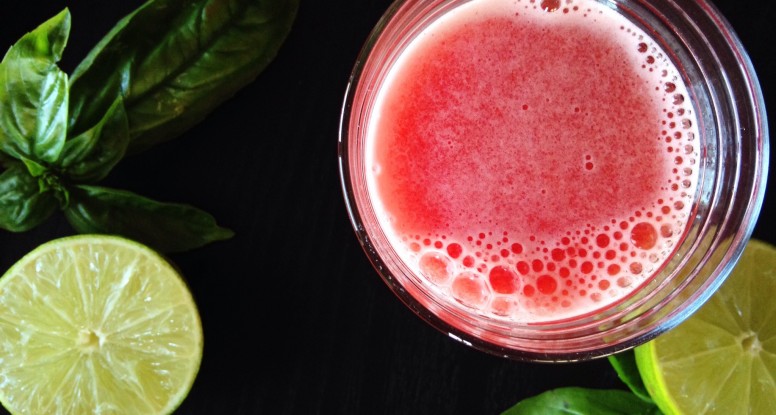
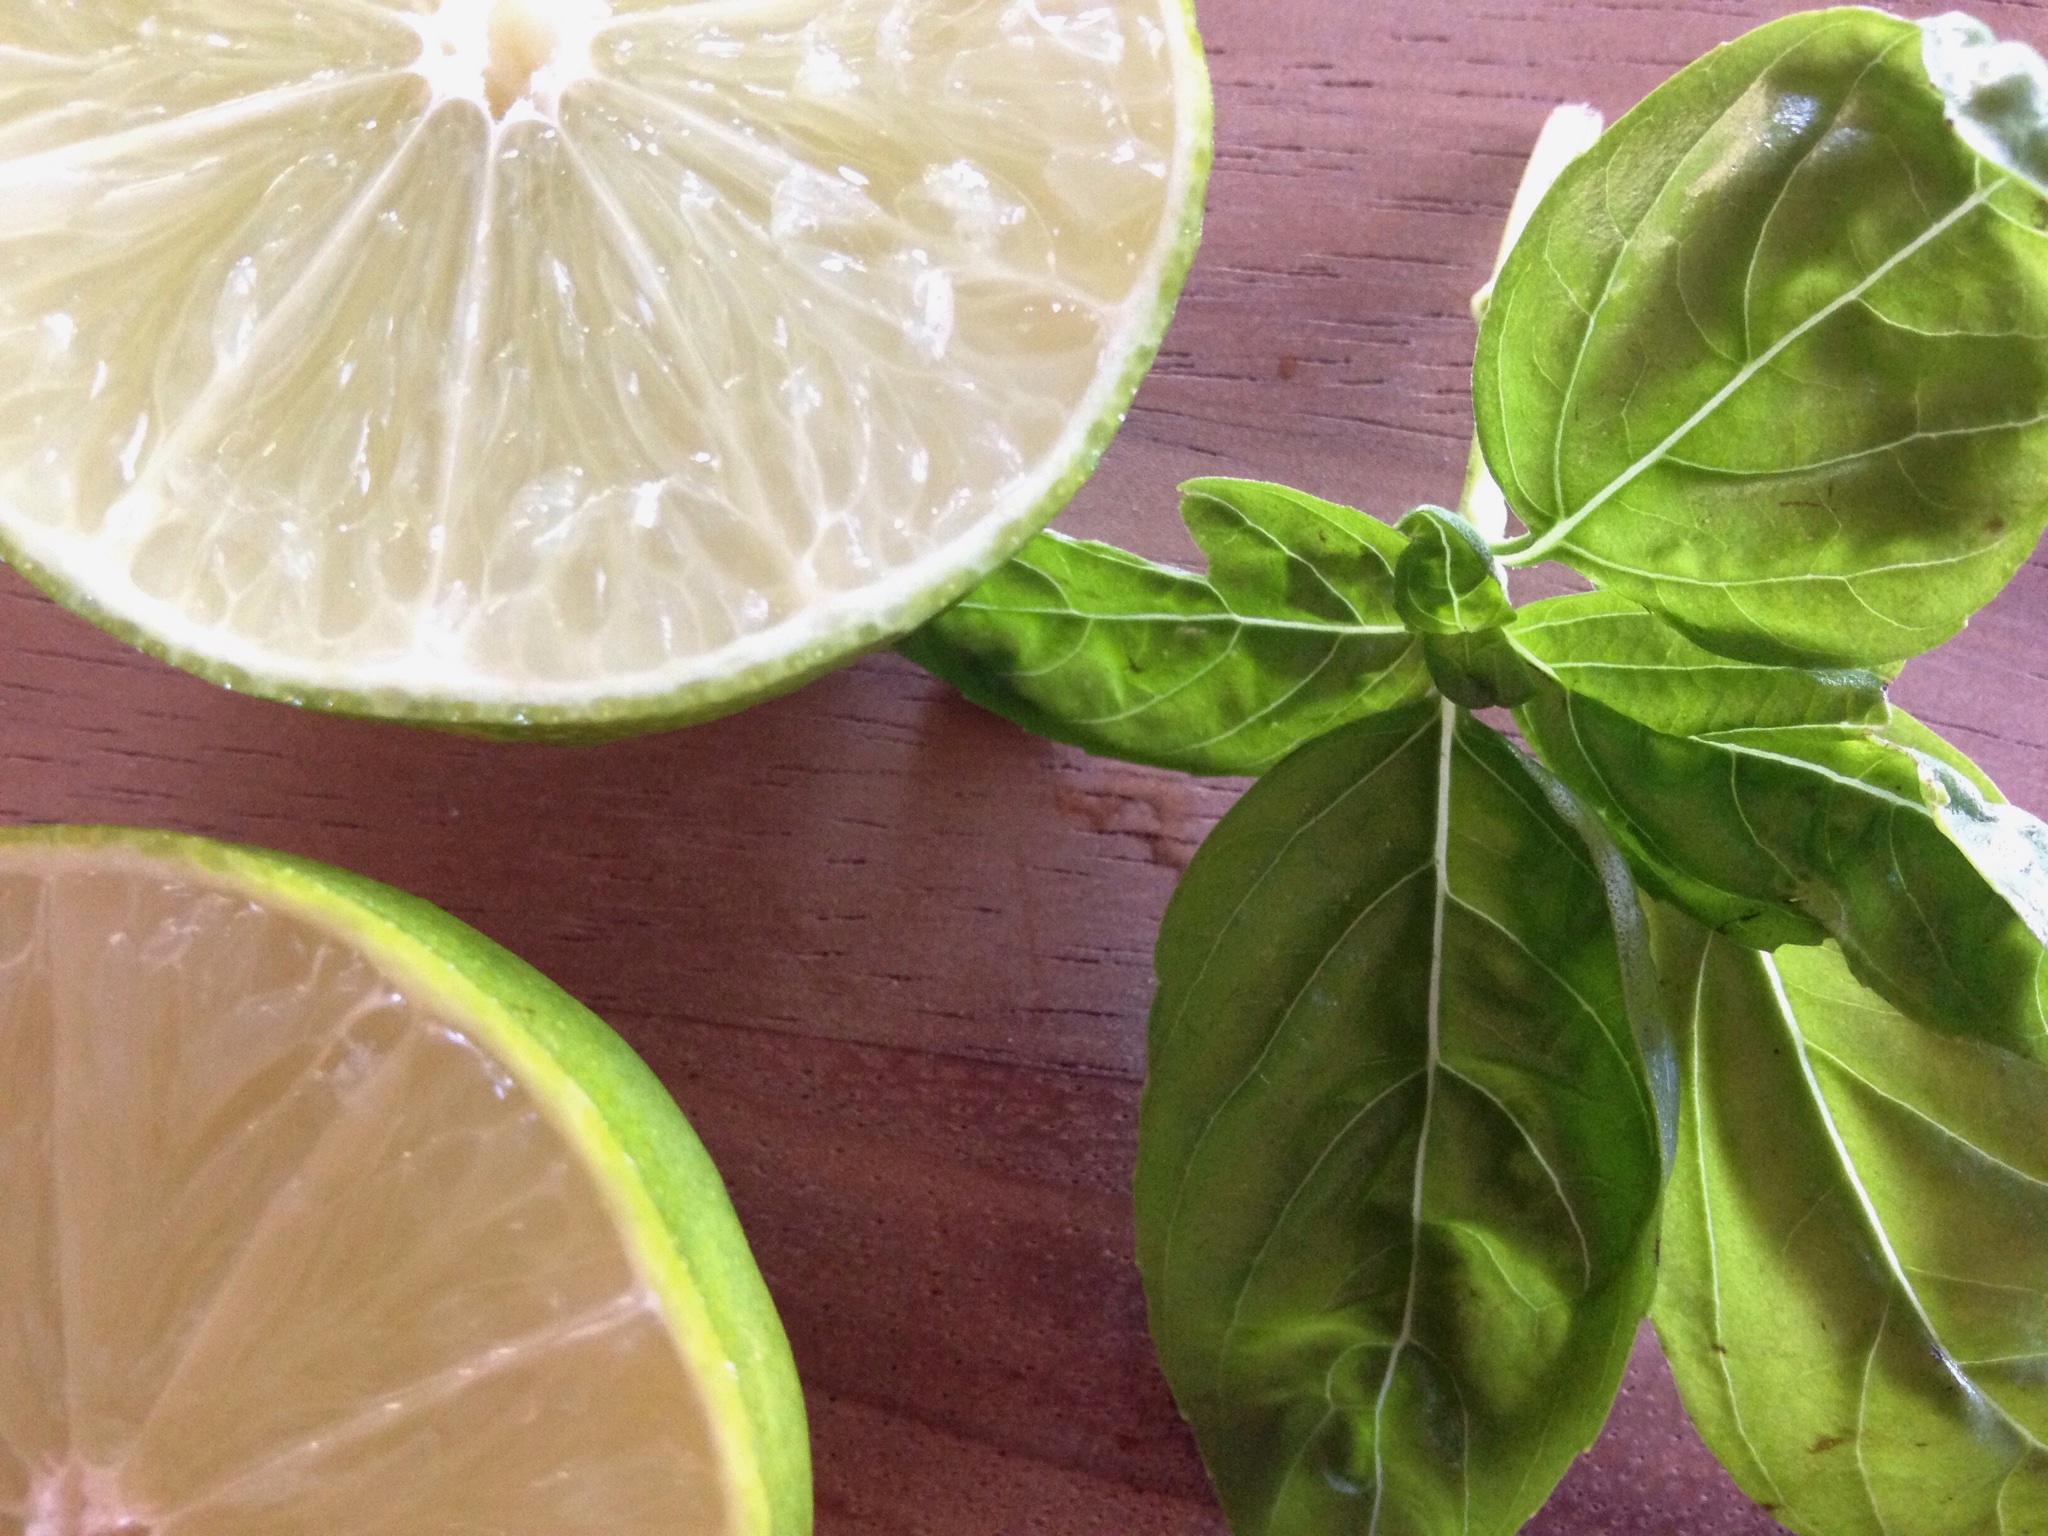
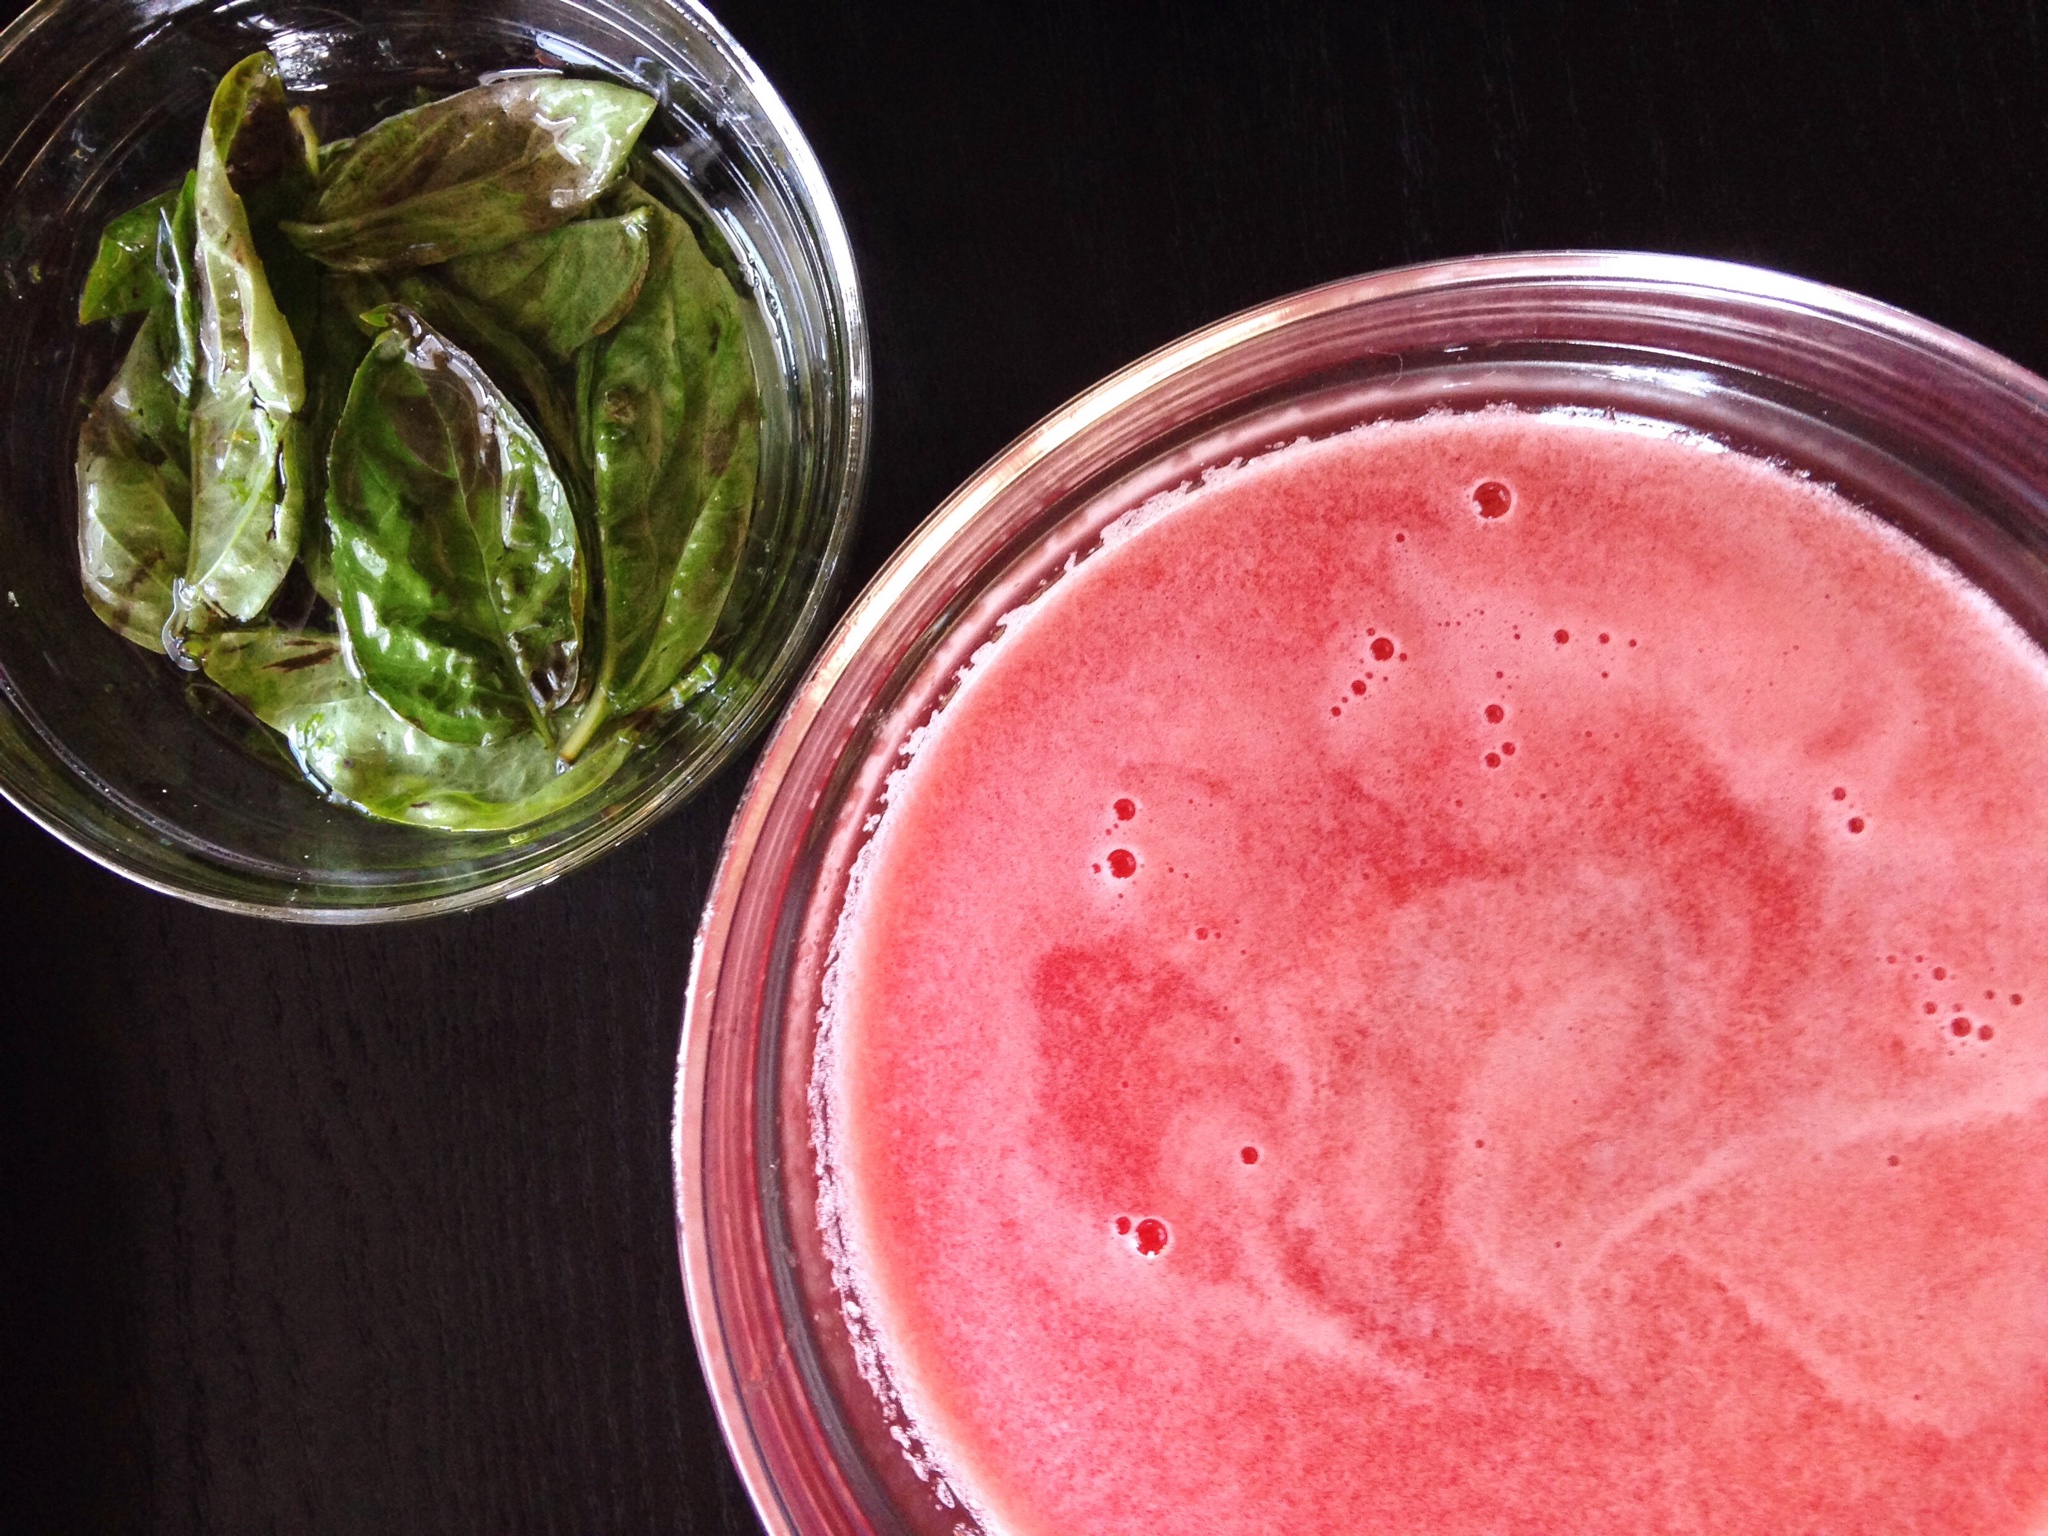
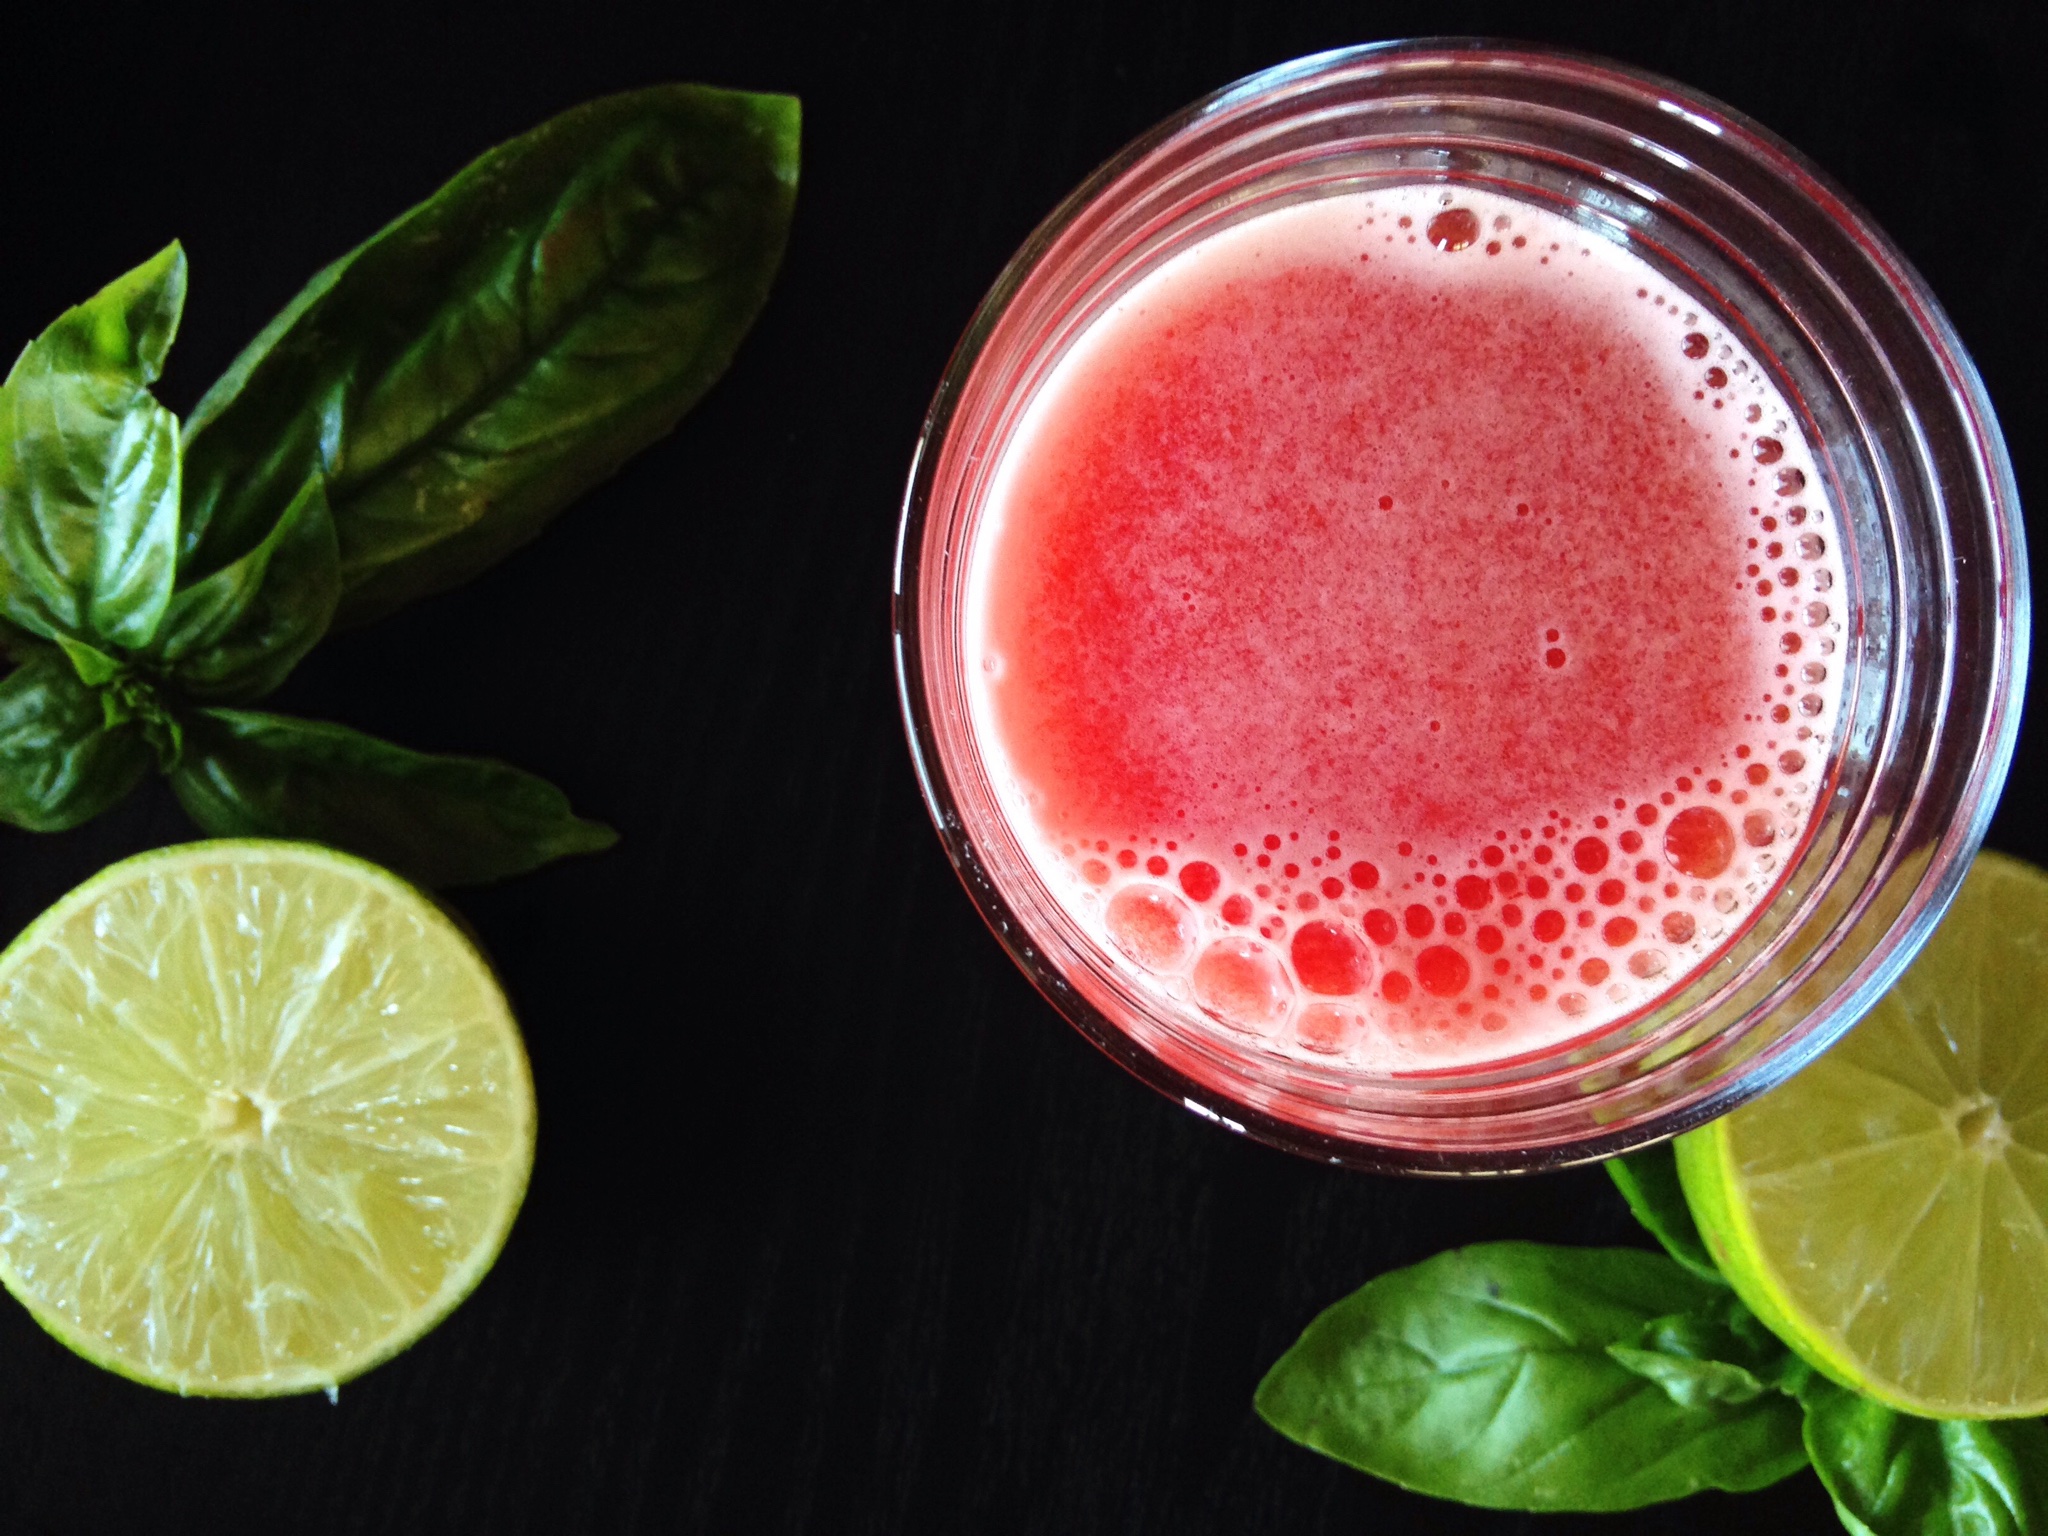
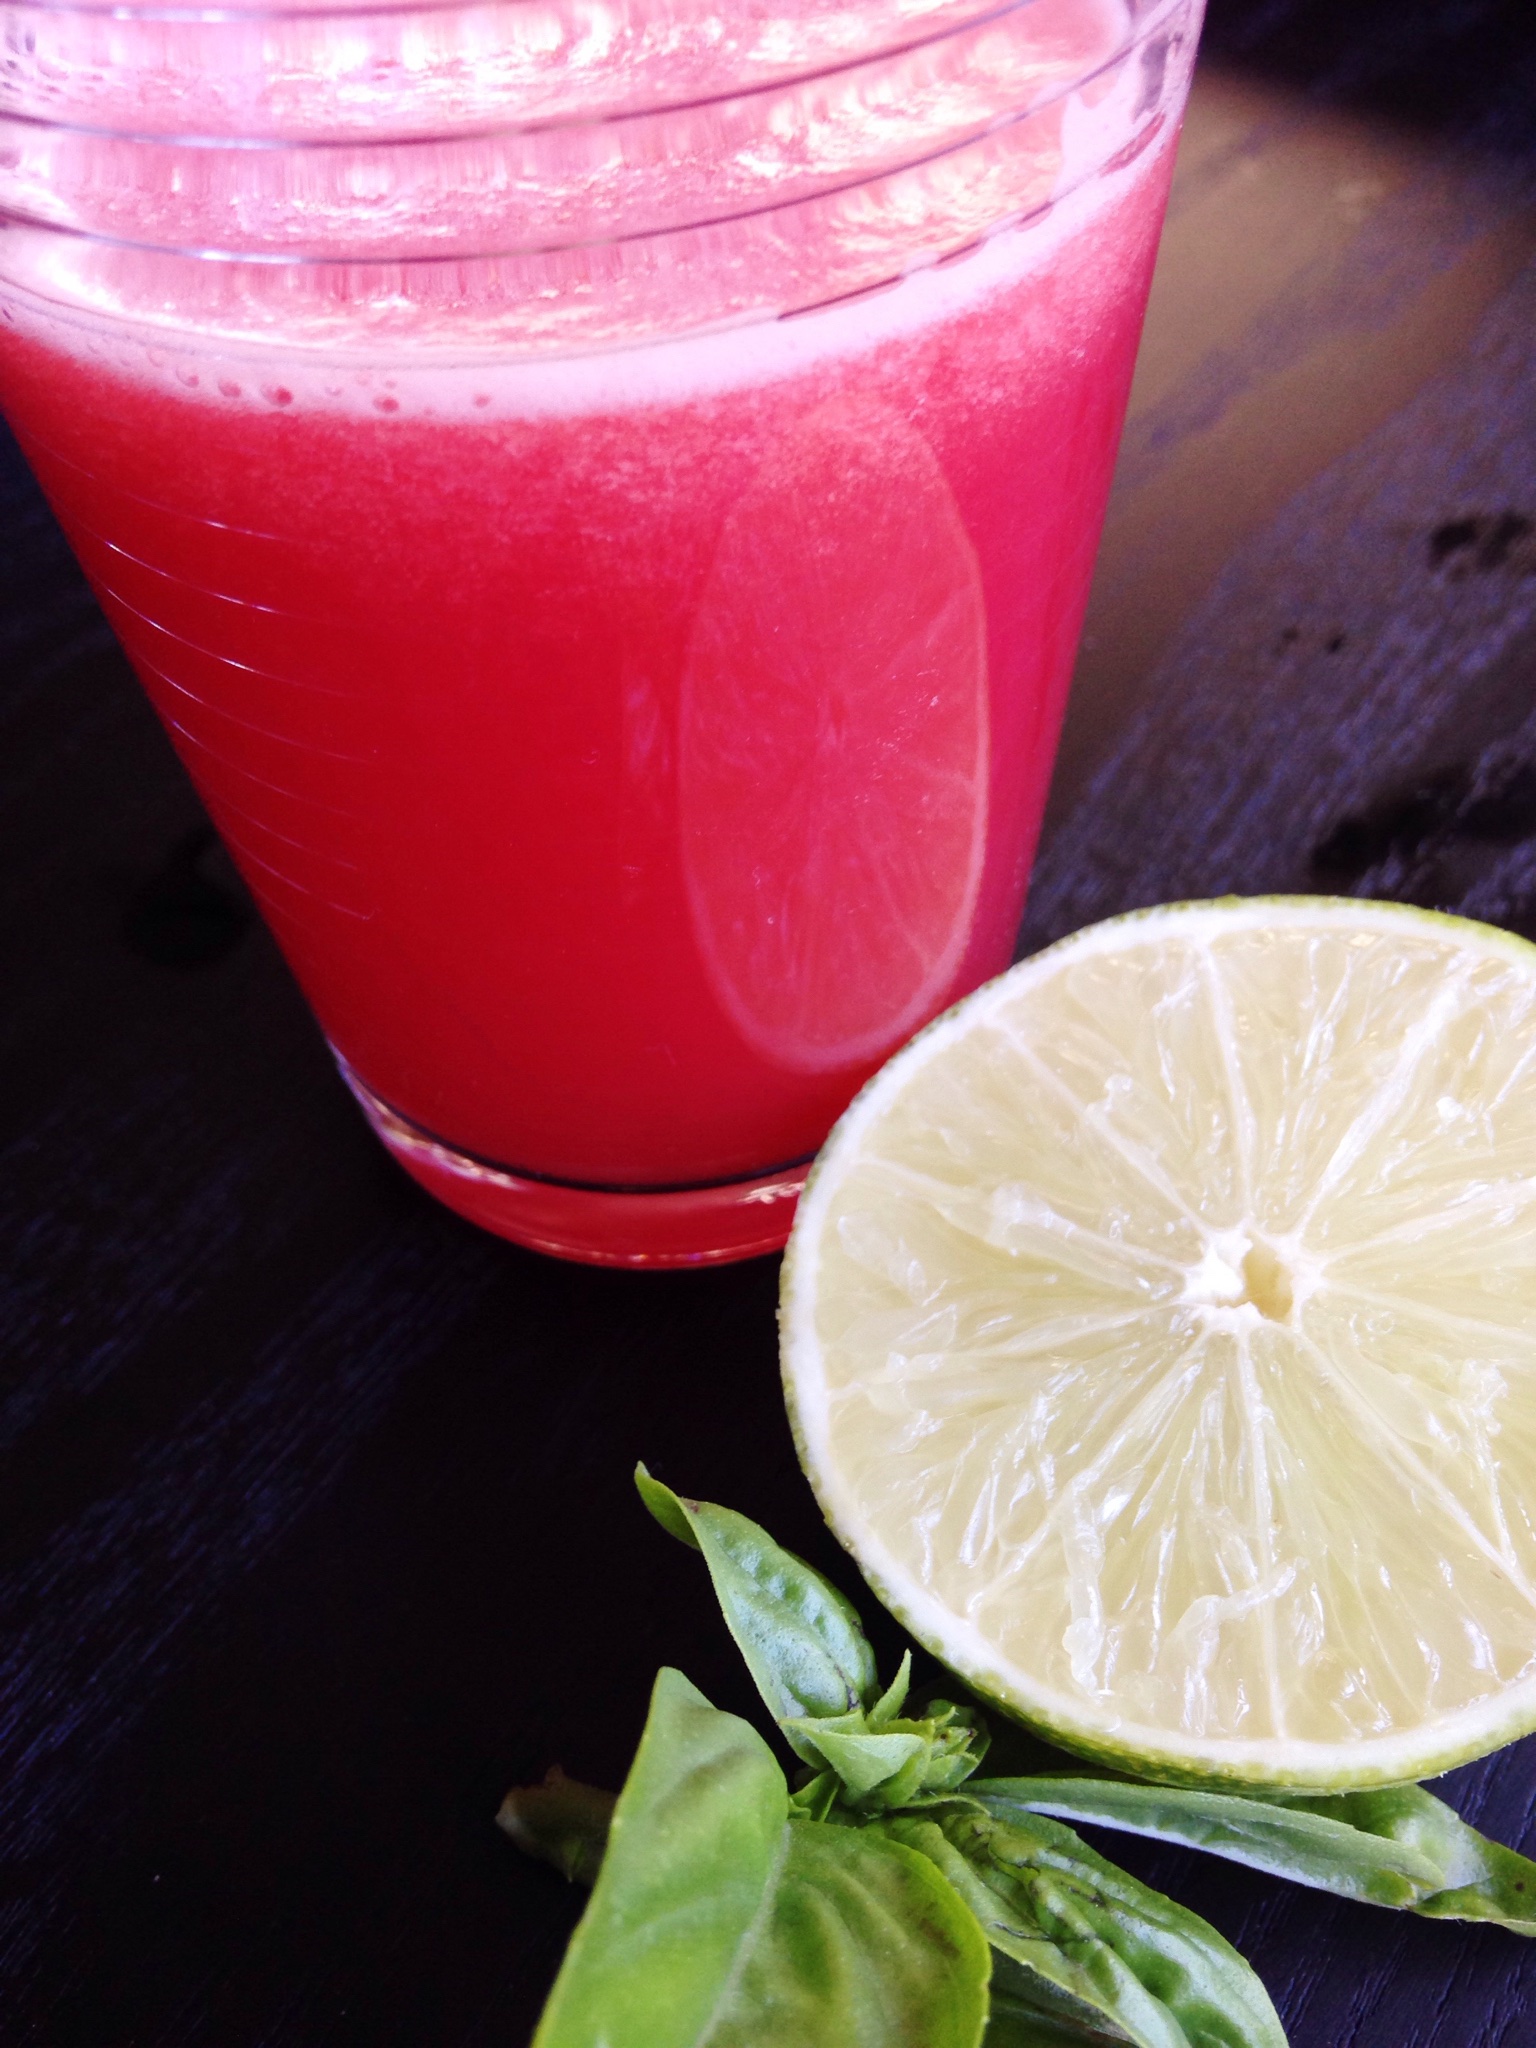
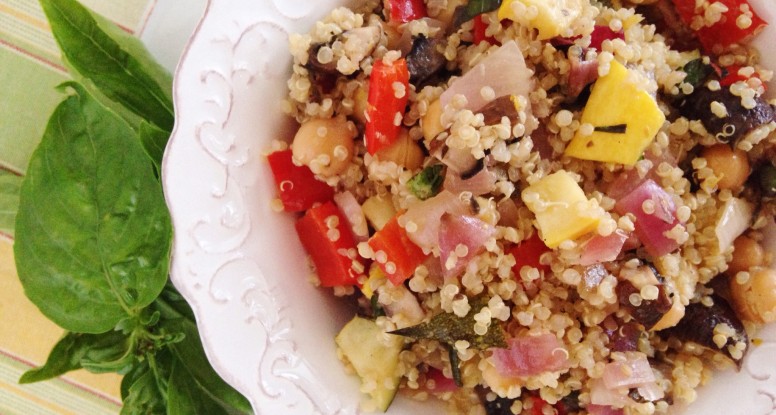
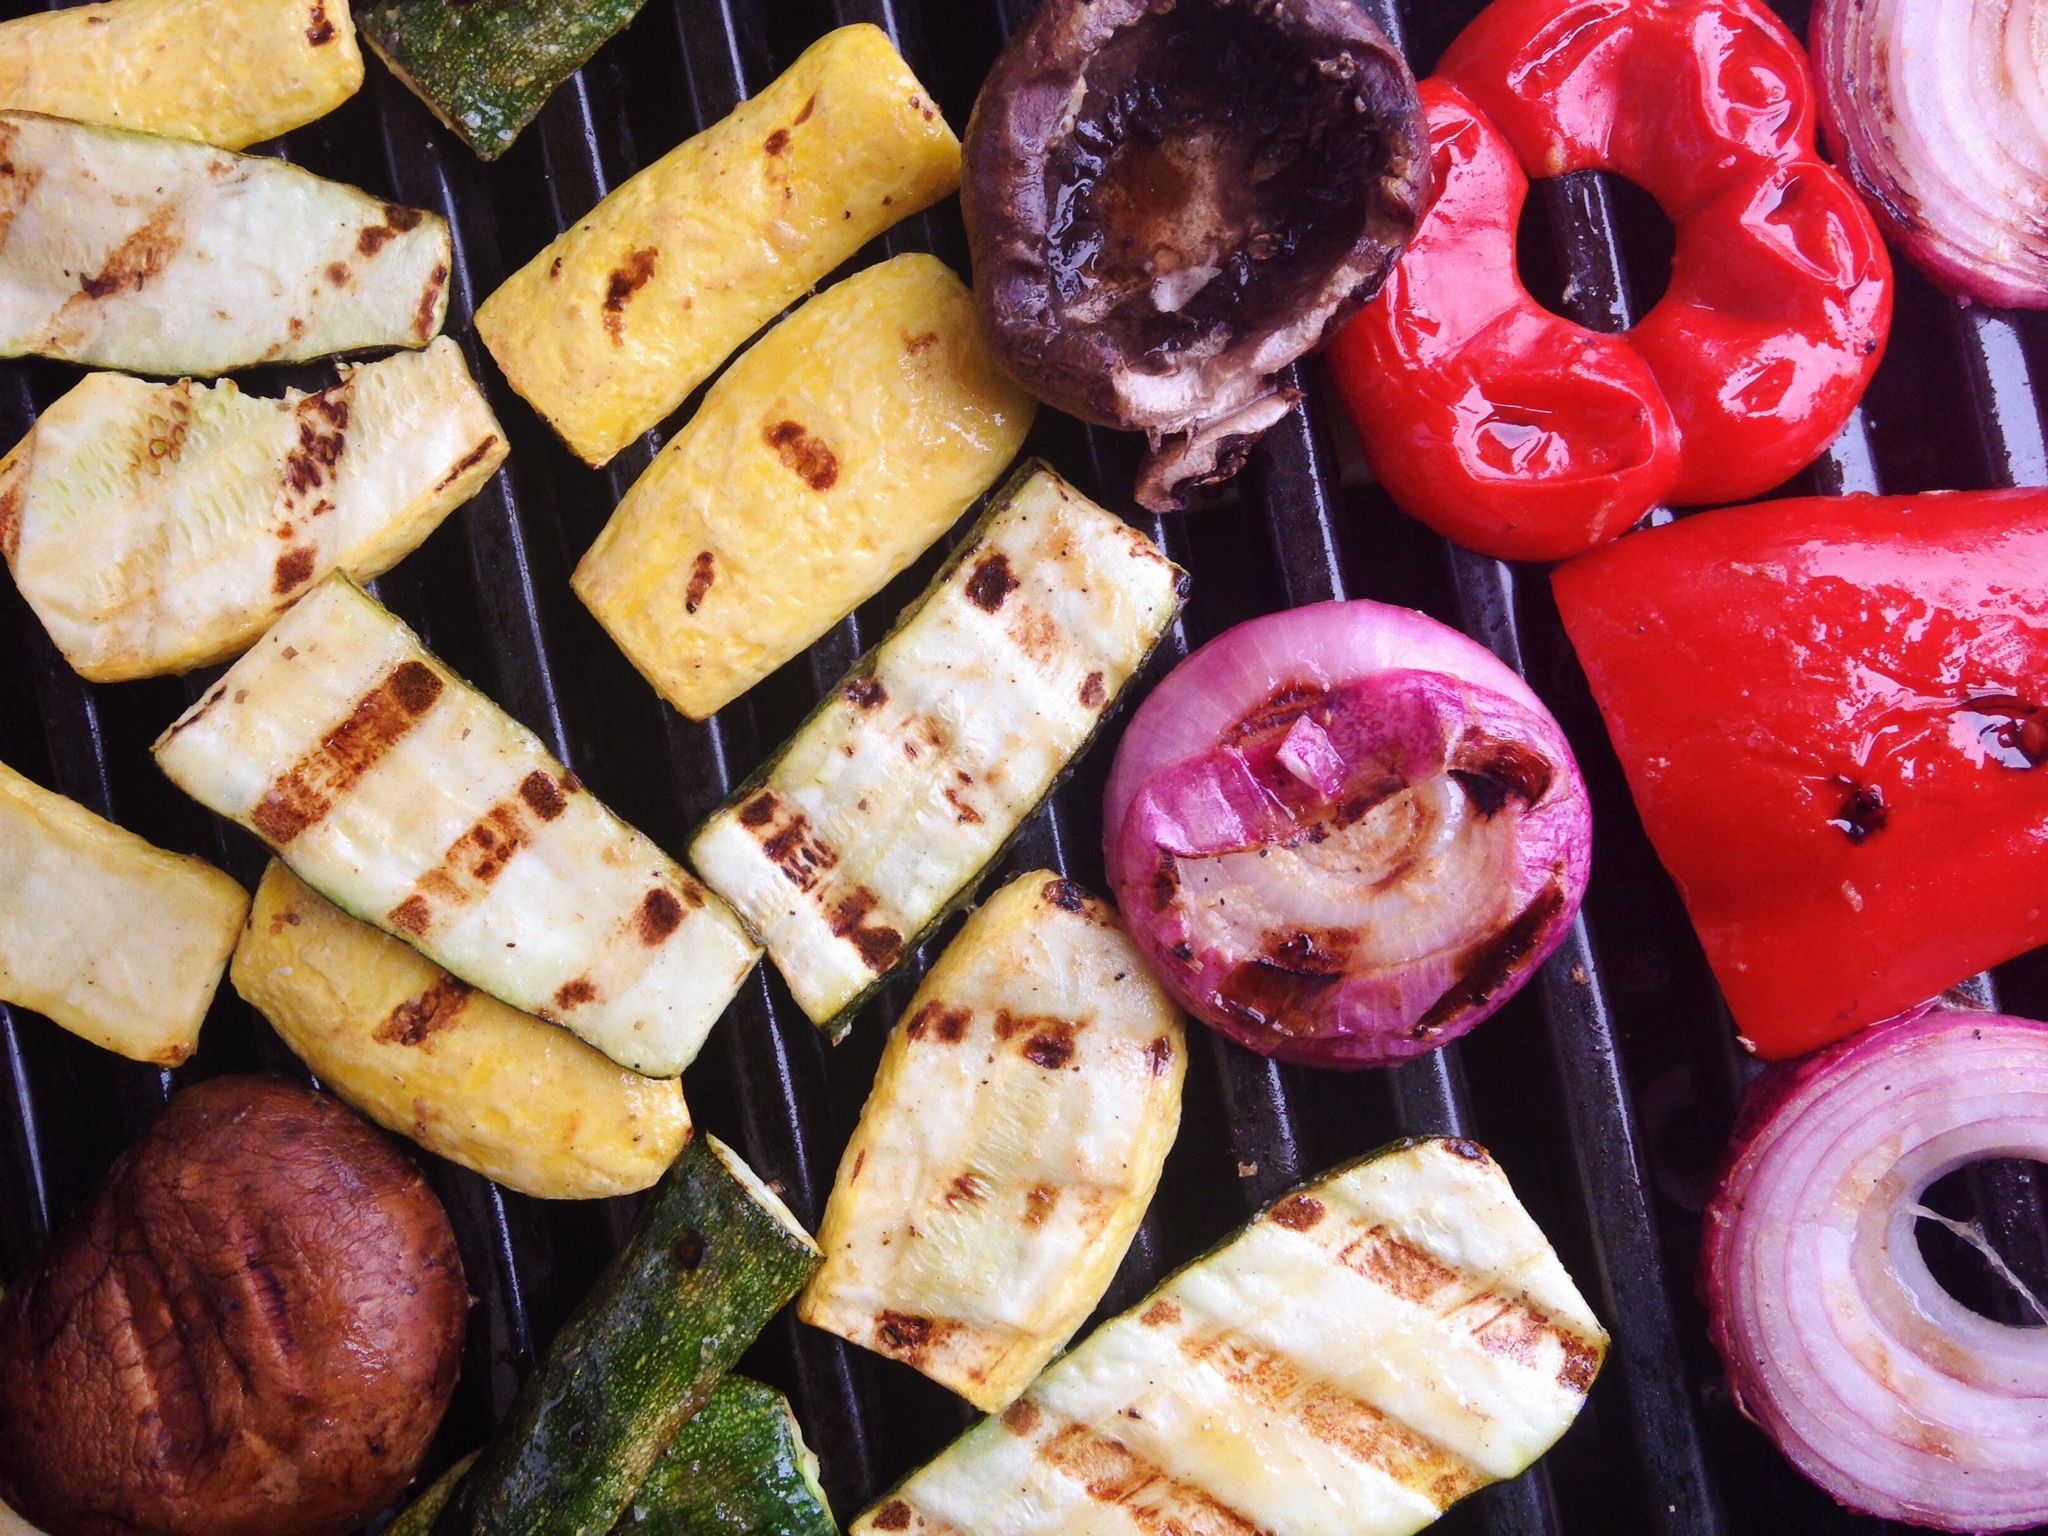
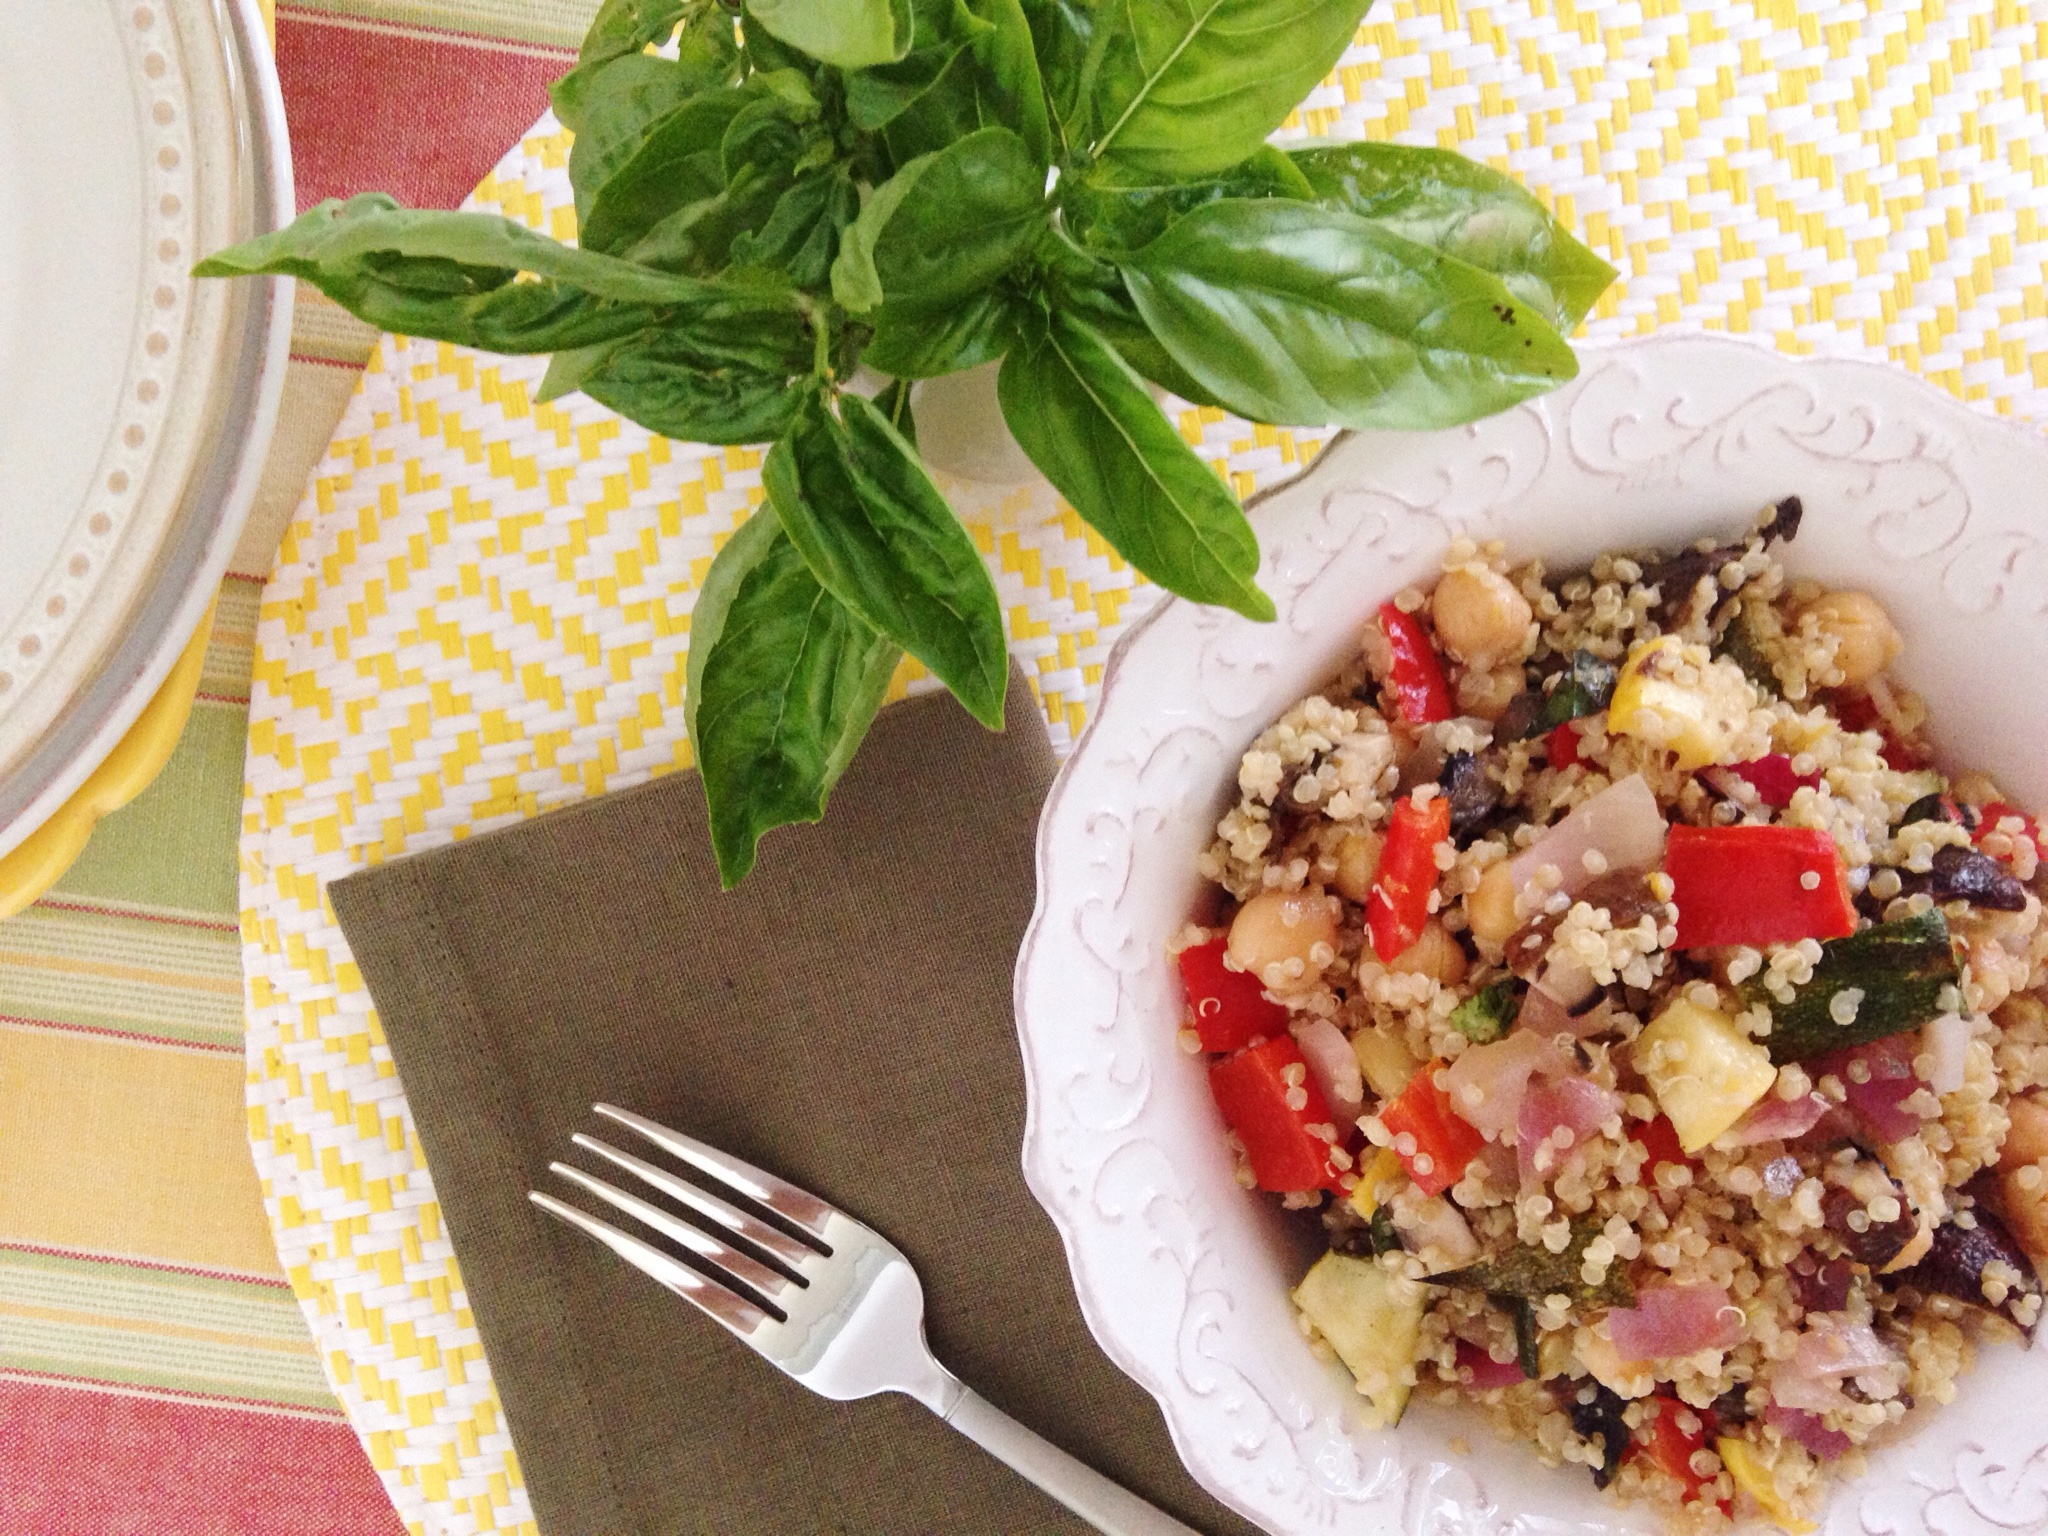
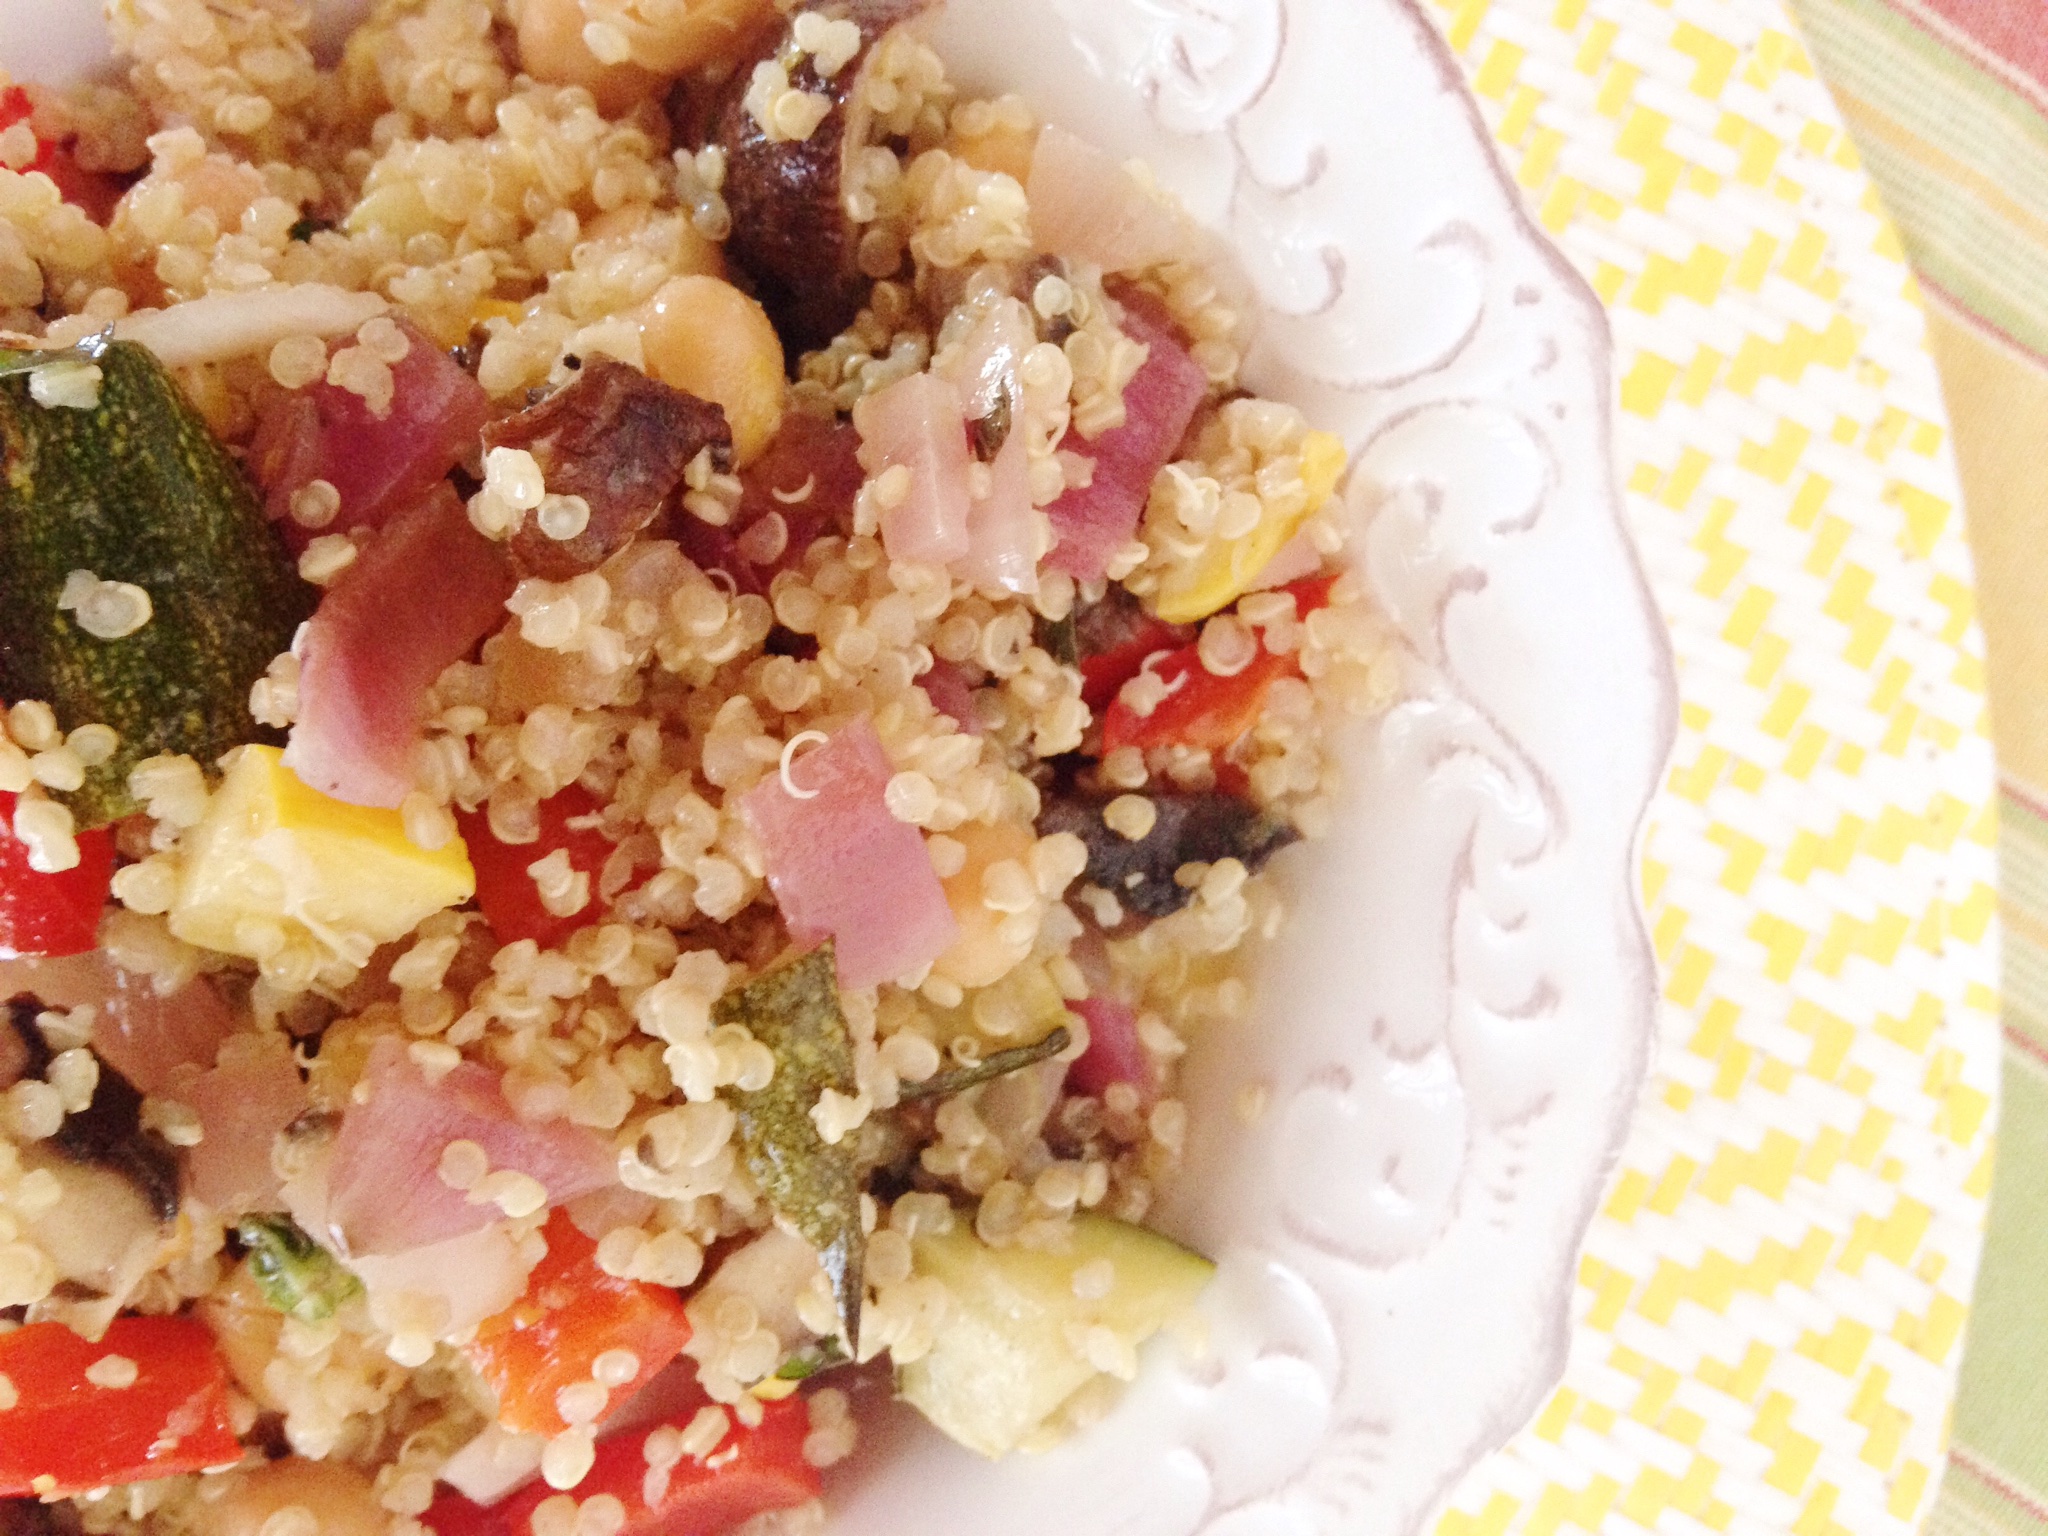
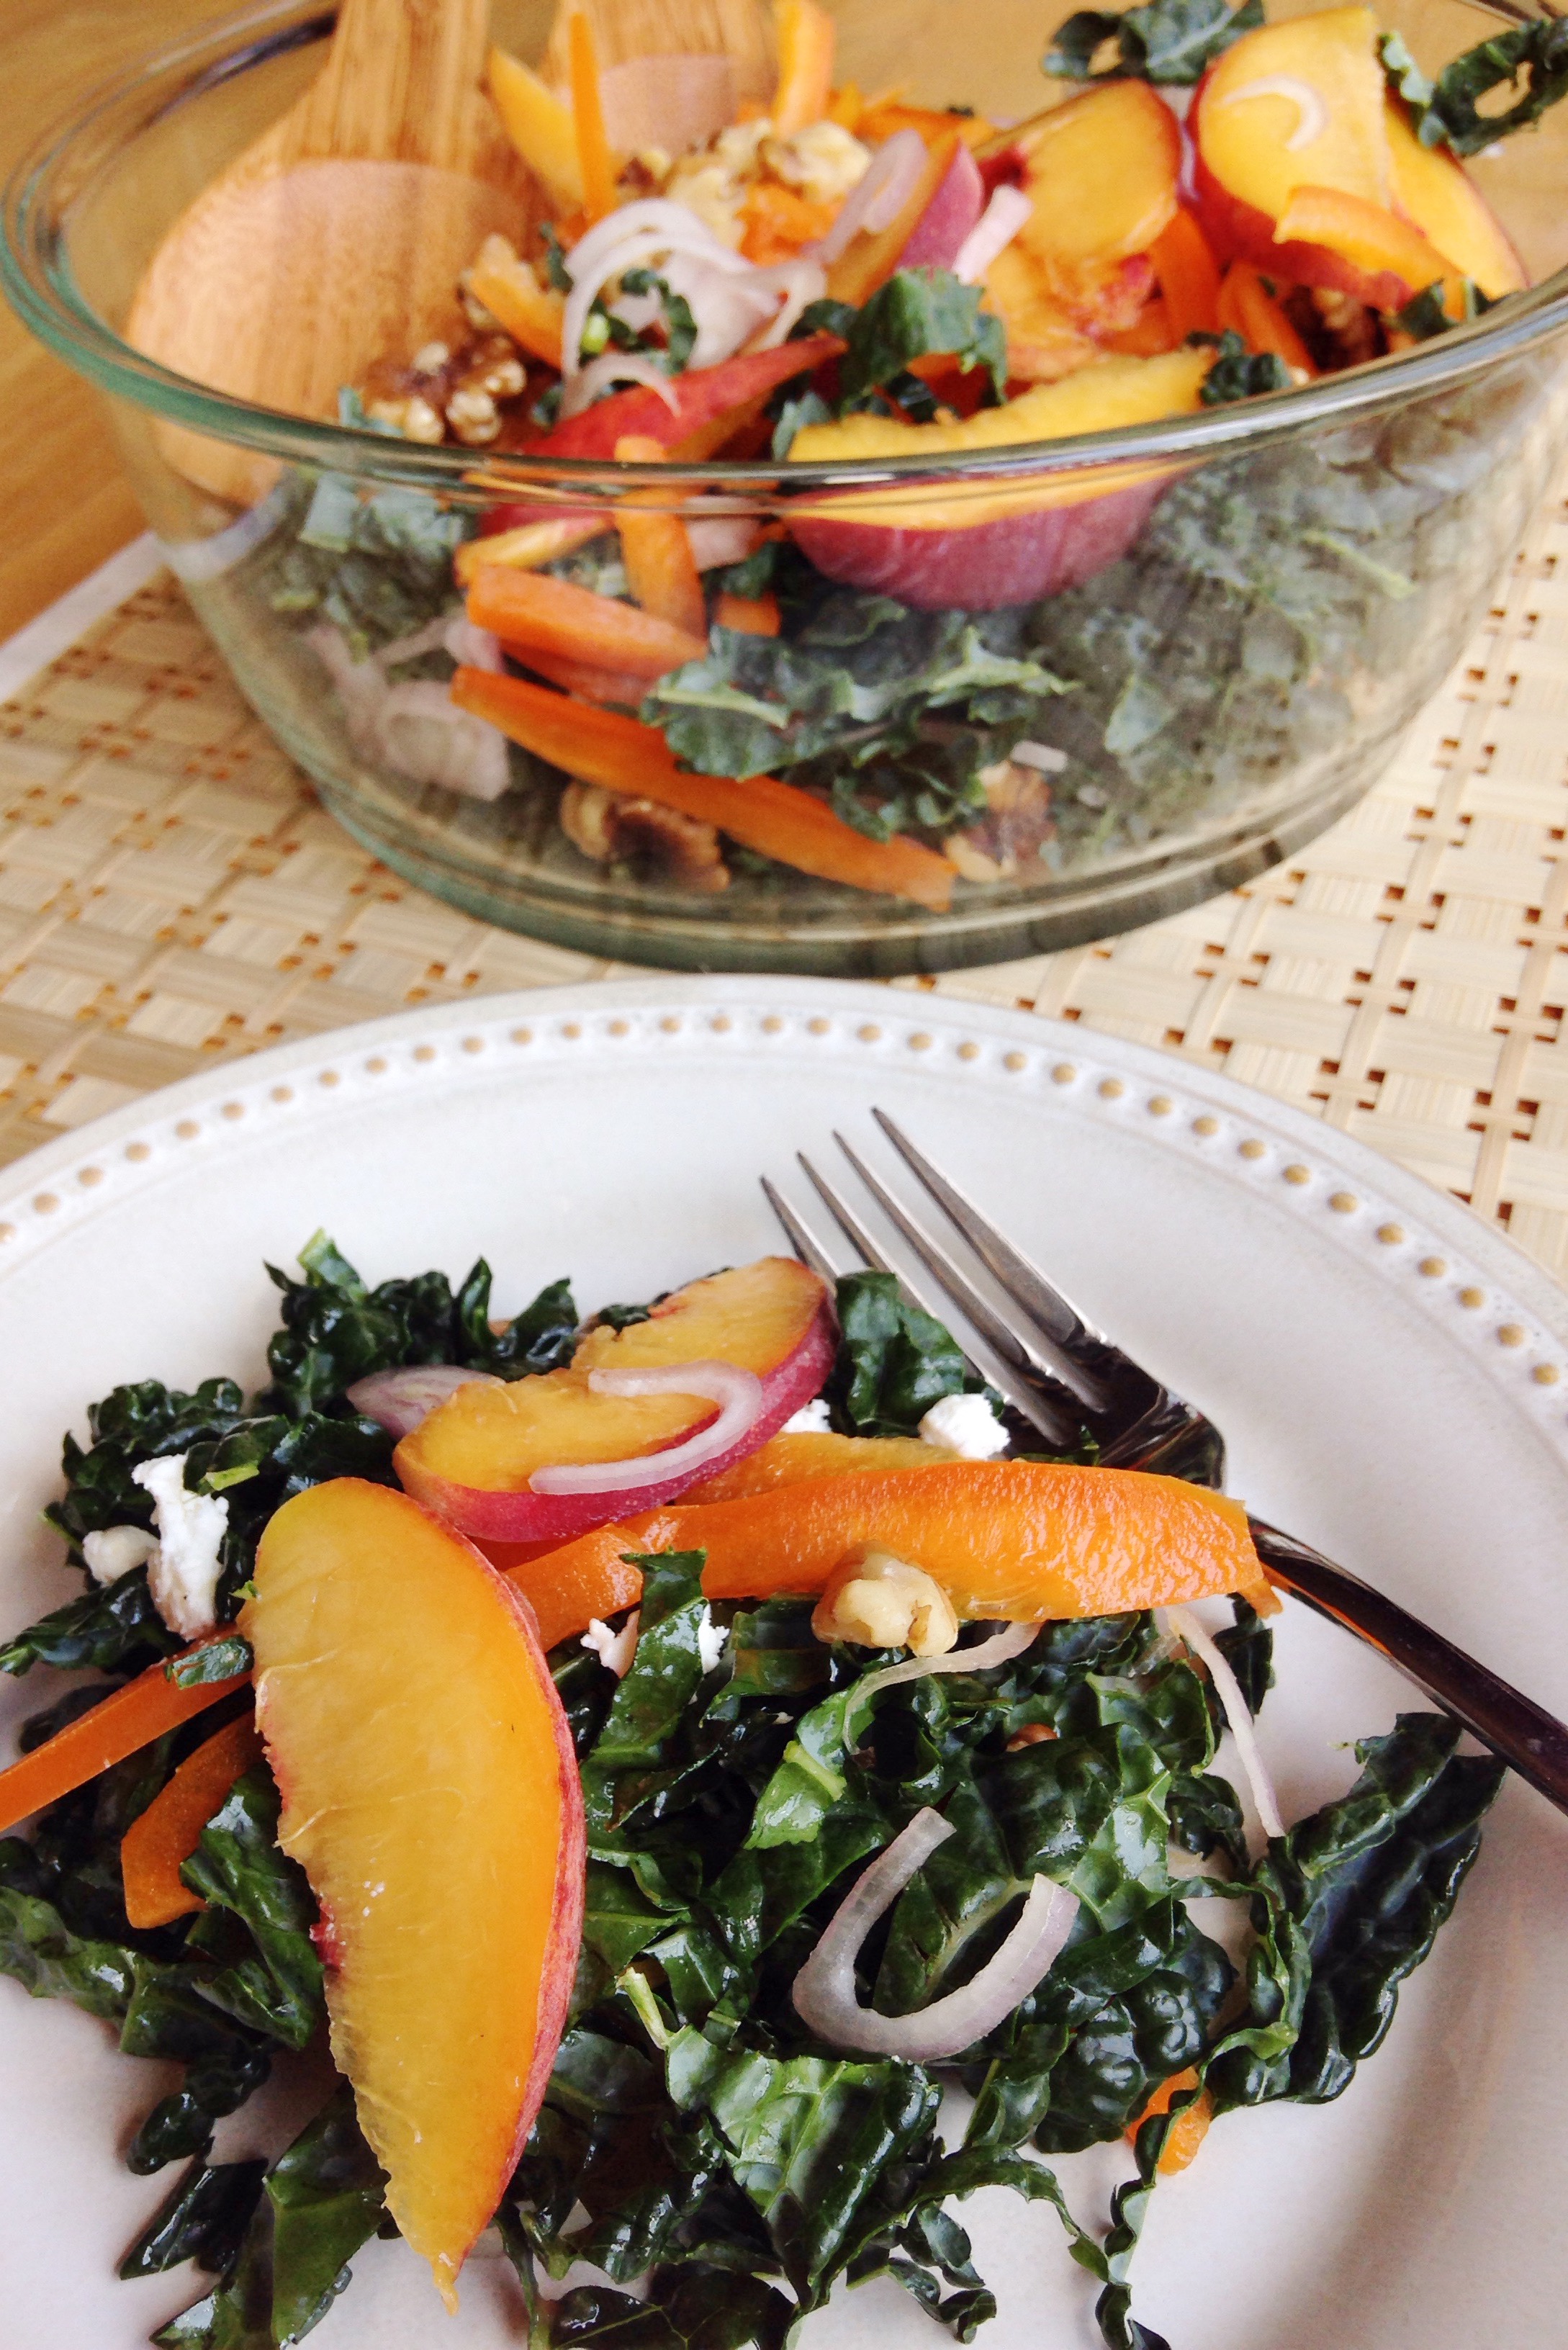
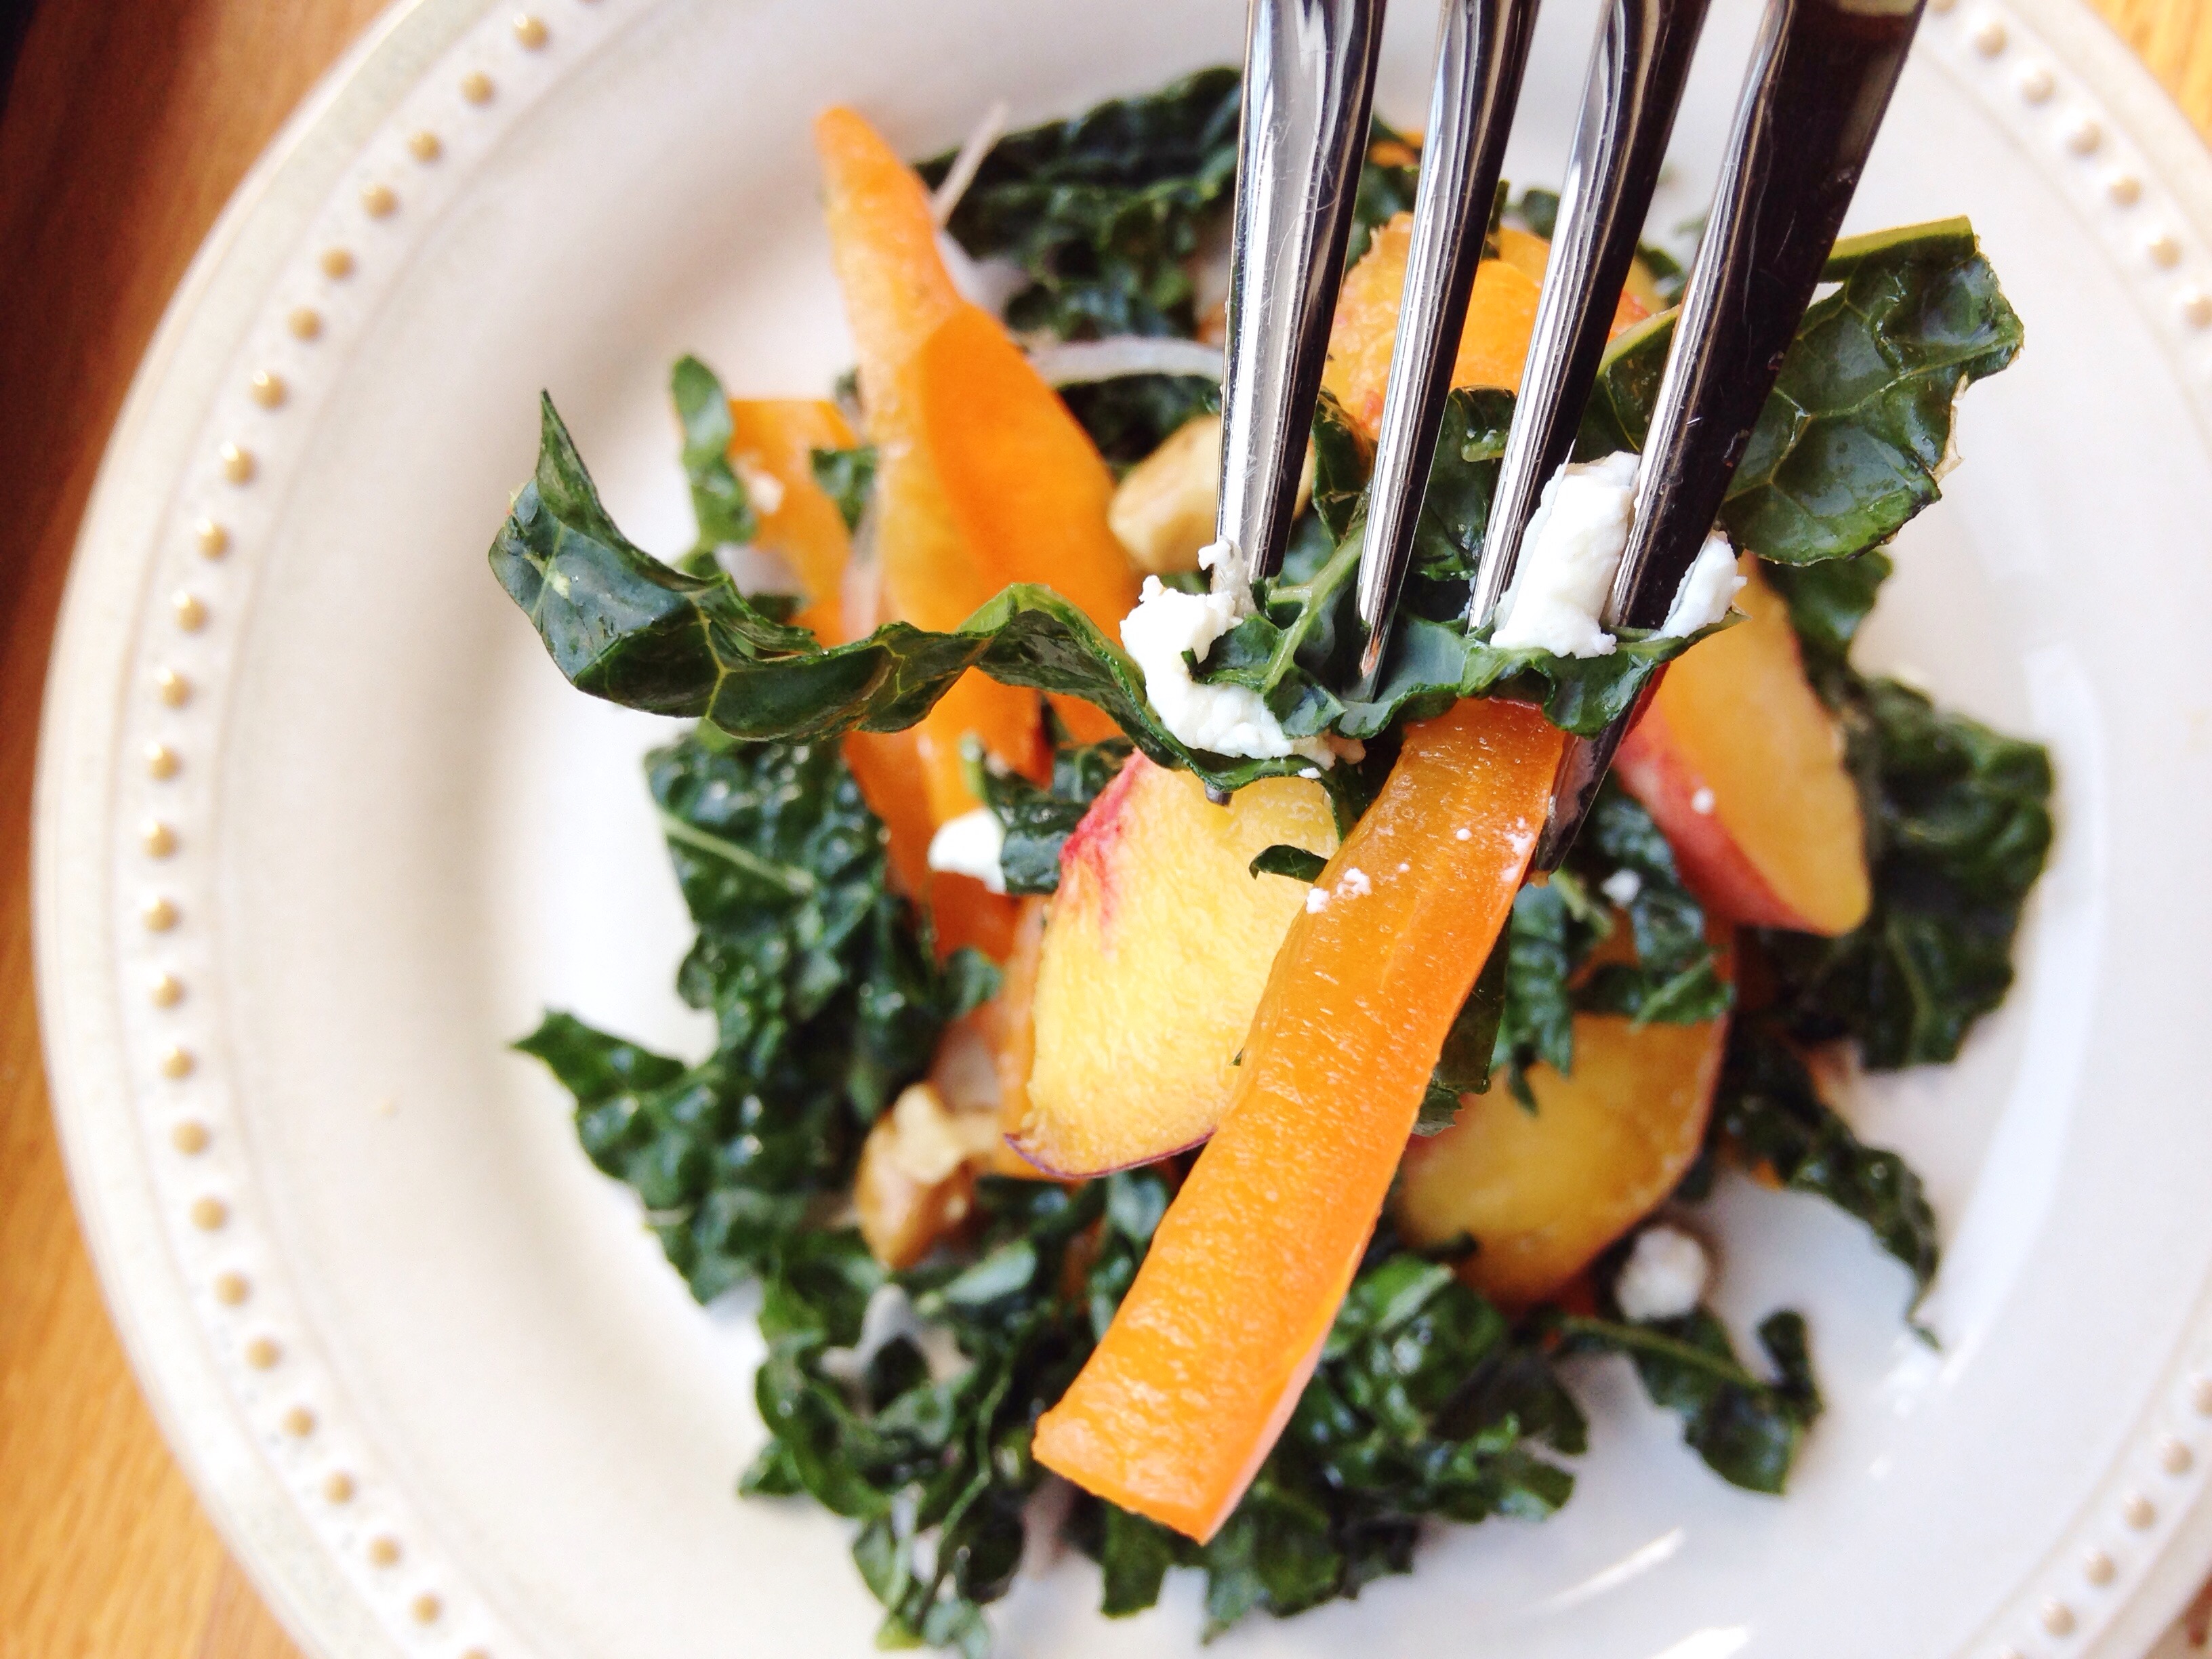
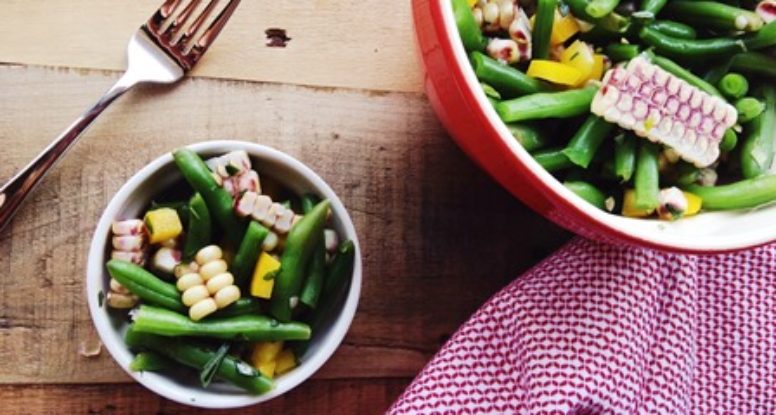
And here are the pretty pictures:


Thai Chickpea Burgers
- Yield: 10 1x
Description
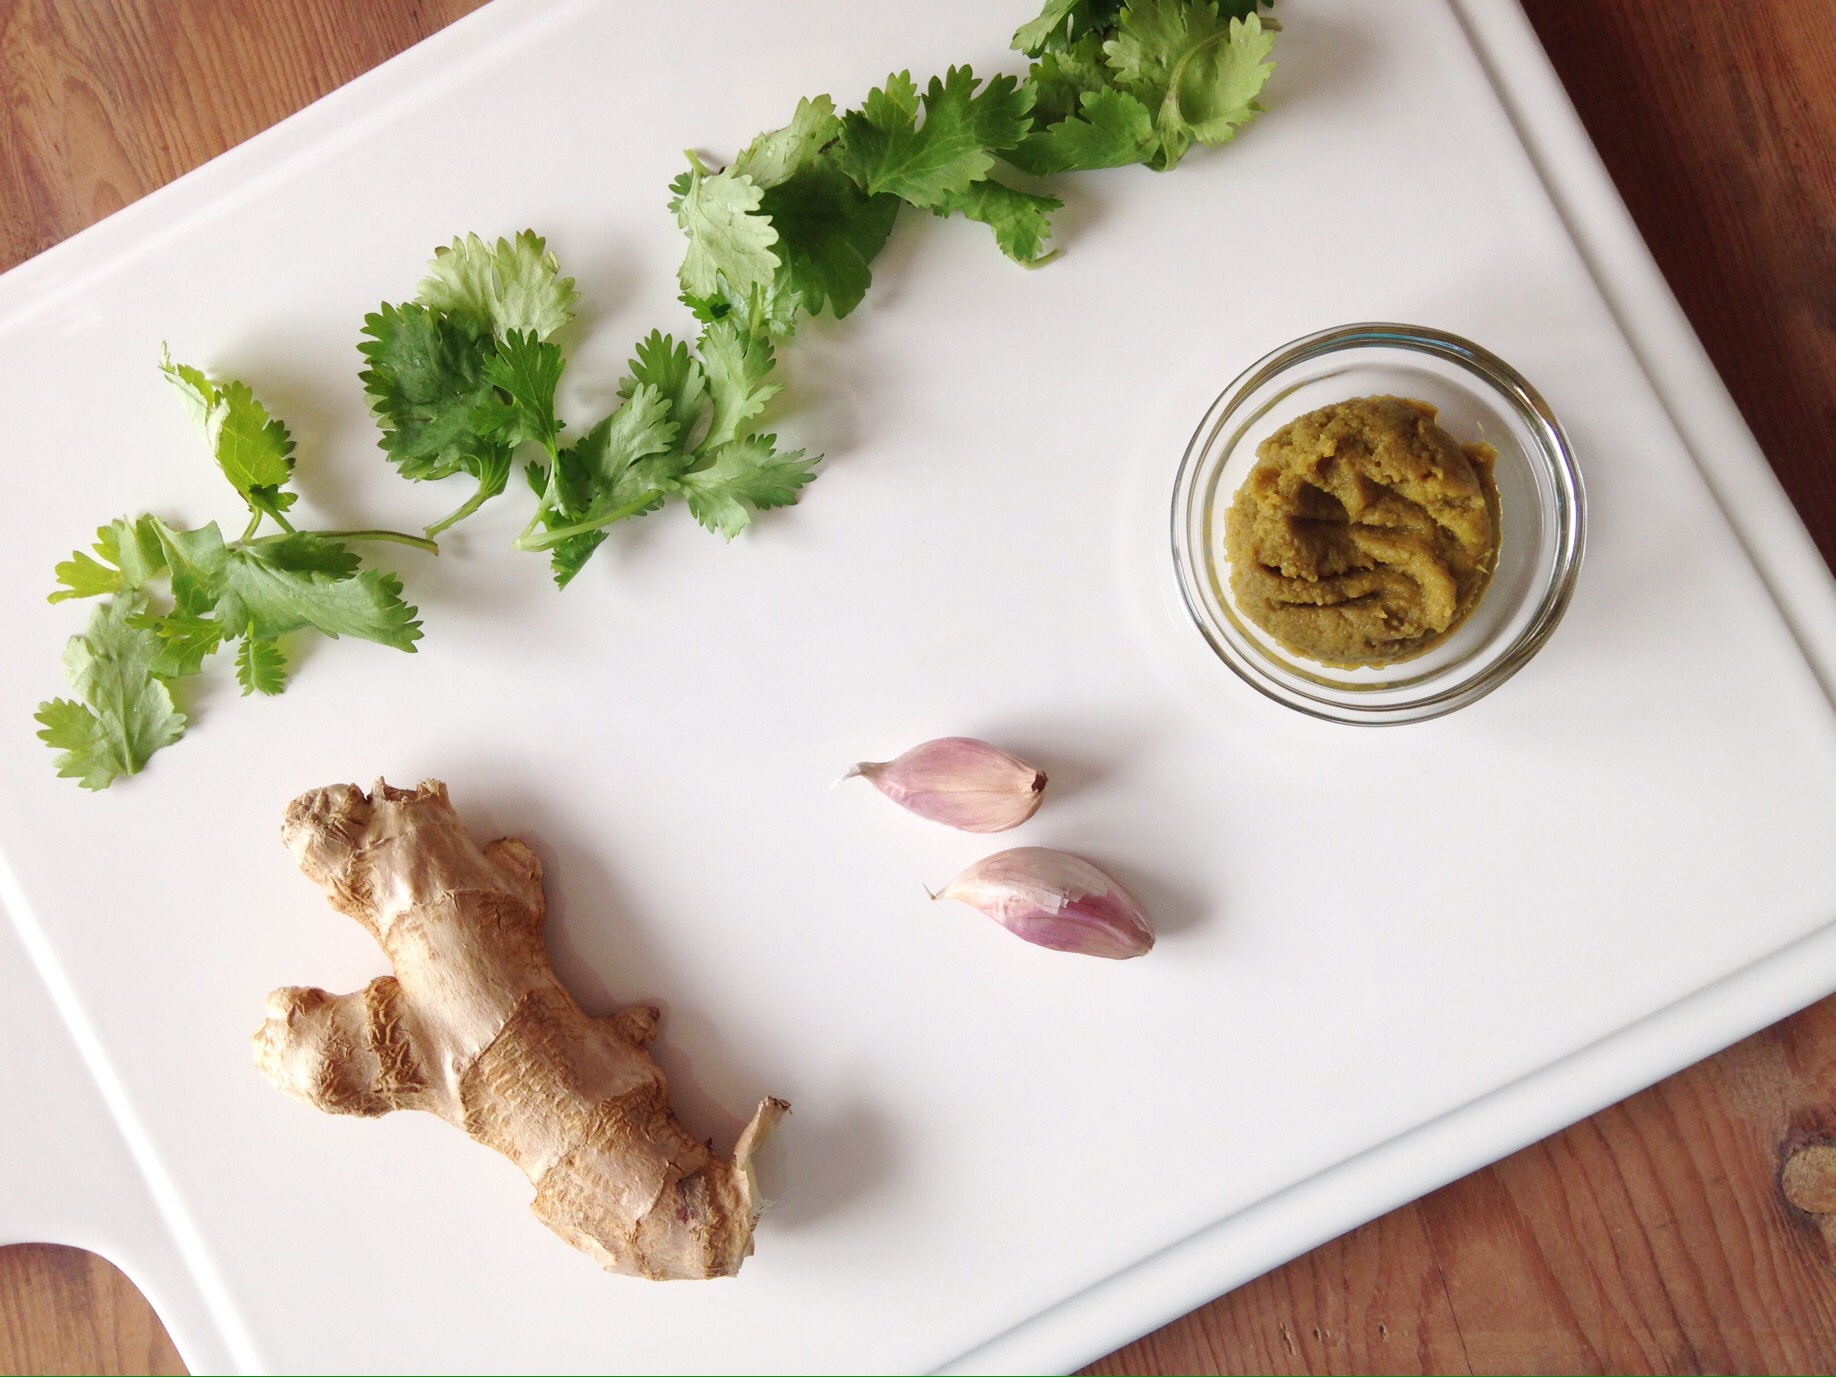
A chickpea burger that’s bursting with fresh garlic, ginger and Thai Green Curry paste then topped with a refreshing lime-infused cabbage slaw.
Ingredients
For the slaw
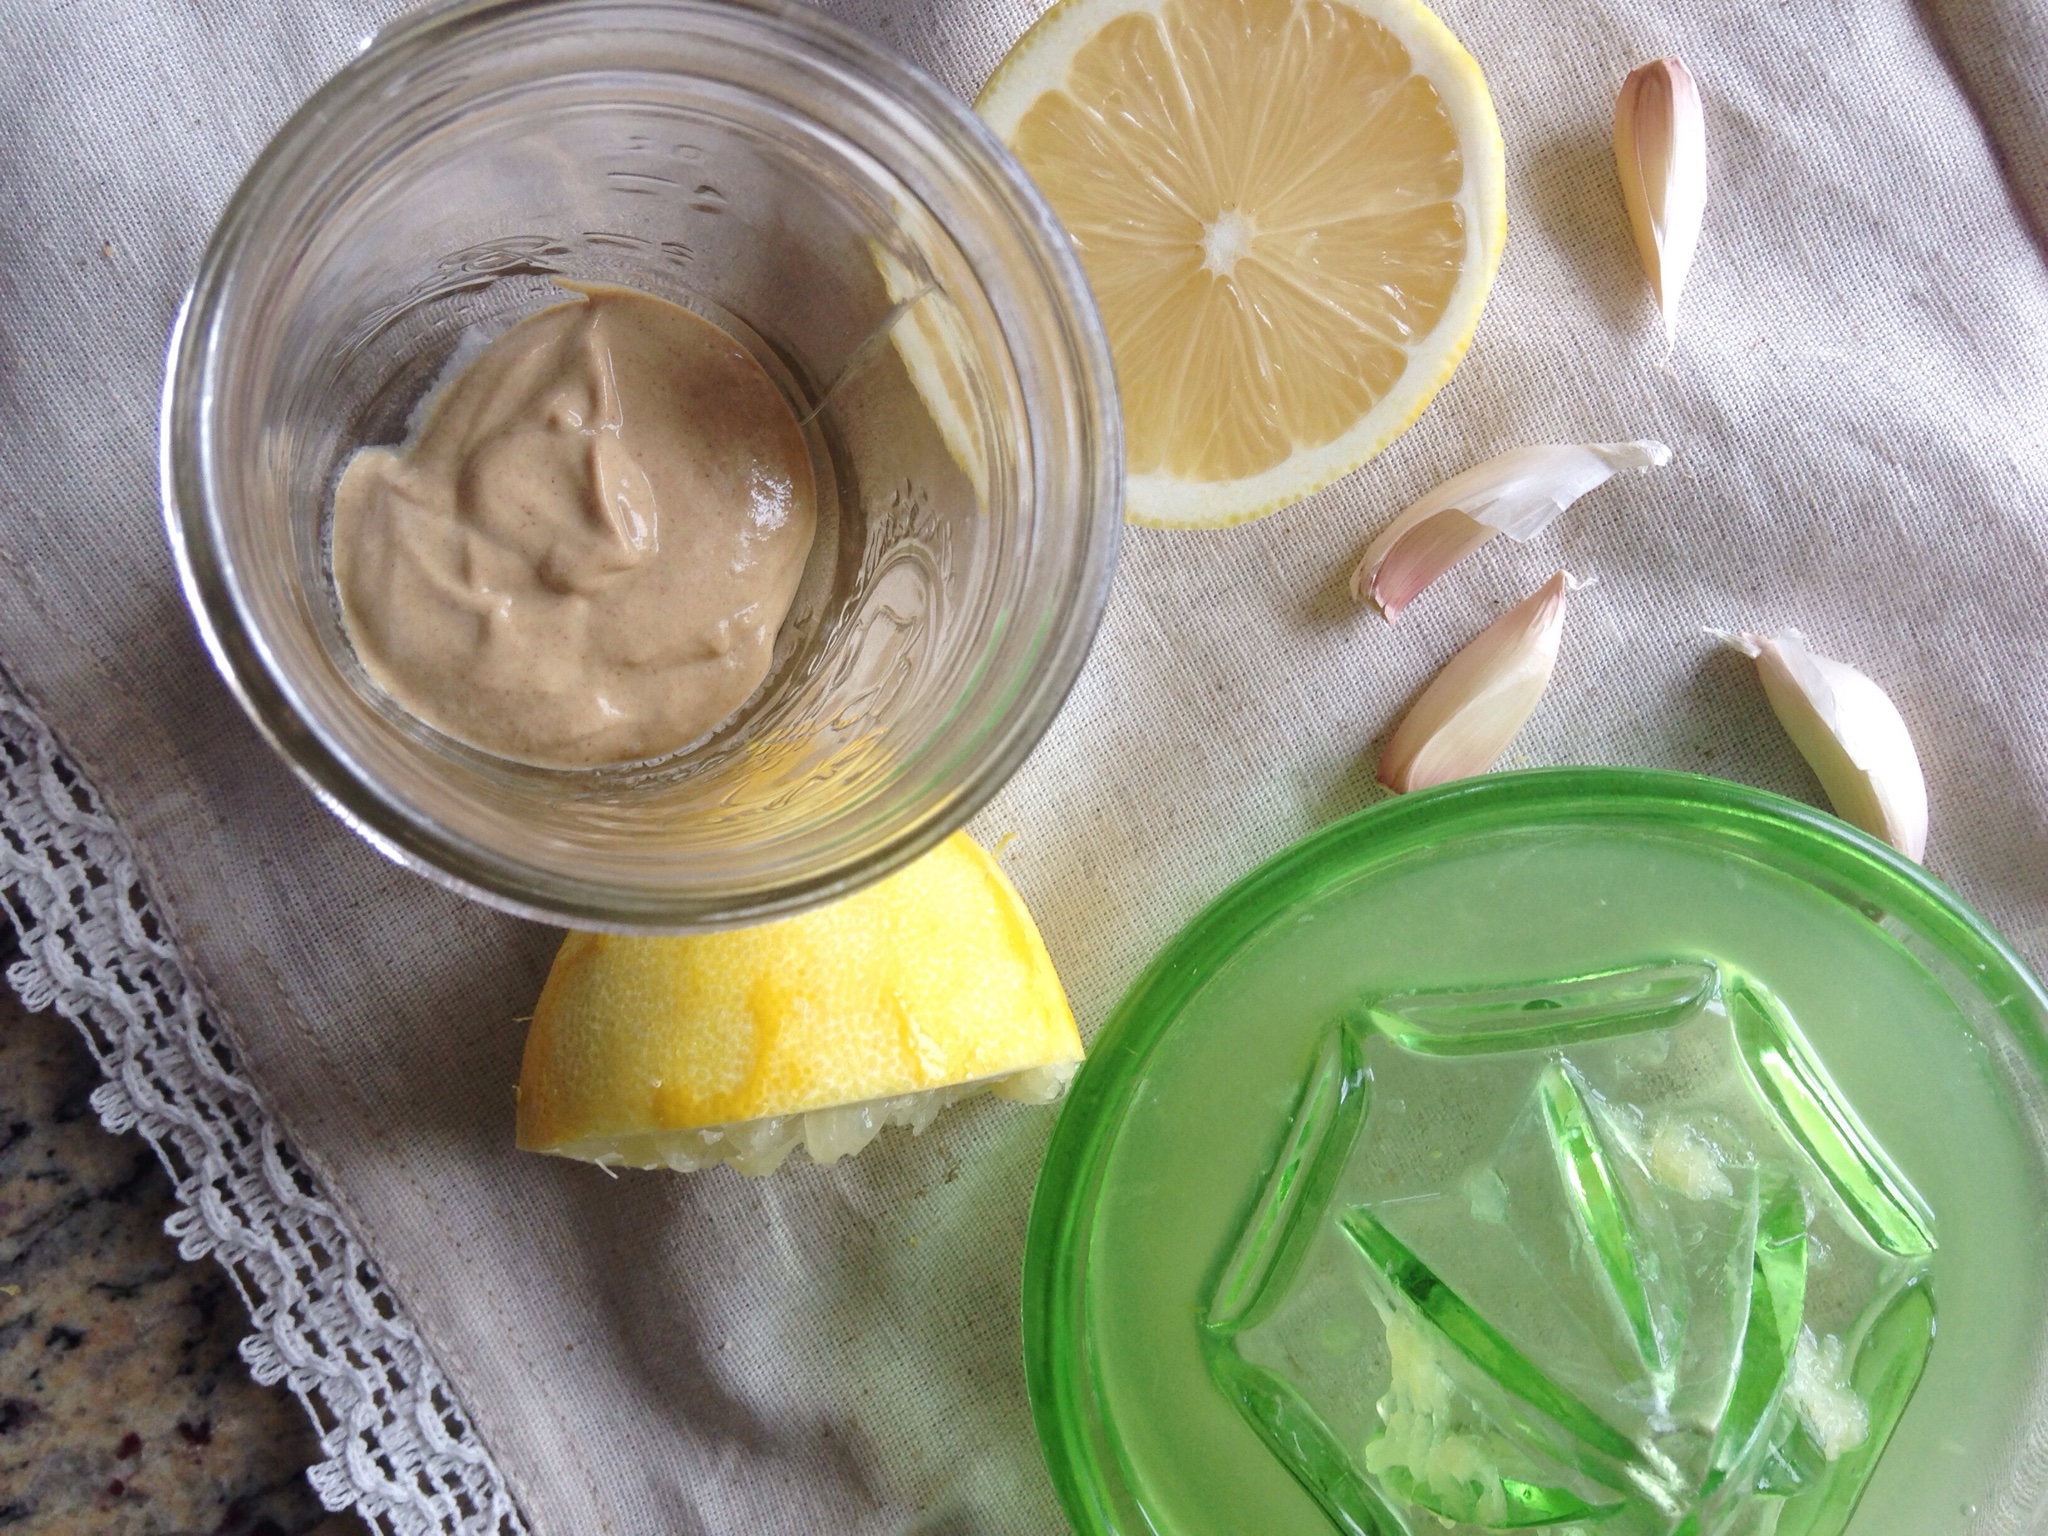
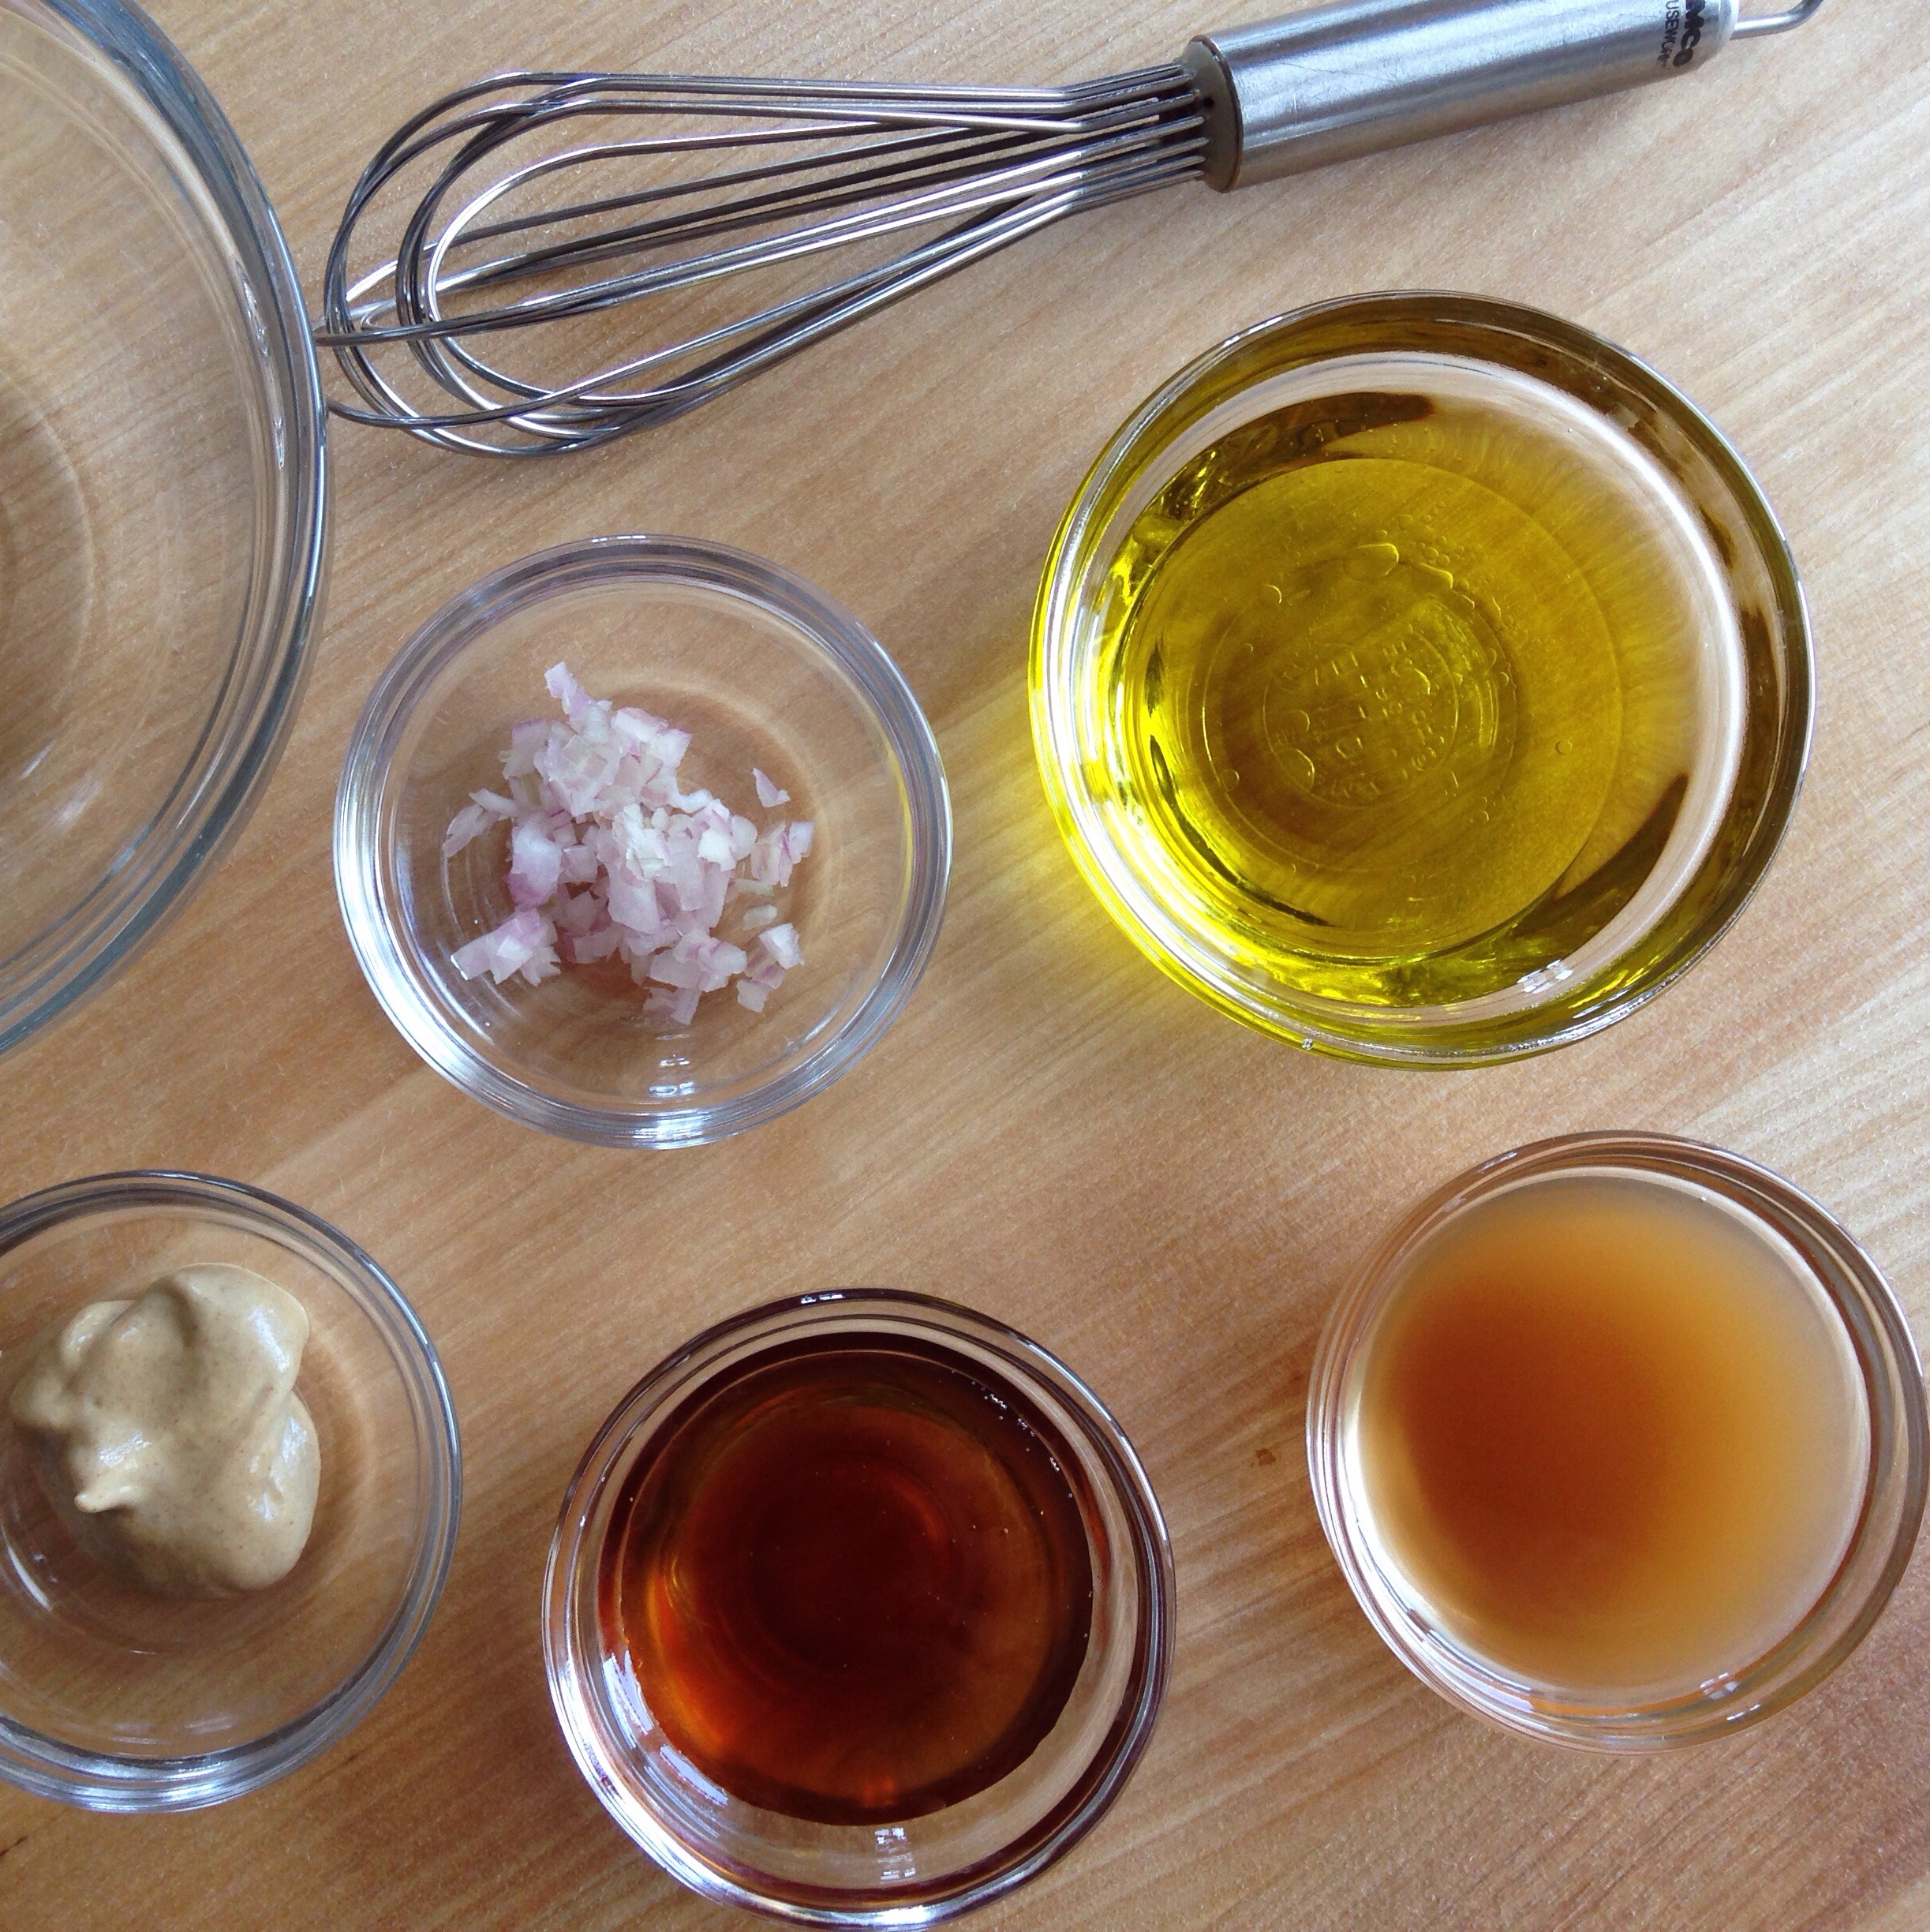
- 2 teaspoons Dijon mustard
- 1/2 lime, zested and juiced
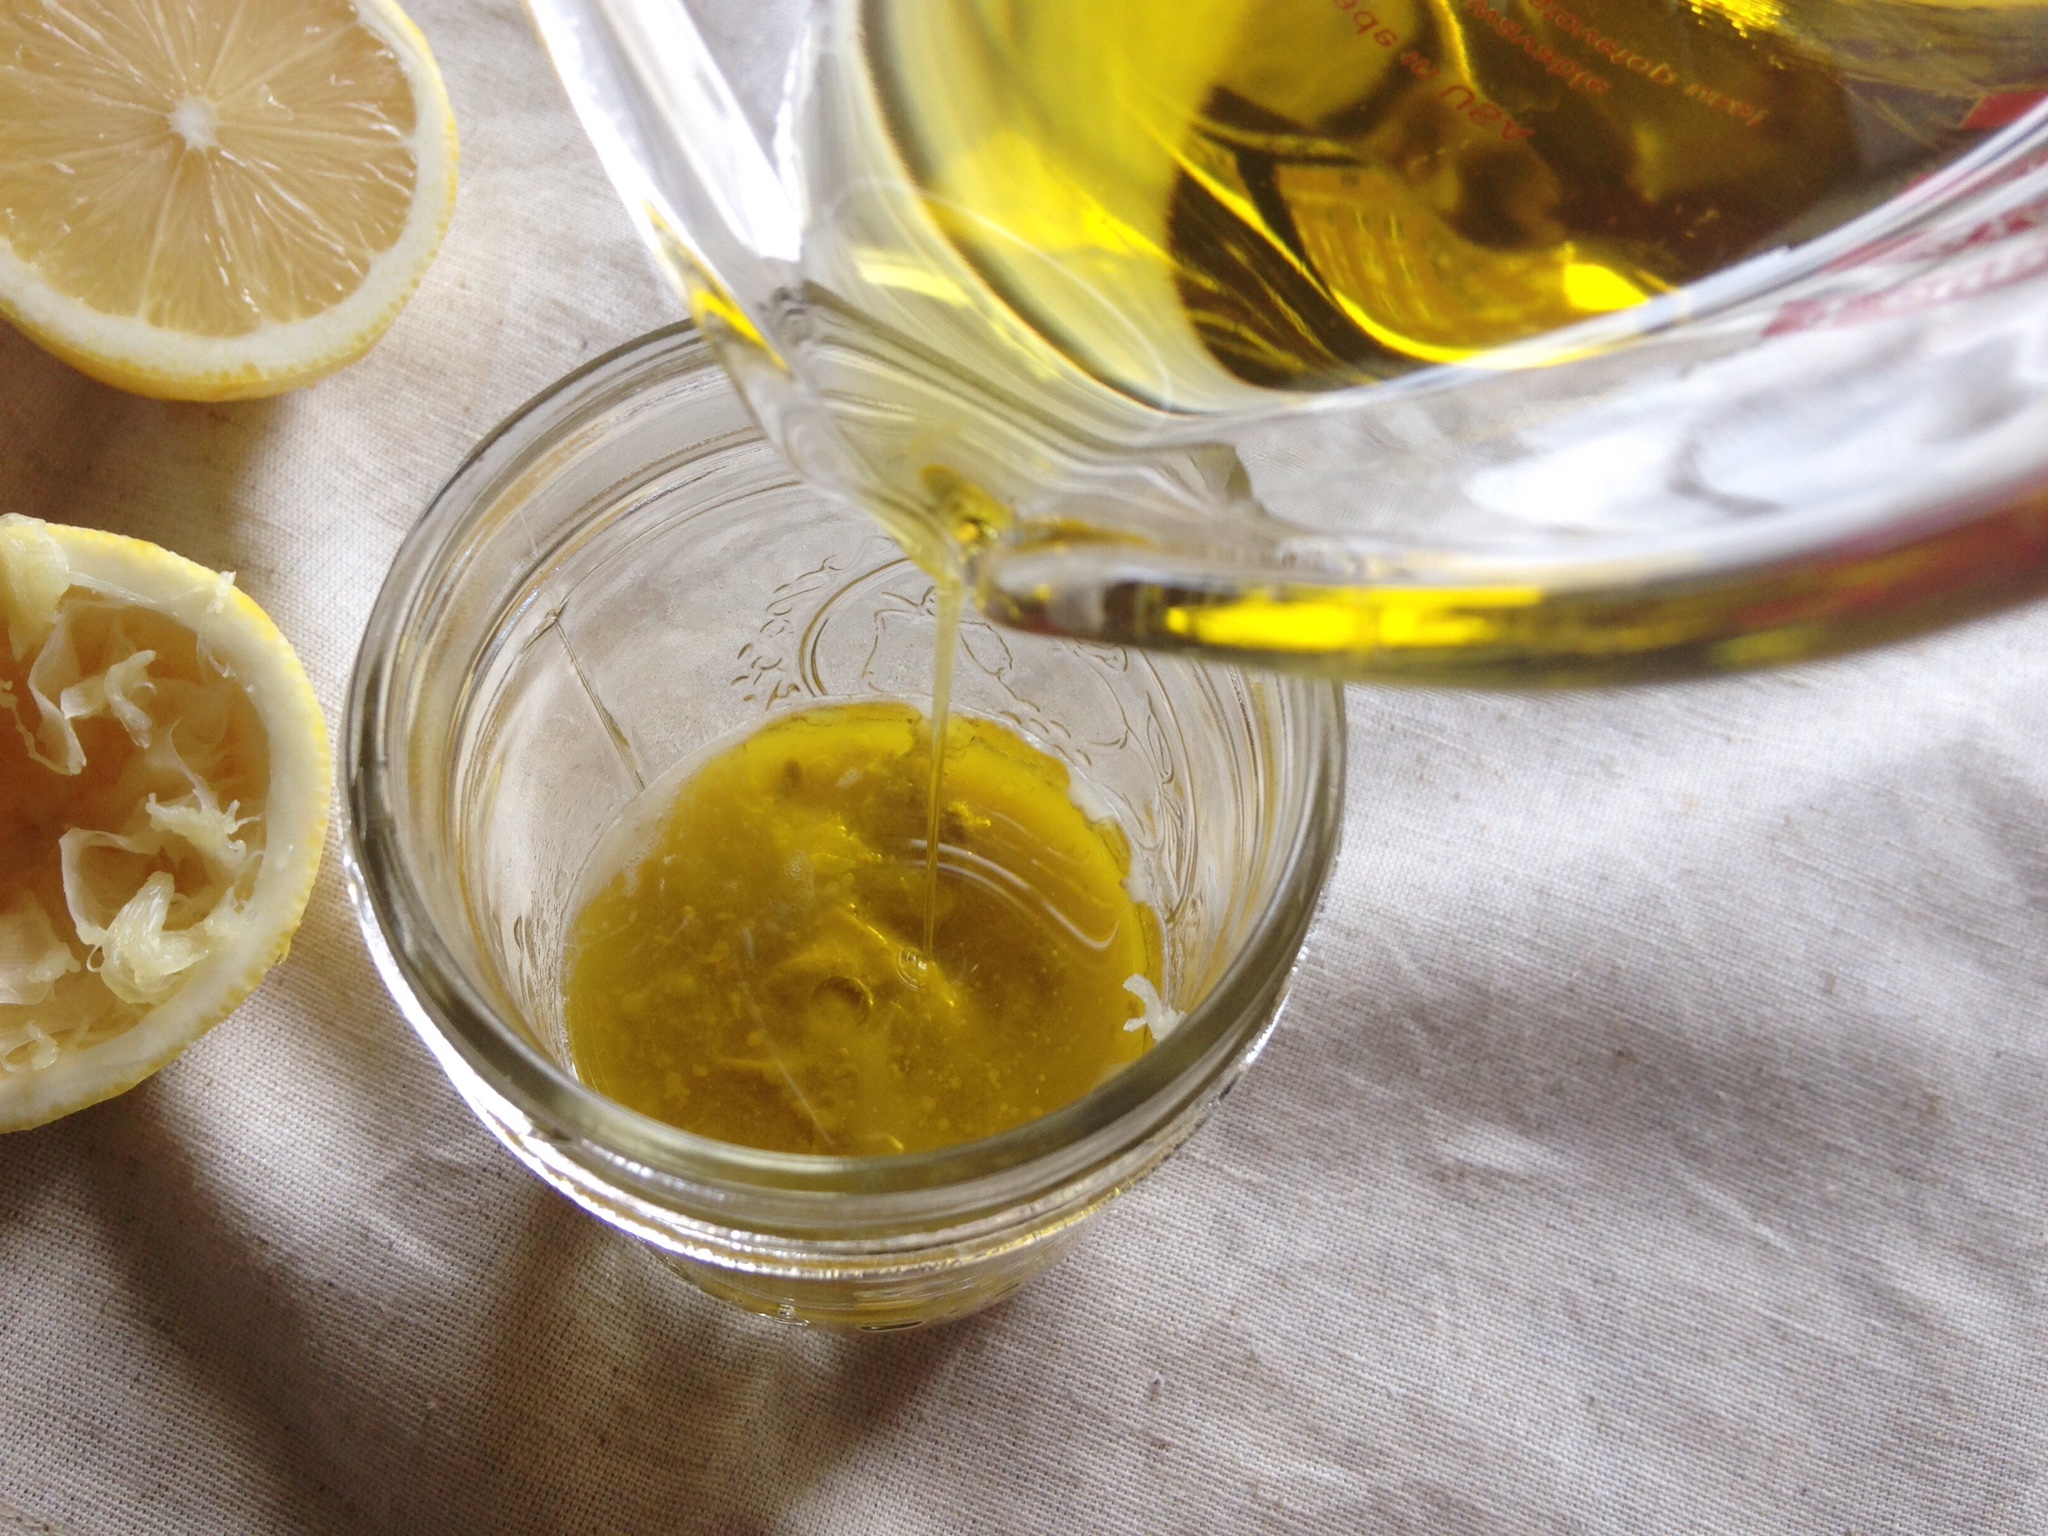
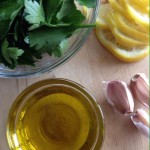
- 2 tablespoons olive oil
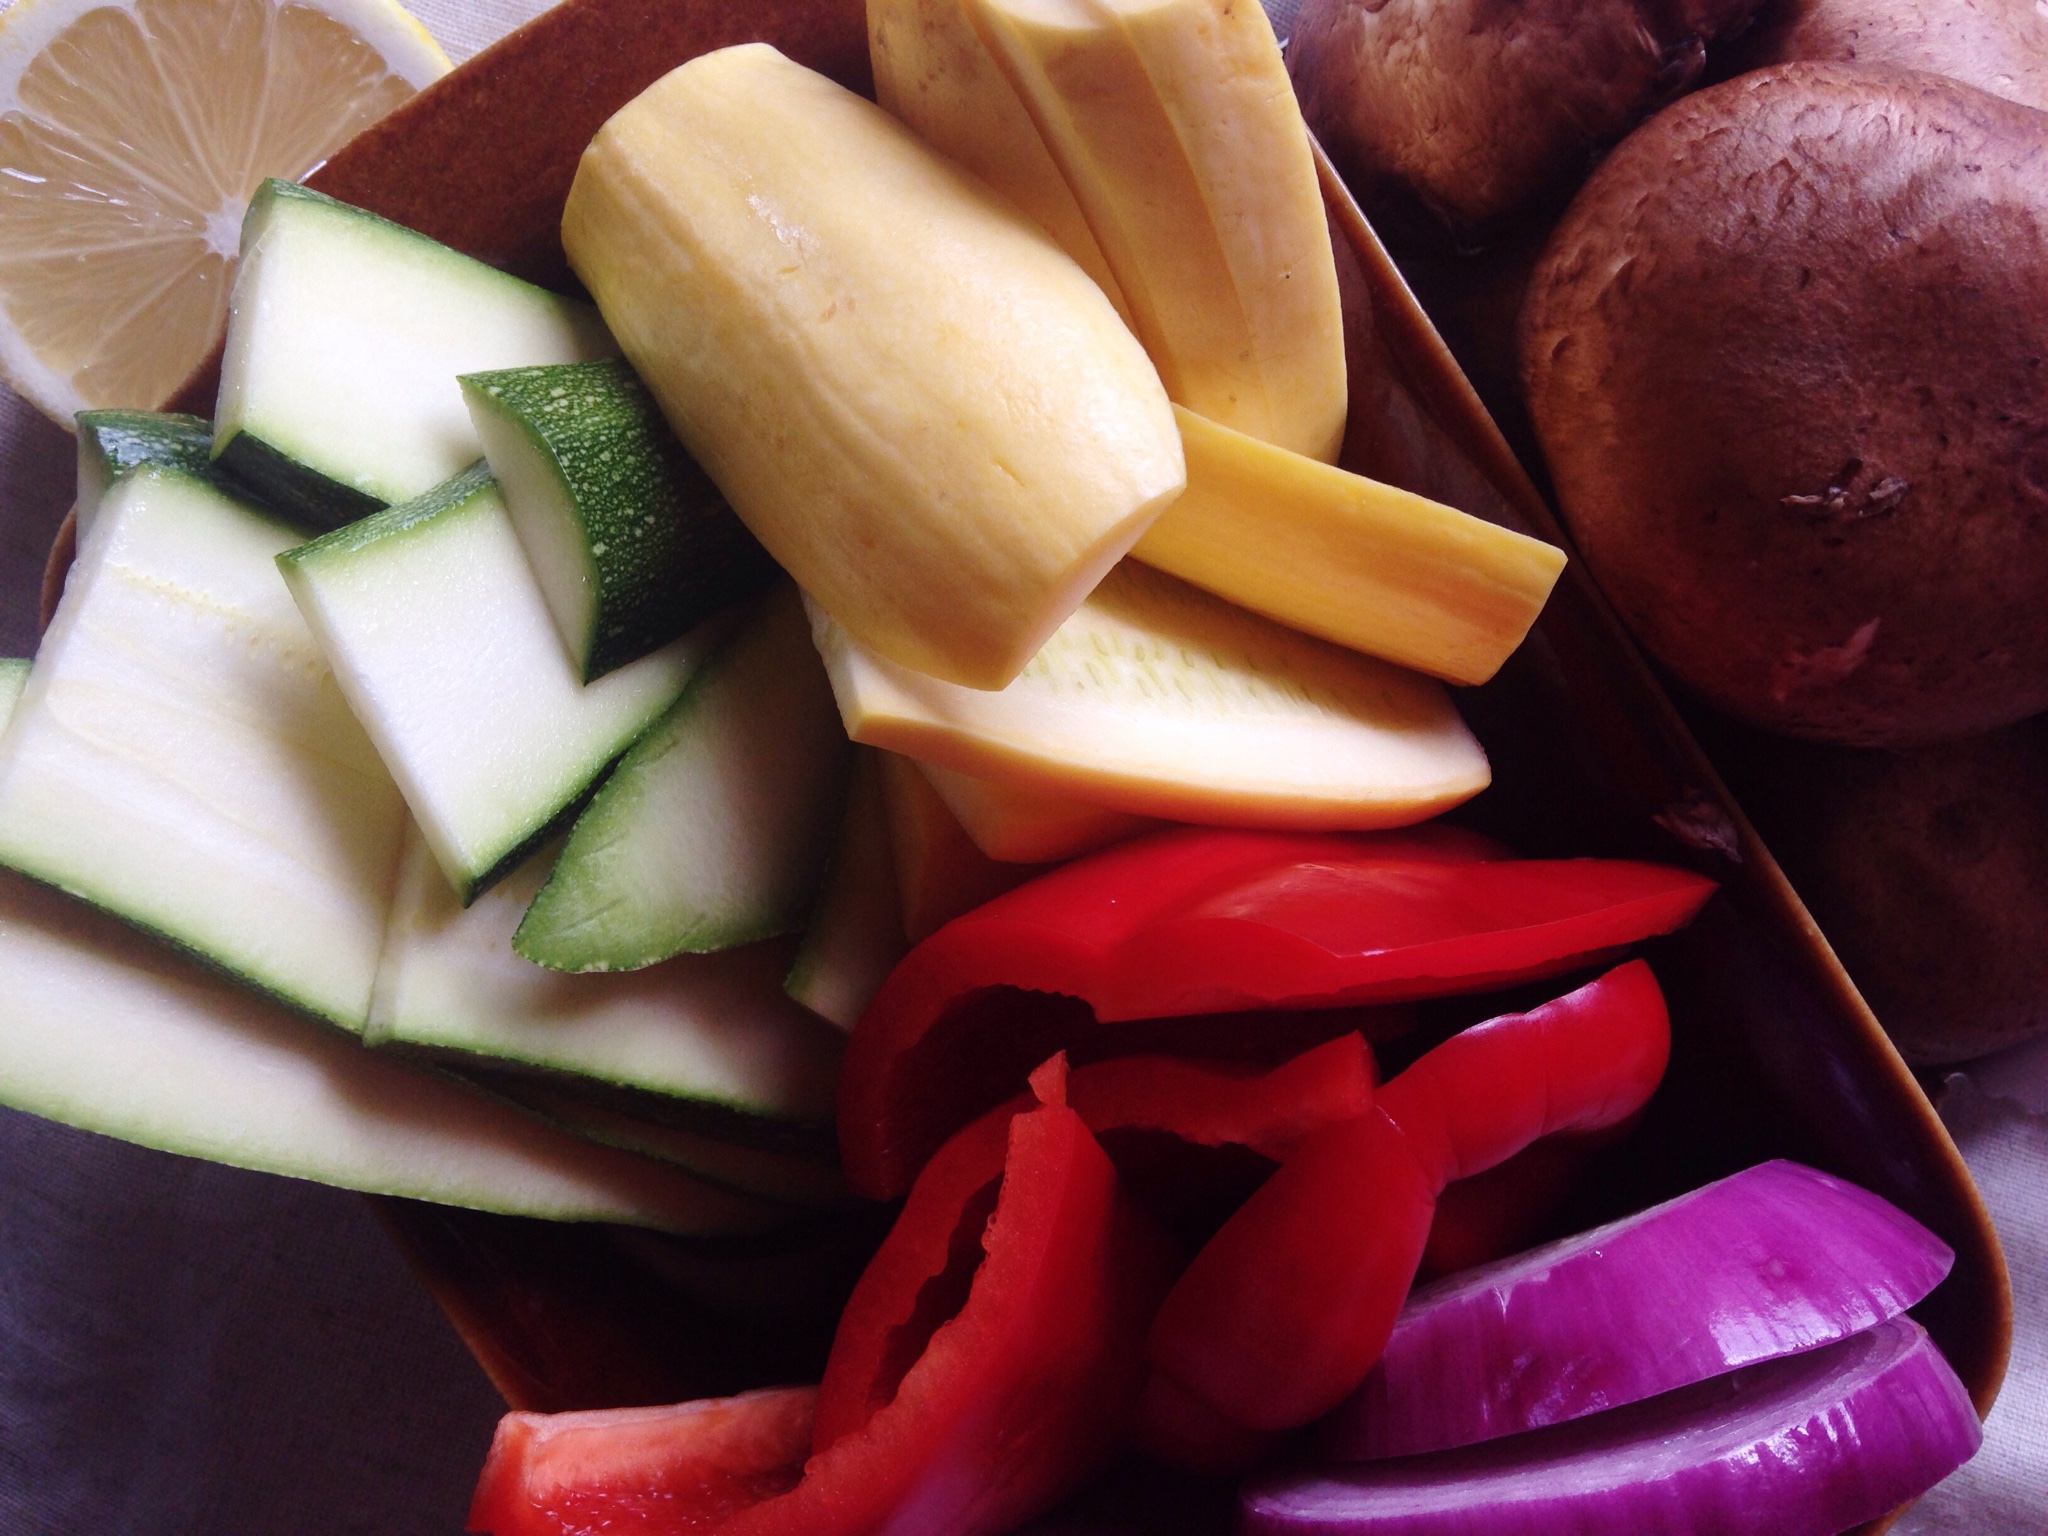
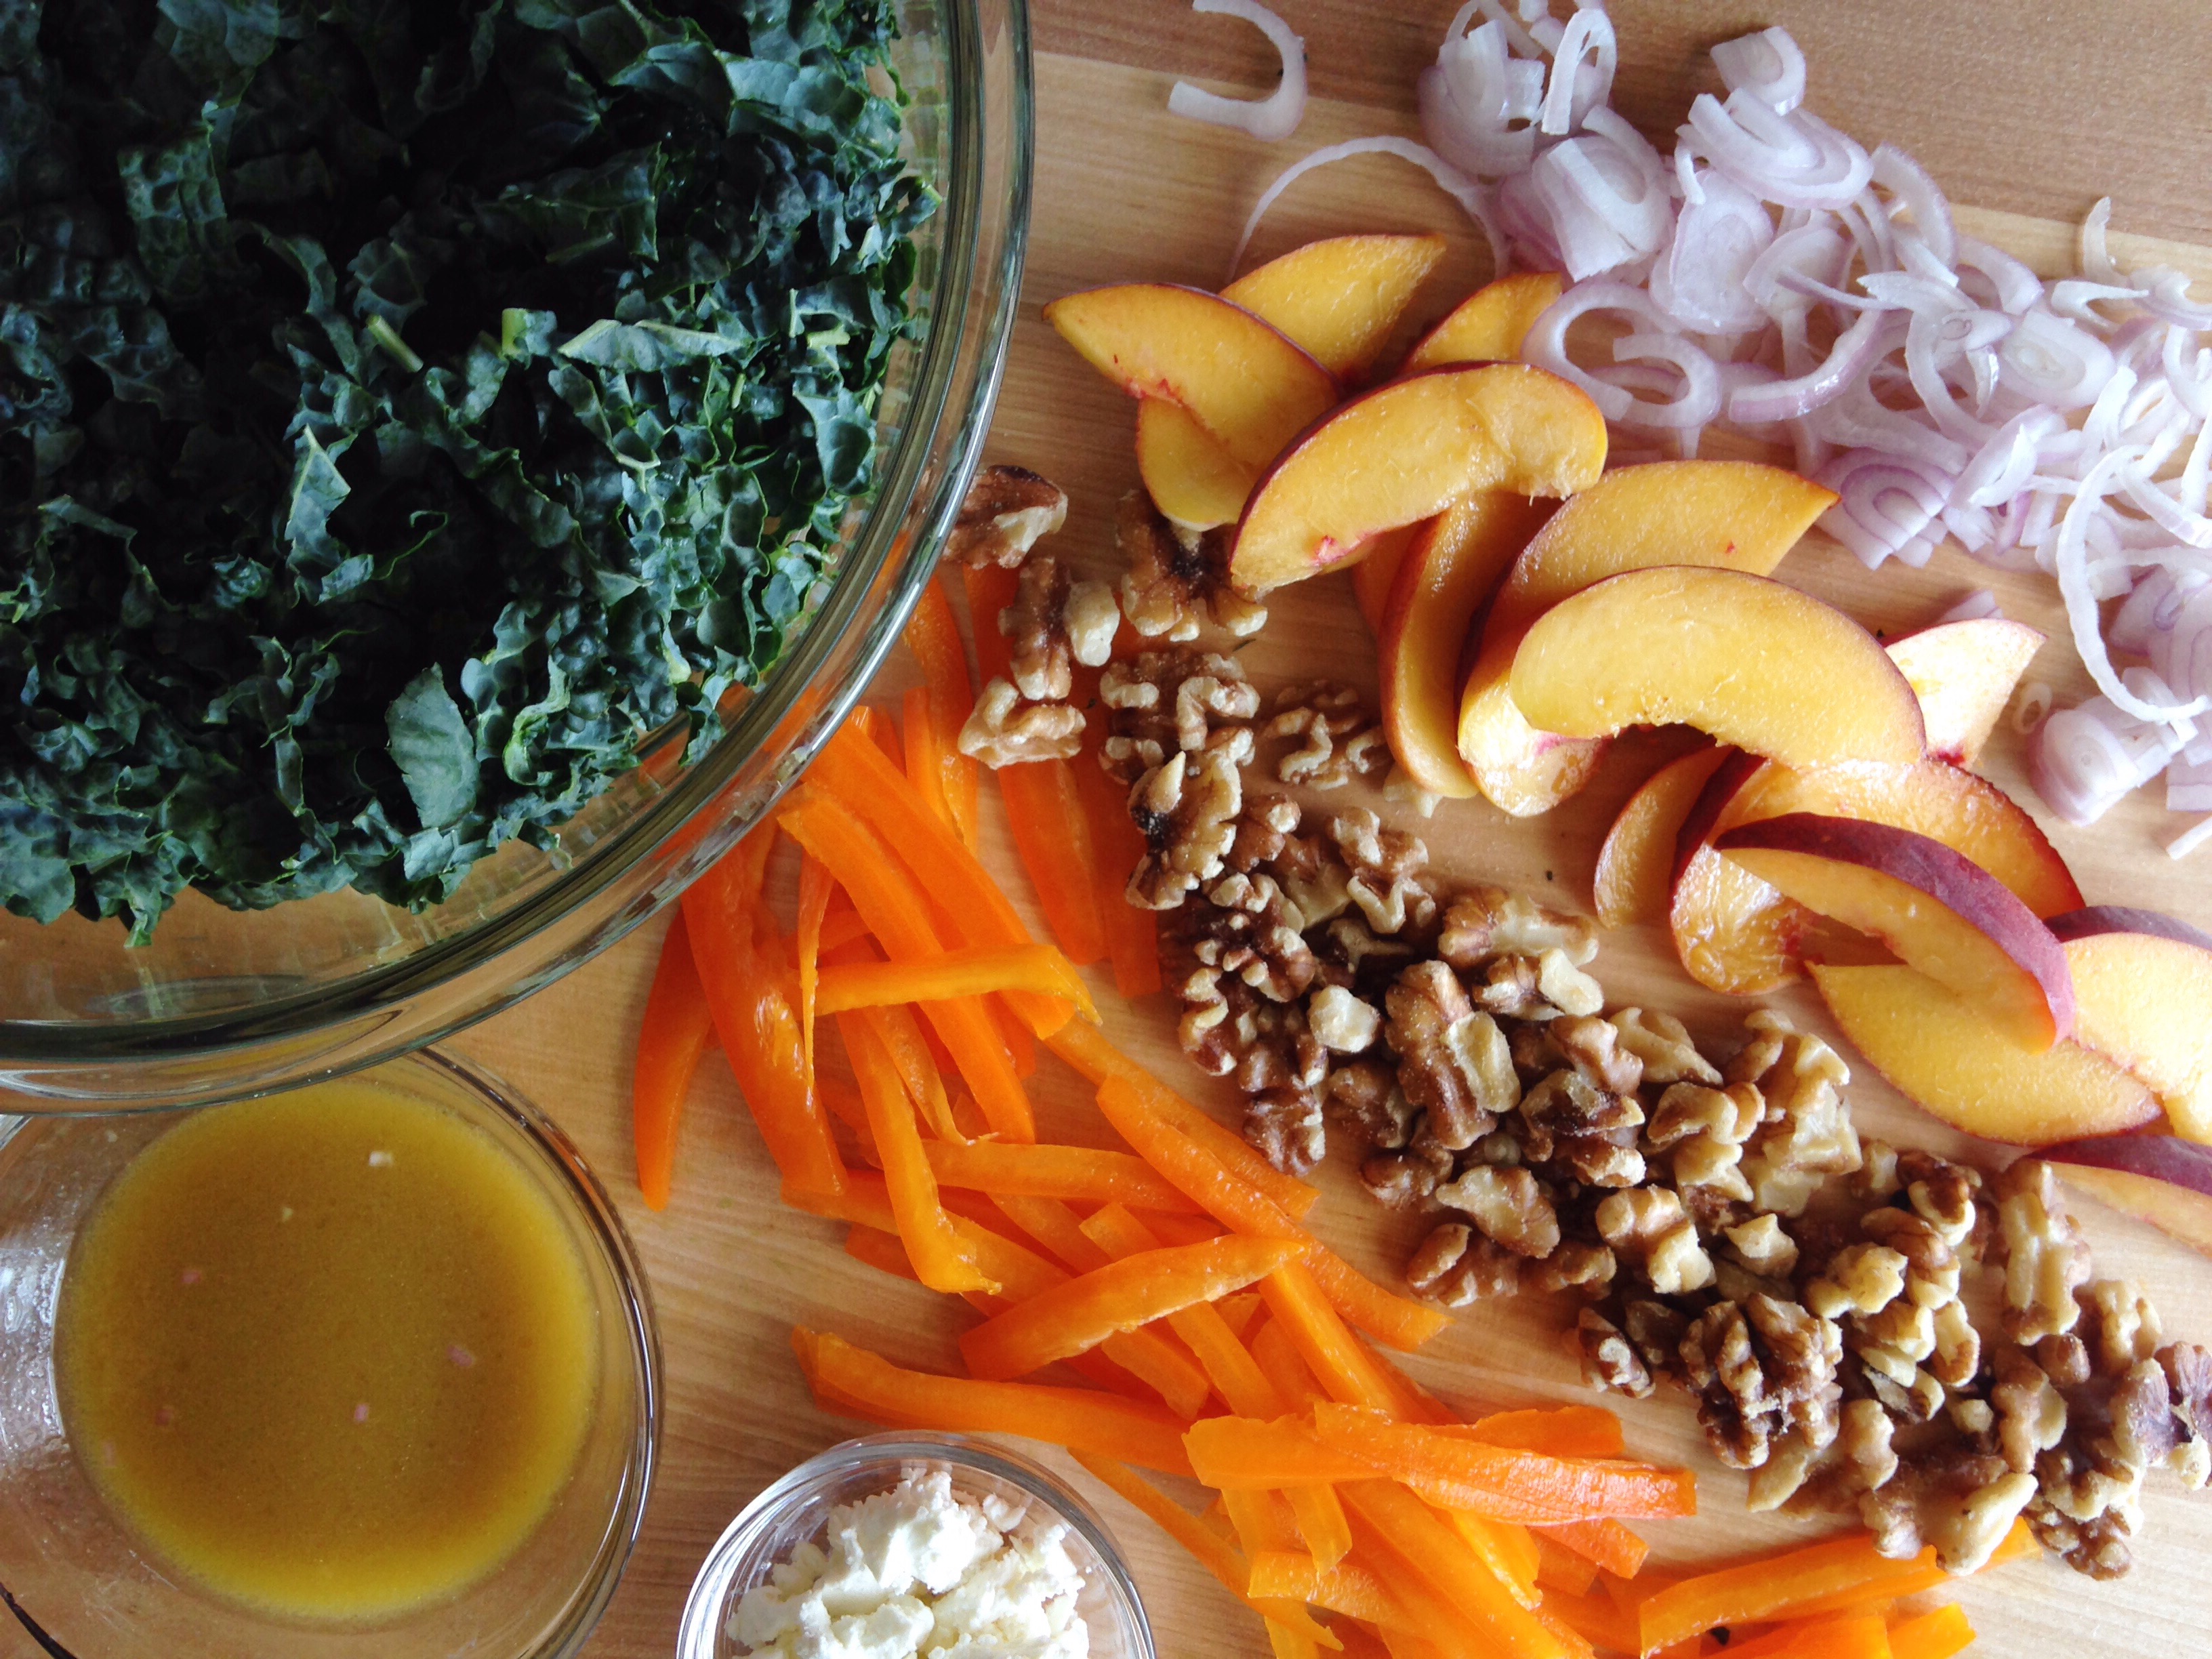
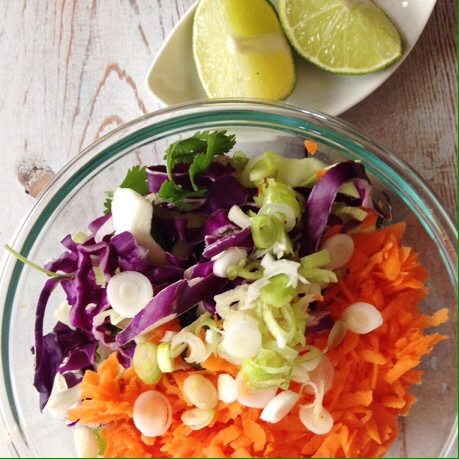
- 1 1/2 cups shredded cabbage (red or green or both!)
- 1 cup shredded carrots
- 1 green onion, white part only, thinly sliced
- 1/4 cup cilantro leaves
For the burgers
- 1 15-ounce can chickpeas, drained and rinsed
- 1 15-ounce can white beans, drained and rinsed
- 1 large egg
- 1 tablespoon olive oil
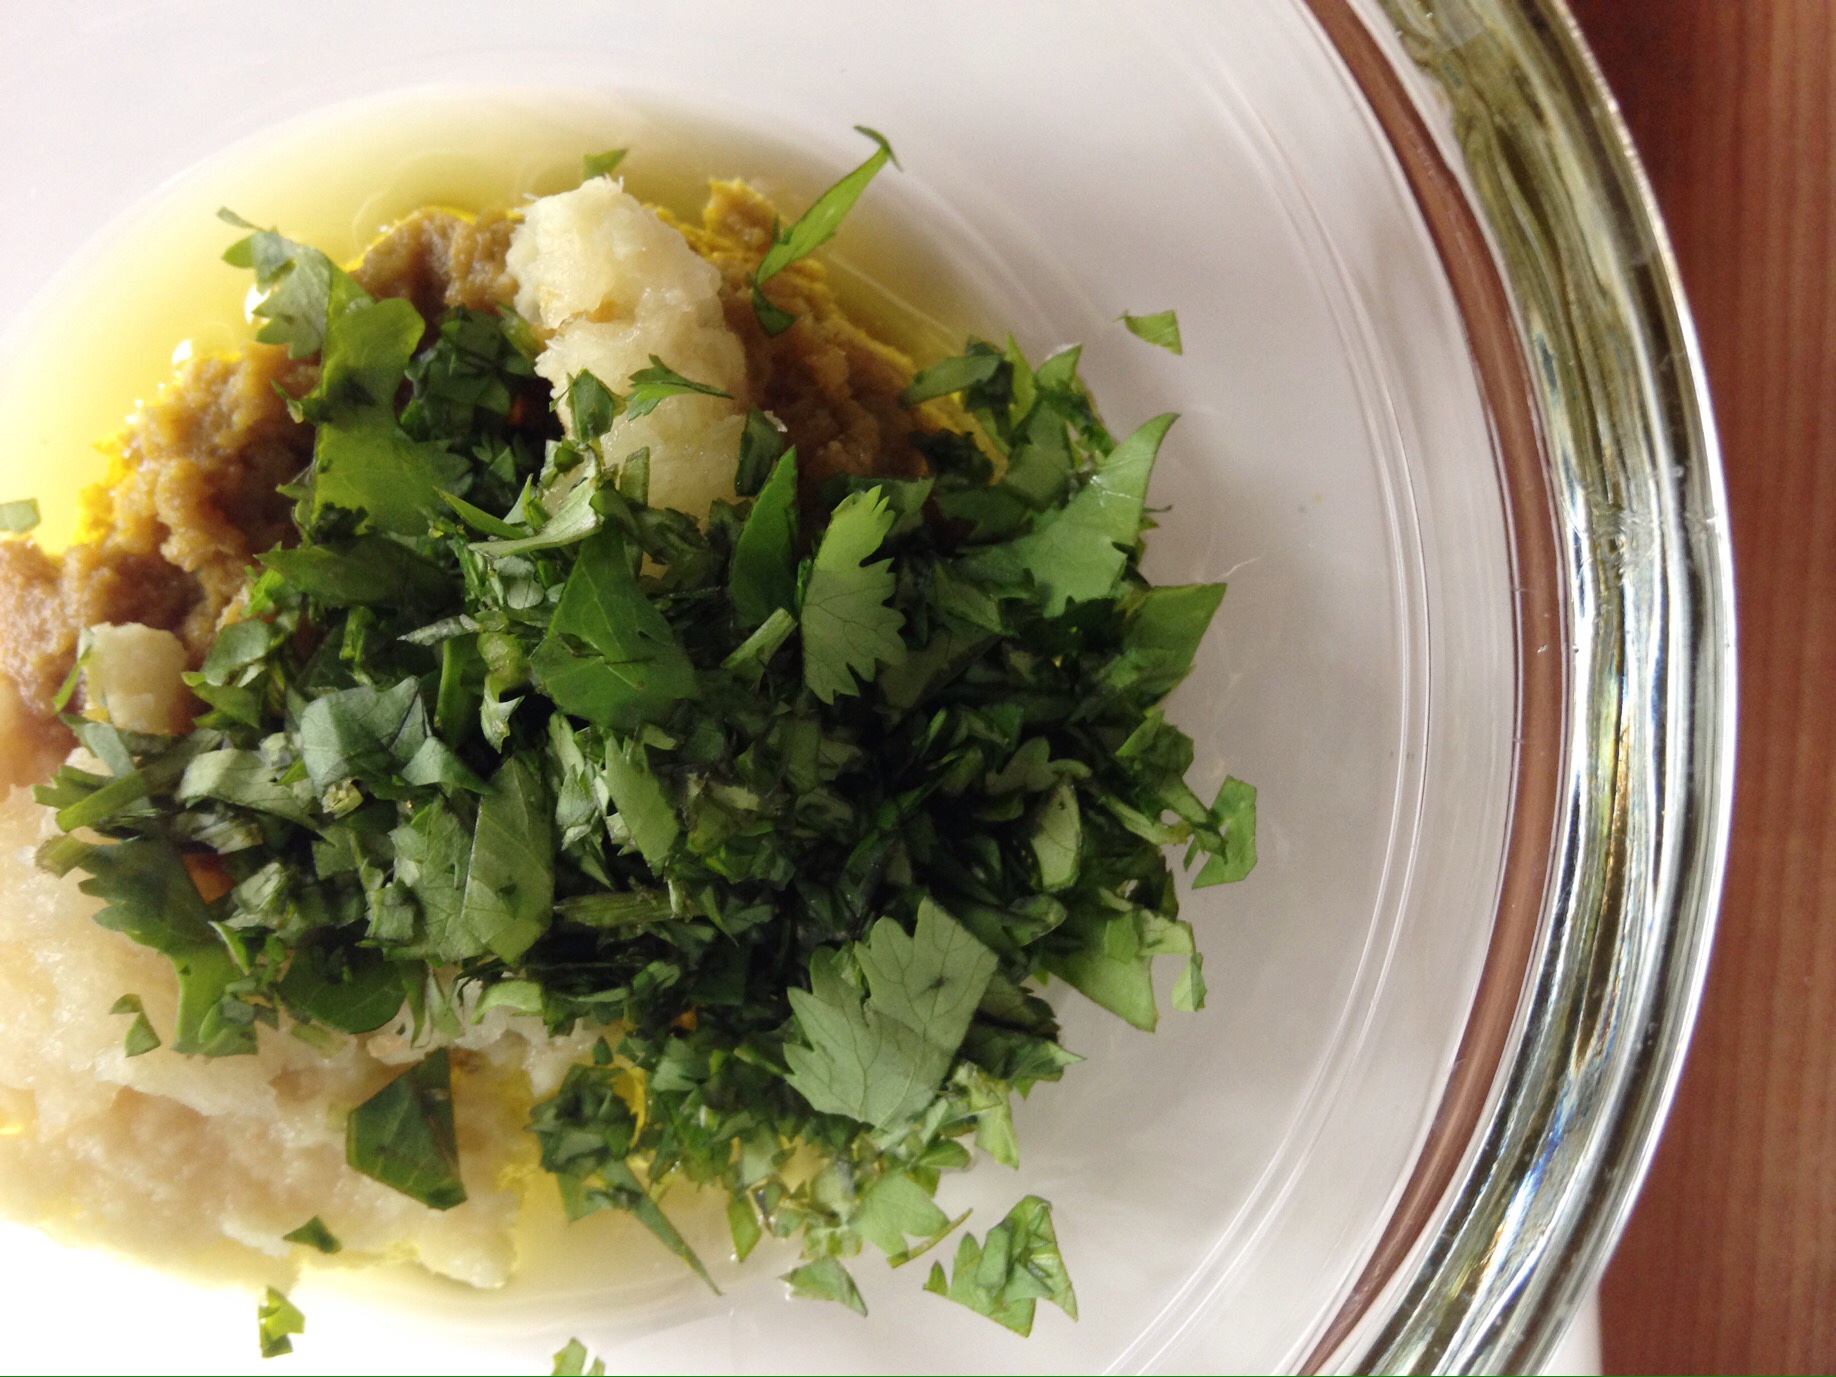
- 1/4 cup cilantro, chopped
- 1 tablespoon + 1 teaspoon thai green curry paste (and up to 2 tablespoons)
- 1 teaspoon grated fresh ginger
- 2 cloves garlic, grated
- 1/4 teaspoon sea salt
- 3 tablespoons plain bread crumbs
- 4 teaspoons olive oil, divided
- 10 small whole wheat hamburger buns or dinner rolls, split in half and toasted
Instructions
For the slaw
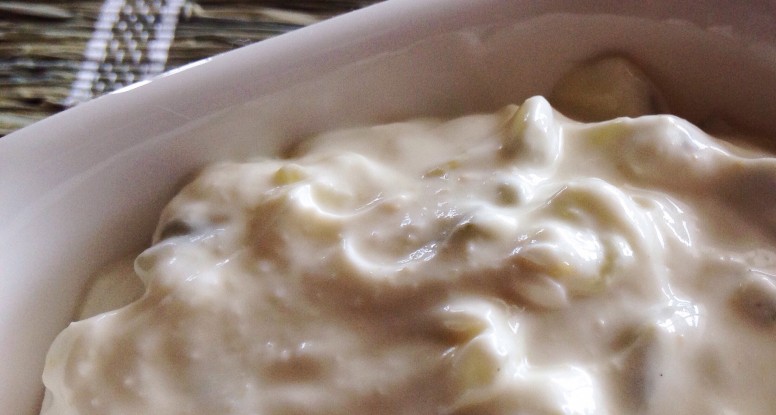
- Combine the mustard, lime zest and lime juice together in the bottom of a medium mixing bowl. Gradually add the olive oil, whisking until incorporated. Add the cabbage, carrot, green onion and cilantro and toss to combine.
- Cover and refrigerate until ready to eat.
For the burgers
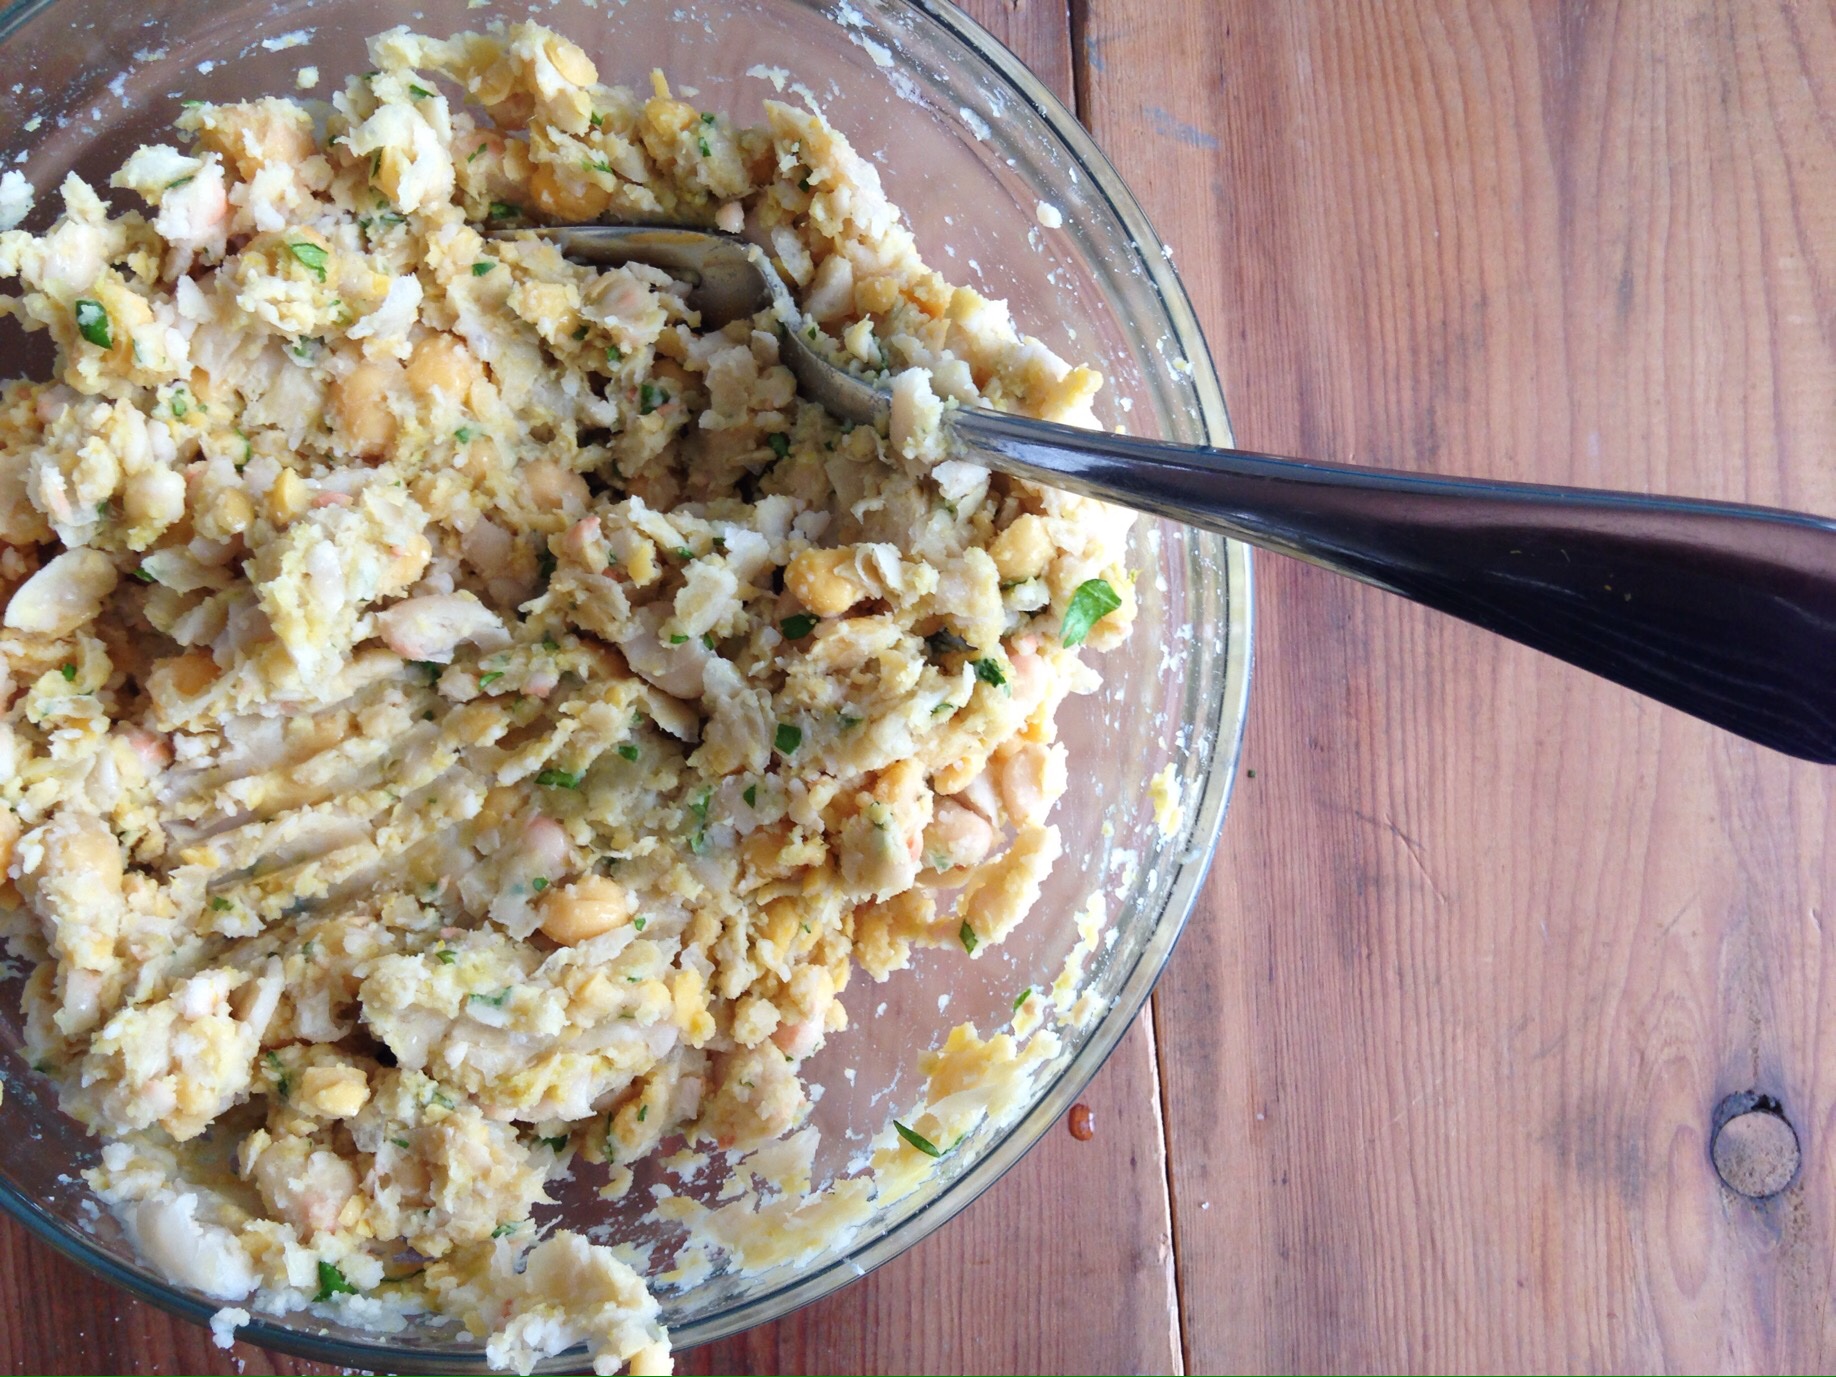
- Place beans in a large mixing bowl and partially mash with a fork or avocado (or potato) masher.
- In a separate bowl, whisk the egg together with the olive oil, cilantro, curry paste, ginger, garlic and salt. Add mixture, along with the bread crumbs, to beans and stir to combine.
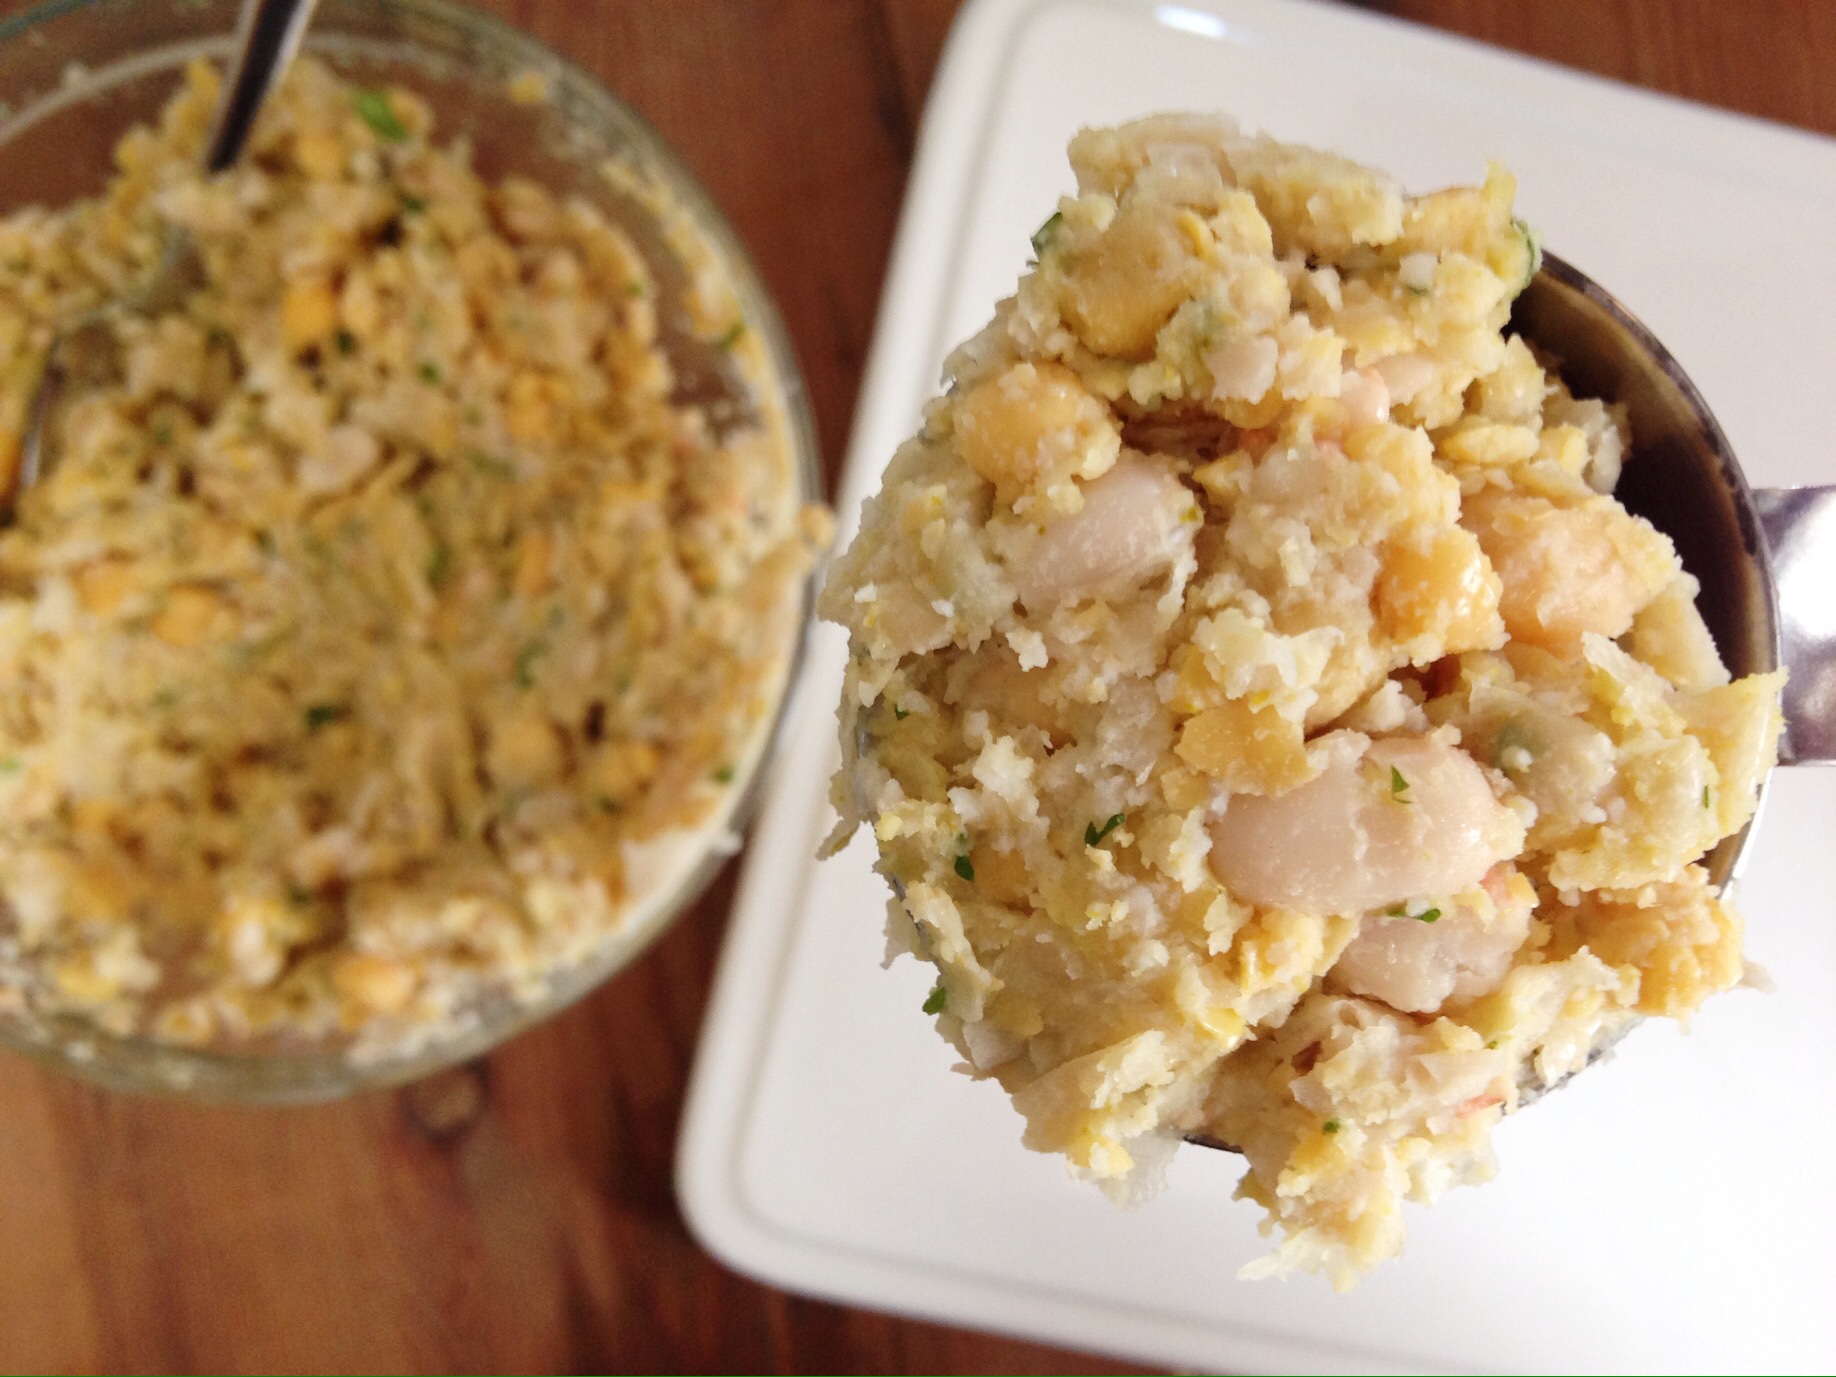
- Using a 1/4 cup measure, loosely scoop out the bean mixture and shape into patties.
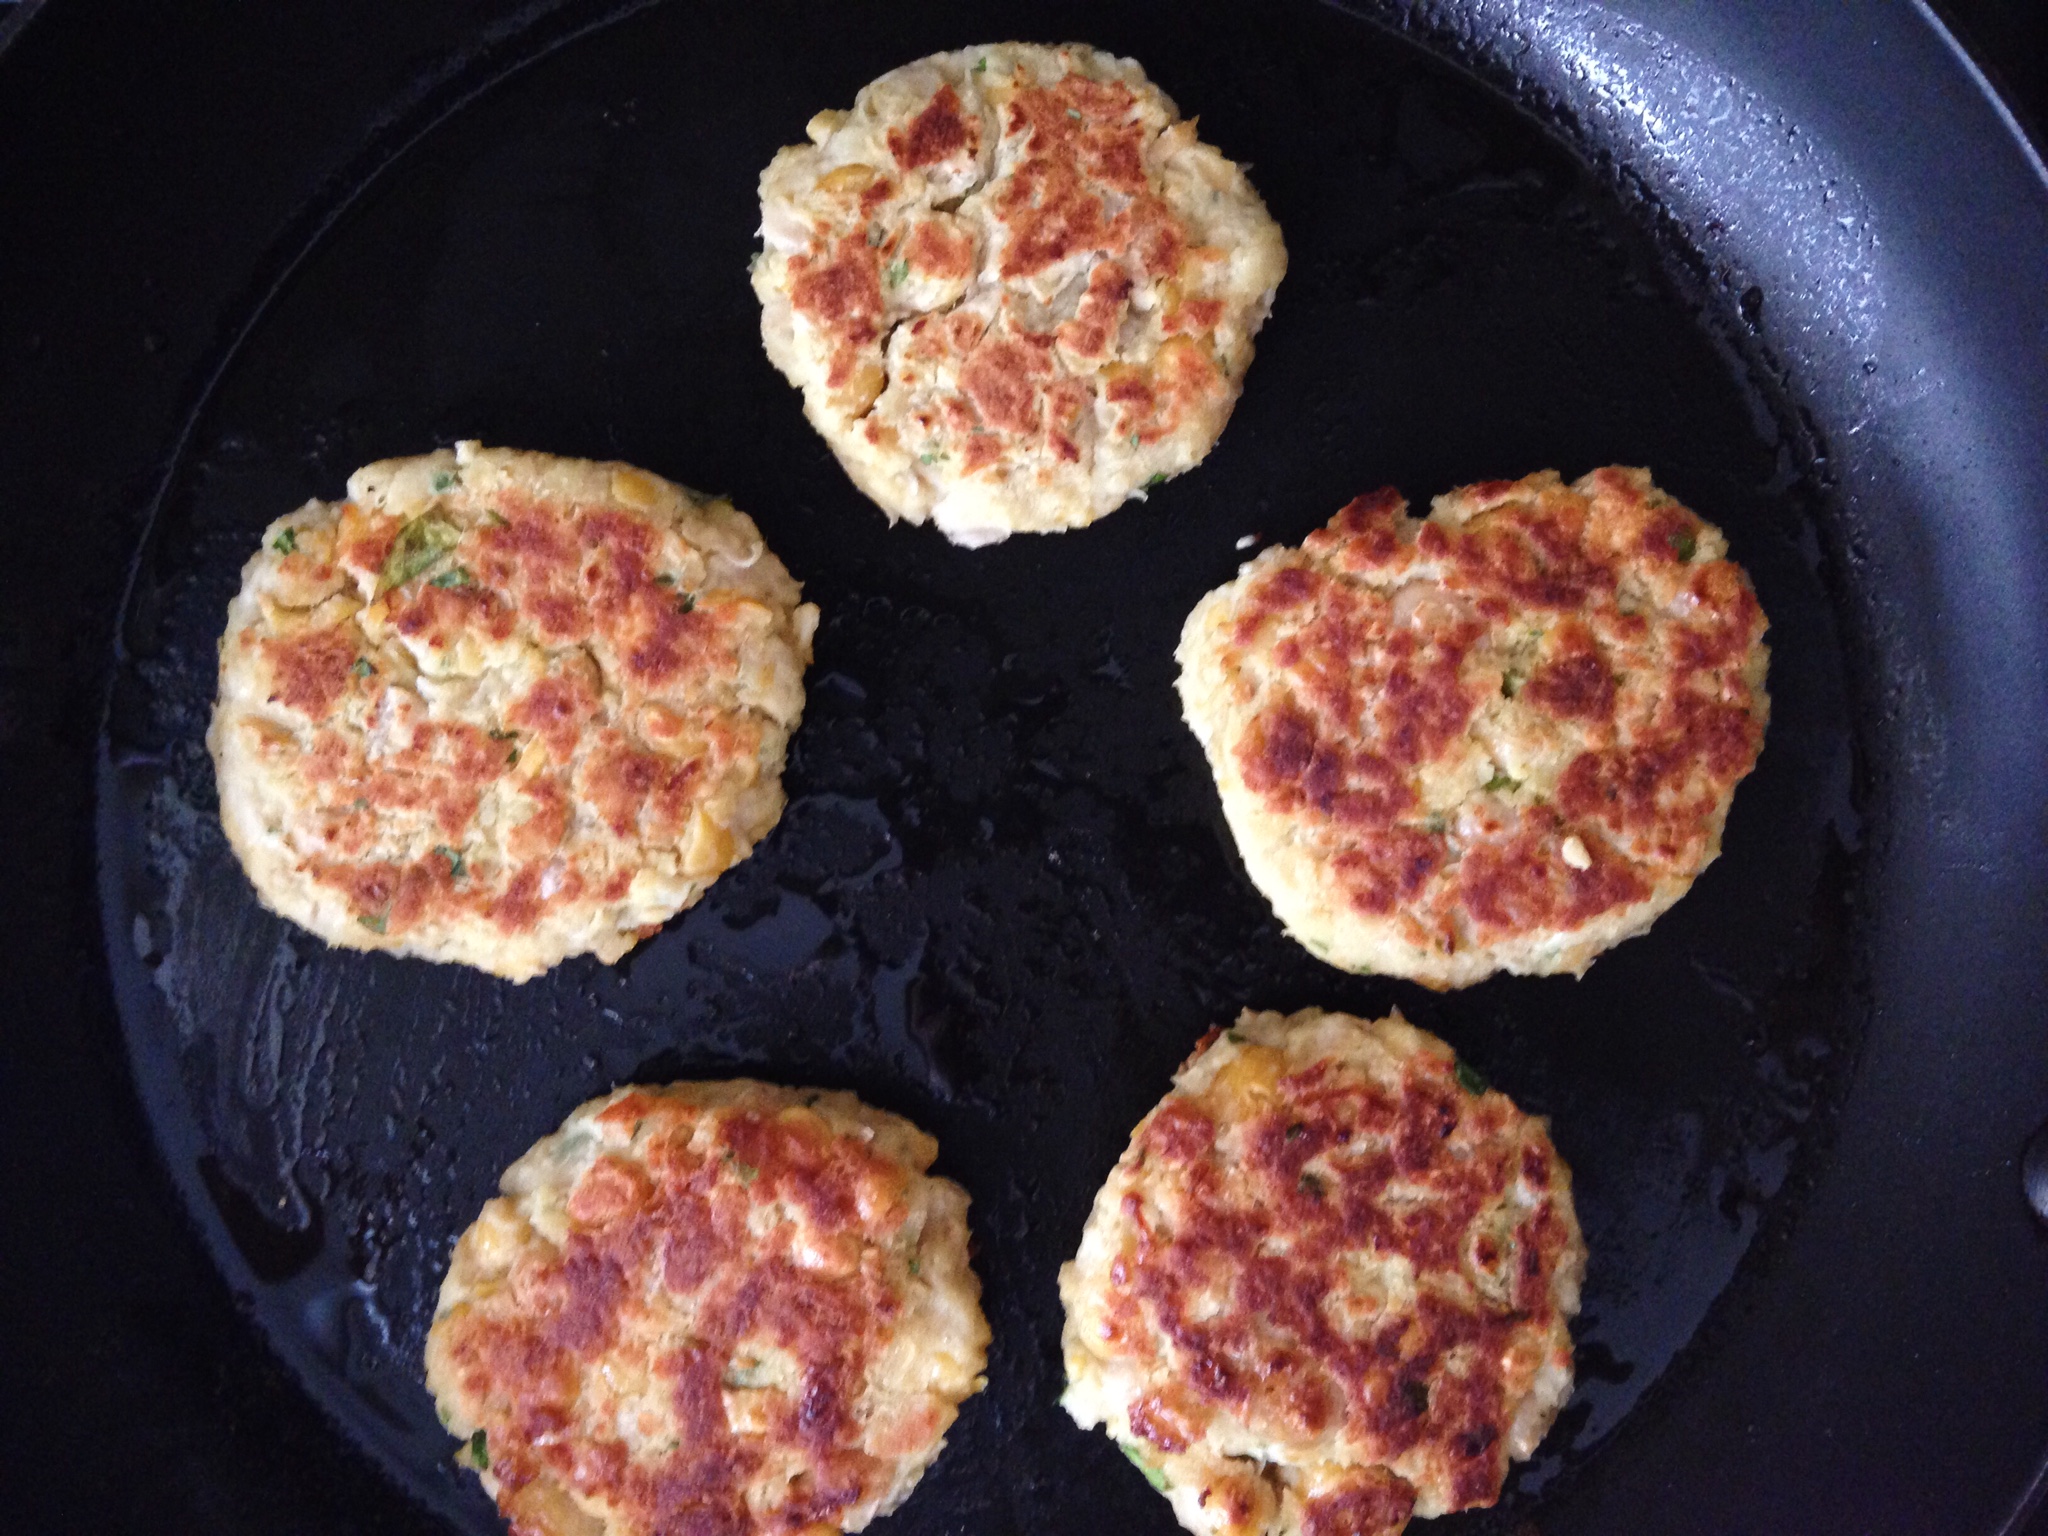
- Heat half of the olive oil in a non-stick pan set over medium heat. Add half of the patties and cook for about 5 minutes. Carefully flip them over and cook an additional 5 minutes. Remove the patties from the pan and cover with foil to keep them warm. Add the remaining oil and repeat the process with the remaining patties.
- Place the cooked patties on the toasted buns and top with a rounded 1/4 cup of the slaw. Serve immediately.
Notes
- Attention vegans and others with egg and gluten allergies! You can make these without the egg and breadcrumbs. Simply omit them and follow the instructions as written. The burgers will be a little crumbly, but still super tasty. And enjoy the burger sans bun or opt for a GF bun for all you gluten sensitive folks.
- Yields about 10 mini burgers.