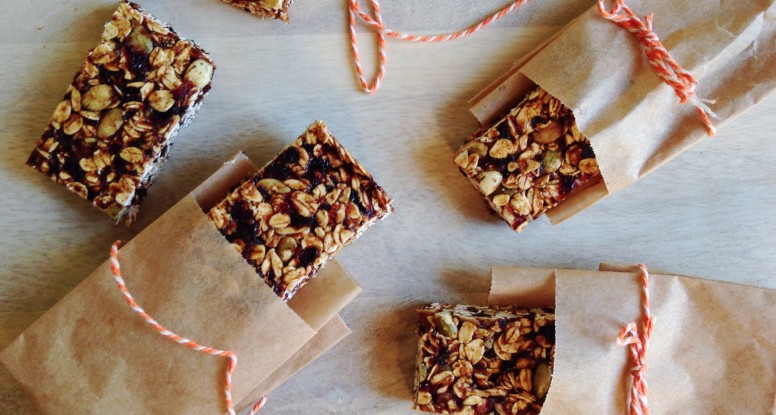
Here’s the deal, my family loves granola bars. I’m sure you can relate. I mean, is there really a more perfect snack? Well, of course there is, but this one is just so handy, which makes it the “perfect” snack in my eyes. Here’s the problem though, crappy granola bars are everywhere! Even worse, really good granola bars are expensive! Ugh!
What’s a mom, wife, daughter, friend to do? Why, make my own and share the recipe with YOU, my faithful followers! 🙂
Yes, I want you to have the option of making your own bars because you know, just as much as I do, that granola bars rock. So take that money you were going to spend on the crappy or expensive bars and use it to buy the ingredients to make these perfect little Cranberry Pumpkin Granola Bars.
Need more reasons to love these? Thought so!
- They freeze well. Yes they do! So make a double batch and keep some in the freezer so you’re never without. Just cut them before freezing them, then stuff them into a re-sealable freezer bag. Give them a little room and lay them flat in the freezer. Once partially frozen, you can rearrange them and they won’t stick.
- They taste good and your kids will eat them. This means no more fights about other junk they want to eat. They will like them and beg you for more. Which, in my world, is sooo much nicer than hearing them beg for pink cupcakes!
- Your kids (or hey, even someone else’s) can help you make these! Woo hoo! Who doesn’t need an extra set of hands in the kitchen? And listen, getting kids into the kitchen is one of the best things we can do as parents or care givers!
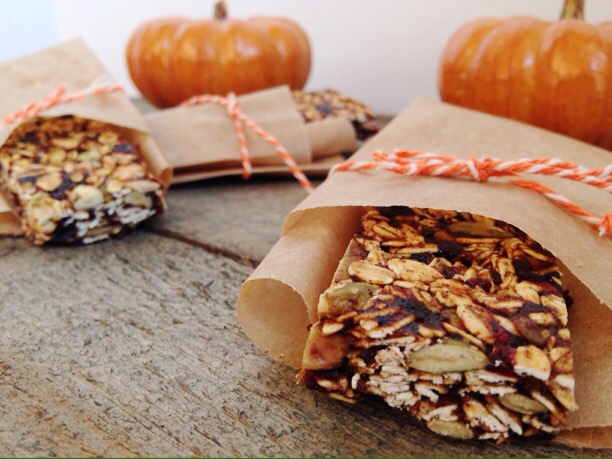
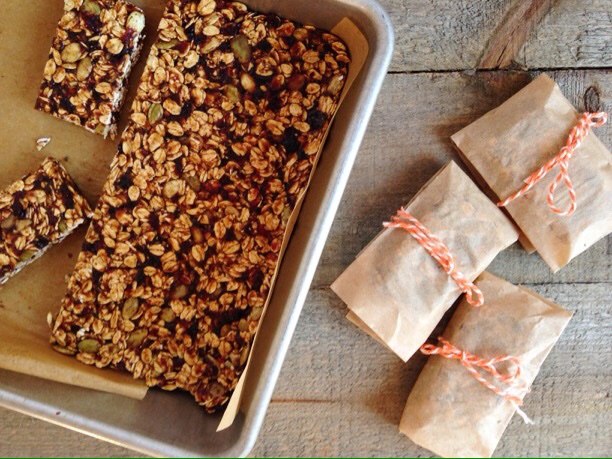
- They make great gifts. Oh indeed and what about hostess gifts? Yes, that too! I mean, wouldn’t you want these wrapped up and given to you? I’ll take them over a candle any day!
Enjoy, my friends!
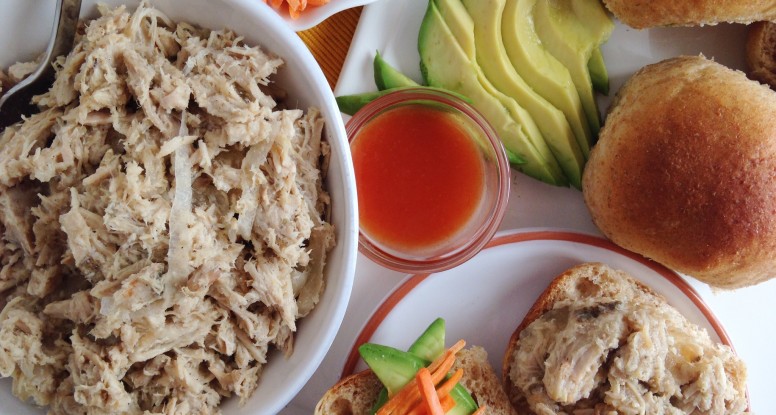
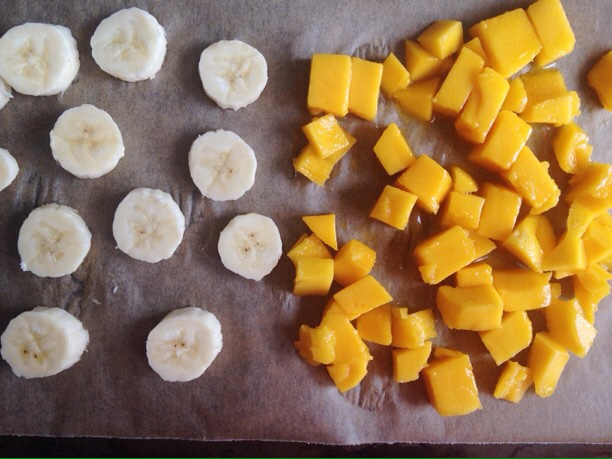
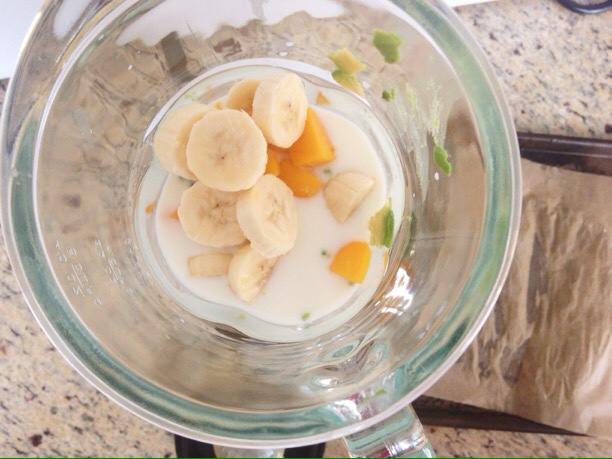
And here are the pretty pictures:
Check out how I made these beautiful Cranberry Pumpkin Granola Bars!
Cranberry Pumpkin Granola Bars
Description
A Fall spin on the classic granola bar. This one is also gluten and nut free!
Ingredients
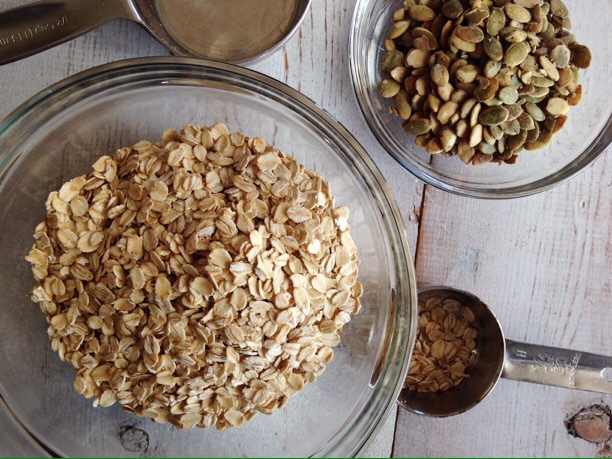
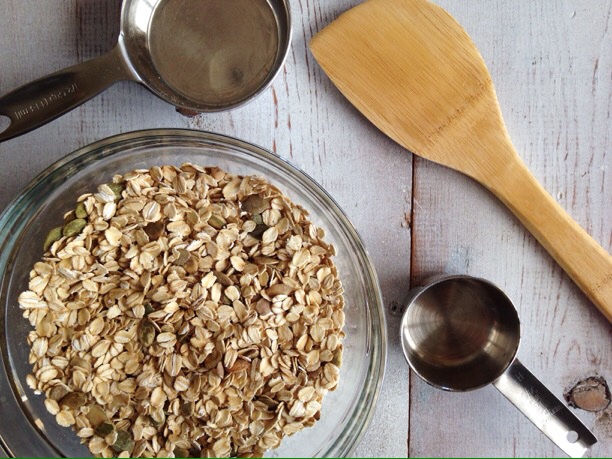
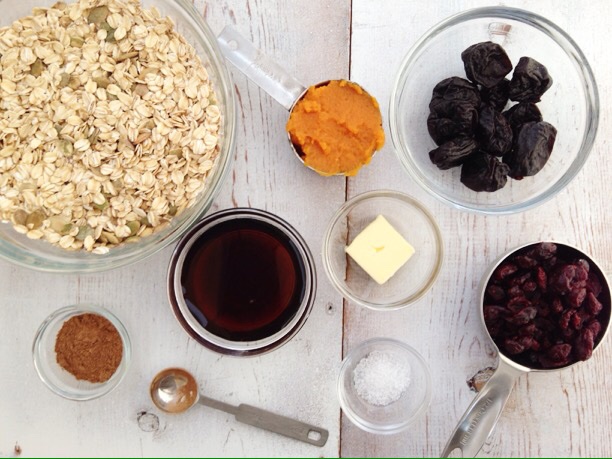
- 1 1/2 cups old fashioned oats
- 1/2 cup pumpkin seeds
- 1/4 cup pecans, roughly chopped
- 1 tablespoon butter
- 1 tablespoon pumpkin pie spice
- 1/4 cup pumpkin puree
- 1/4 cup maple syrup
- 1/4 teaspoon salt
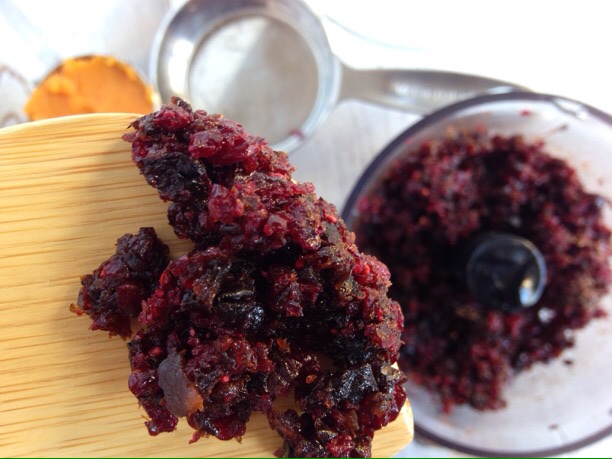
- 1/2 cup prunes, very finely chopped (or pulsed find in a food processor)
- 1/2 cup dried cranberries, very finely chopped (or pulsed find in a food processor)
Instructions
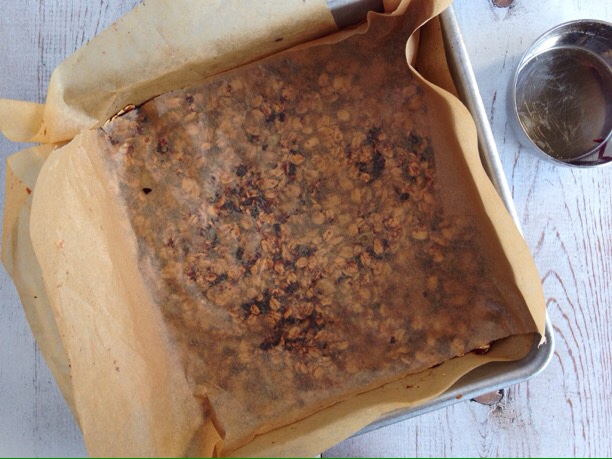
- Preheat the oven to 300’F. Line a 9×9-inch pan with parchment paper. (Using two overlapping strips works well here for removing the bars from the pan after baking.)
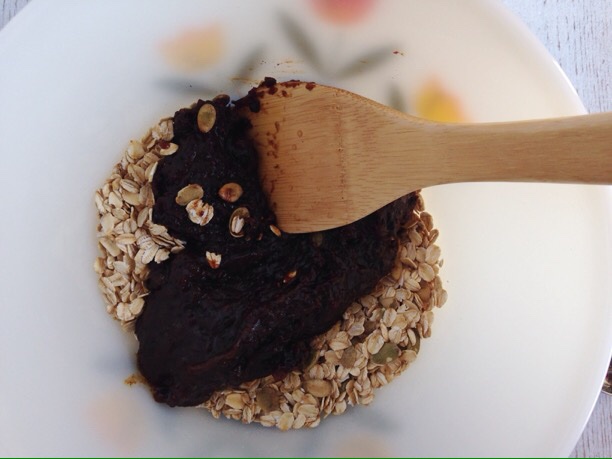
- In a large bowl, combine the oats and pumpkin seeds.
- Heat a small pot or pan over medium heat and add the butter. Once the butter has melted, stir in the pumpkin pie spice and cook, stirring constantly, for 1 minute. Add the pumpkin puree and cook 1 more minute. Stir in the maple syrup, salt, prunes and cranberries. Remove from heat and pour over the oat mixture.
- Pour the oat mixture into the prepared pan and spread evenly across the bottom. Using a piece of foil, wax paper or parchment paper, cover the granola bars and push down evenly on the top to compress the mixture. The firmer the bar, the better it will hold together after it’s cooked. Remove foil, wax paper or parchment and place in the oven.
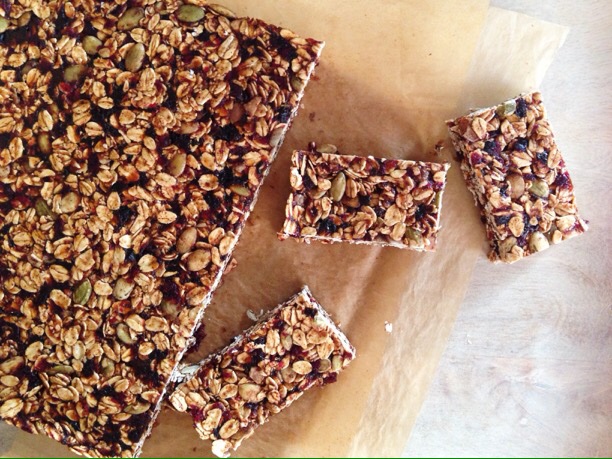
- Cook bars for 15 minutes. Remove pan from the oven and set on a rack to cool. Once cooled, transfer the pan to the refrigerator and chill at least 2 hours. Using the parchment paper, remove the bars from the pan and cut into individual bars. (Why chill them? This helps them firm up, which makes cutting them easier!)
Notes
- Cut bars can be kept in the refrigerator about 5 days and up to 2 months in the freezer.
- To keep this one GF, just be sure to use gluten-free oats.
- Cut the pan 5×3 to get 15 bars
Nutrition
- Serving Size: 15
- Calories: 127
- Sugar: 5
- Sodium: 41
- Fat: 4
- Saturated Fat: 1
- Unsaturated Fat: 2
- Trans Fat: 0
- Carbohydrates: 22
- Protein: 3
- Cholesterol: 2