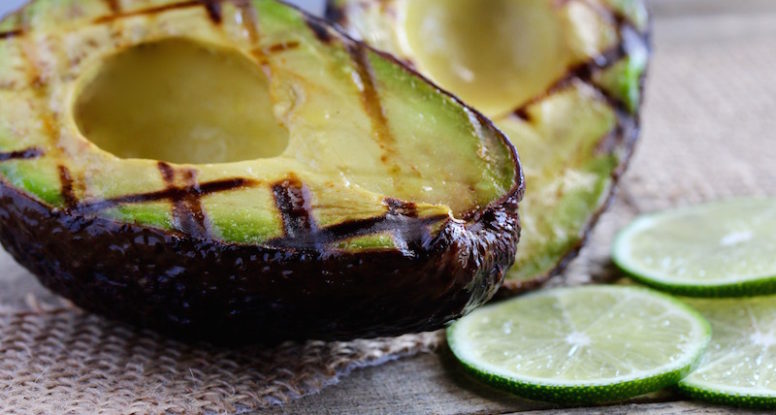
Avocados are great and if you know me, you know I live for guacamole. But sometimes, I could be a little more creative when it comes to what I do with them. Feeling inspired by the upcoming grilling season, I stepped out of my guacamole comfort zone and tried the latest avocado trend, grilled avocado.
And let me tell you this, grilled avocado is awesome. Really, believe the hype. I simply adore the slightly smoky flavor of them and they’re delicious so many ways. Besides being tasty, they still supply that same powerful nutritional punch. All of those satisfying healthy fats can help with everything from cardiovascular health to keeping your skin looking radiant. Time to get to the grocery store and fill your cart with avocados.
5 Ways to Enjoy Grilled Avocado:
Plain, straight up and out of the skin!
Chopped up and thrown into salads.
Sliced and served on top of scrambled eggs.
Mashed and turned into guacamole (of course!).
Turned into a salsa and used as a topping for grilled fish or shrimp.
Want more ideas? Of course you do! Check out my Shape.com article on how to make grilled avocado, recipes included!
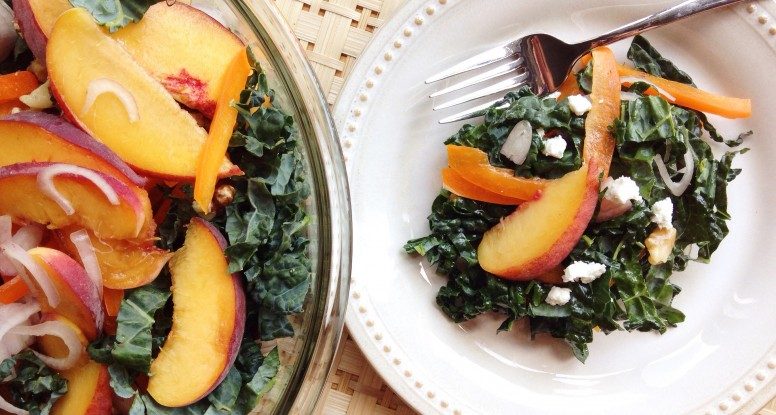
Fertility Friday + Lacinato Kale Salad with Peaches and Maple Vinaigrette Recipe
It’s Friday! Yahoo! Besides being the start of the weekend, Friday also means it’s time to focus on fertility. This week’s post is all about kale and peaches. Really? Yes, really.
Kale & Peaches & Fertility
Kale has an important nutrient that many mommas-to-be may be missing in their diets. Bonus, peaches work synergistically to help get the most out of that nutrient. How? Well, let’s look a little closer at each food for a moment:
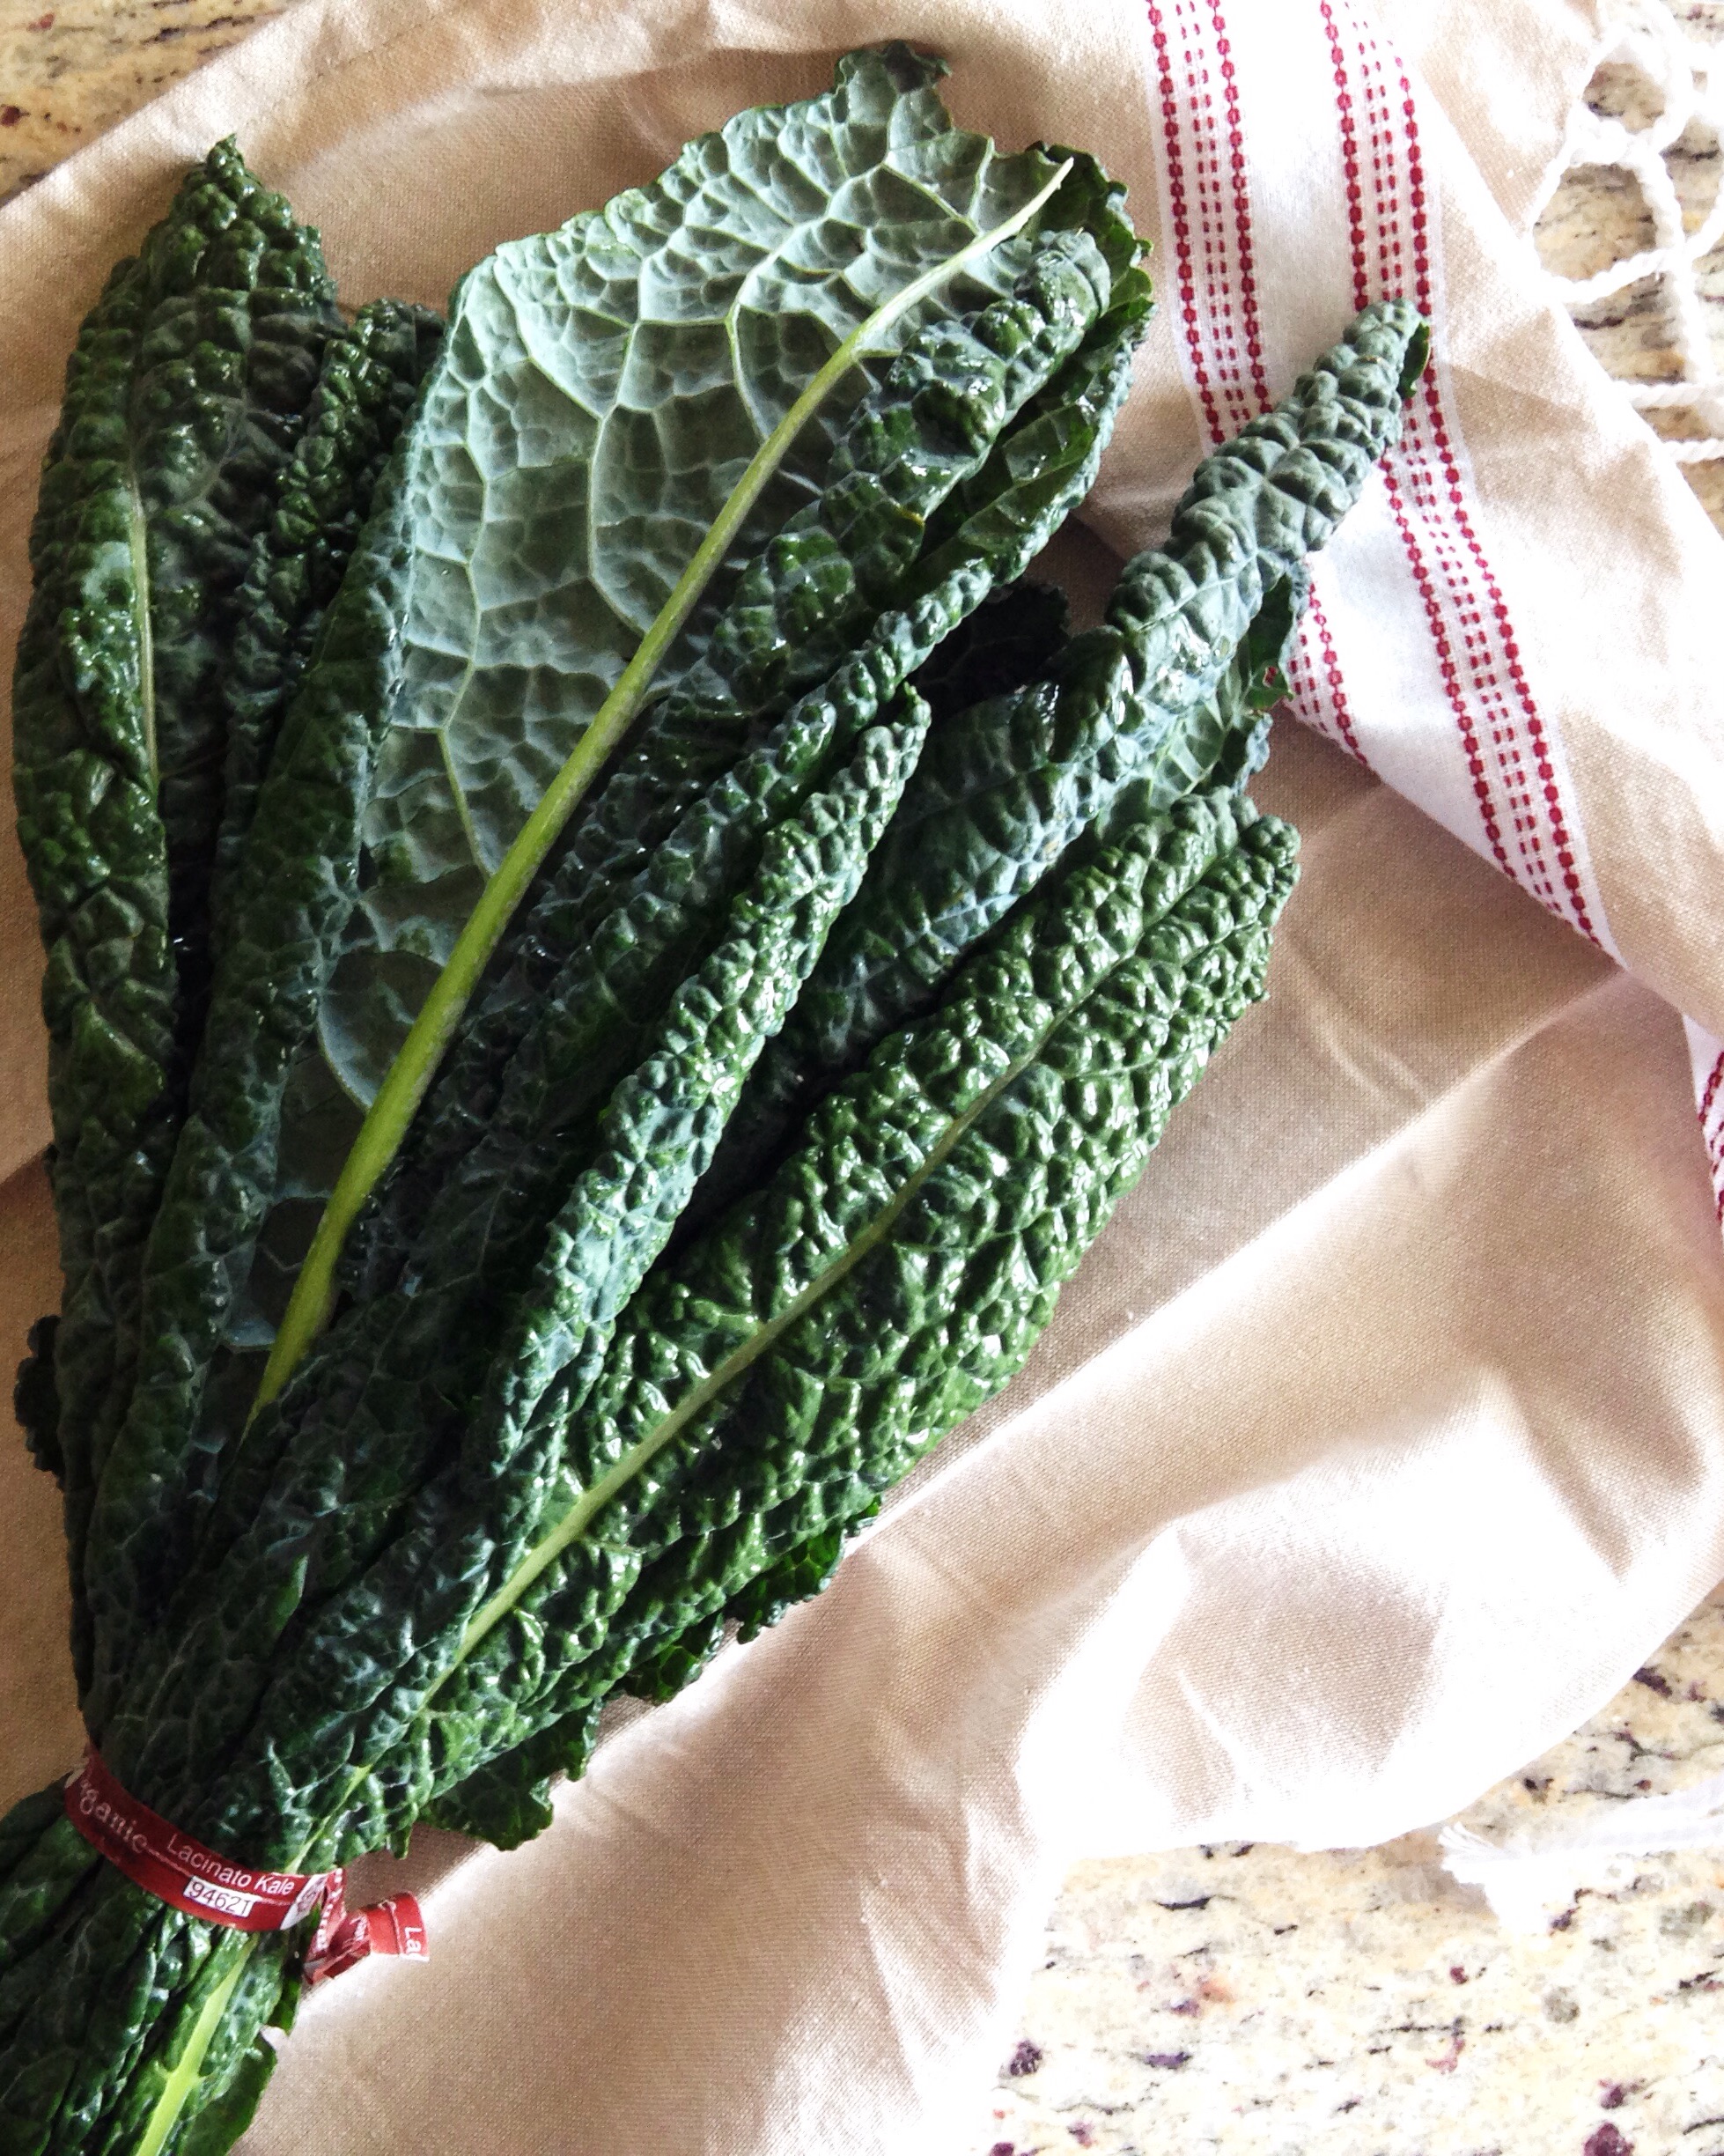
Kale — Are you bored with this dark, leafy green yet? I sure hope not because even though it may not be the trendy, hip culinary sweetheart that it was a year ago, it still packs a serious nutritional punch. In the case of fertility, eating kale makes sense. Why? Well, because it’s a source of iron which is a nutrient that can be lacking in women’s diets, especially women of child-bearing age. And iron is important because it helps transport oxygen in your blood. If you don’t get enough, it can leave you feeling tired and weak. A big enough deficiency can even lead to anemia. And a possible link to infertility is another reason you need to protect yourself from iron deficiency.
Peaches — Yum, who doesn’t love a good peach! Besides being sweet and juicy and delicious, peaches also contain vitamin C. Vitamin C is a powerful antioxidant that can protect us from the damage done to our cells by free radicals. This is awesome because free radical damage can do serious harm to our health and has been linked to diseases such as cancer.
KALE + PEACHES — Now why the two together? Because while that kale has iron, it’s a plant-based (or non-heme) source of iron versus an animal-based (heme) source of iron, which isn’t as readily absorbed by your body. Bummer! But have no fear because that’s where those peaches come into play. More specifically, the Vitamin C in those peaches. By including a Vitamin C food source with your non-heme iron food source, you’ll increase the absorption of that non-heme iron. How awesome is that?
AND FERTILITY? — As I mentioned above, women of child-bearing age, may be missing out on iron. It can happen pretty easily because your needs increase during this time as well as during pregnancy. And research from the Nurse’s Health Study revealed a possible link between iron deficiency and infertility. Talk to your doctor if you expect a deficiency. In the meantime, eat a variety of heme and non-heme iron foods. And don’t forget that Vitamin C!
*Disclaimer – this recipe hasn’t actually won any official awards or titles. And it hasn’t been entered in any recipe contests or been featured on the Food Network. So my guacamole is technically “award-less,” however it’s unofficially a “winner” (hence, Winning Guacamole) in my small circle of nearest and dearest. And I’m about to let you in on my not-so-secret recipe! But first, there are some things you should know.
Guacamole 101: What You Need to Know
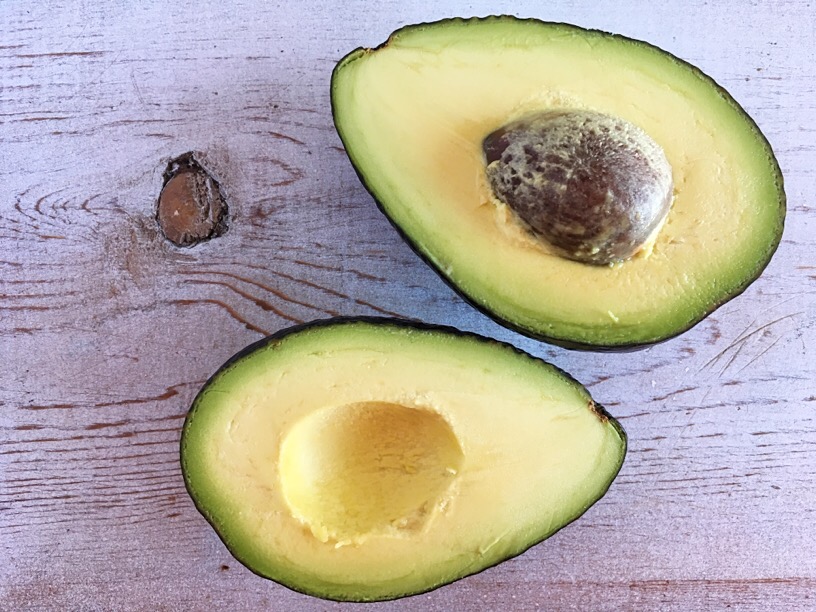
Pick the Avocado – This is a big deal, so it’s imperative you get it right. How do you choose the right avocado? Depends on when you want to make your guacamole. If you don’t need it until a couple of days from now, it’s ok to buy the rock-solid avocado because it will continue to ripen. If you want it tonight, buy the one that gives just a little when you apply a light pressure to it. Skip the super soft ones and the ones with dents and dings.
Don’t Skip the Onion – So many people tell me they want to leave out the onion, but I encourage you not to do that. Instead, if onion causes you trouble, consider this little trick – chop it and then add it to a bowl of water. Let it sit there while you’re making the guacamole and then drain it and add it. Soaking the onion will help remove some of the bitter compounds, so you won’t have that pungent onion taste in your mouth.
Add salt – Every time I make this guacamole someone always asks, “why does this taste so good?” It’s not that I am an awesome guacamole maker or that I have a special guacamole secret, it’s just salt. Yes, you heard me, salt. If you don’t add the right amount, it’ll just taste like mashed avocados and onion. Add the salt, and you’ve become a culinary genius! Afraid of salt, it’s ok, I understand, but in this recipe I’m only using 1/4 teaspoon of salt and that equals to about 145 milligrams of sodium per serving. That’s a relatively small amount considering 2300 milligrams per day is your cutoff.
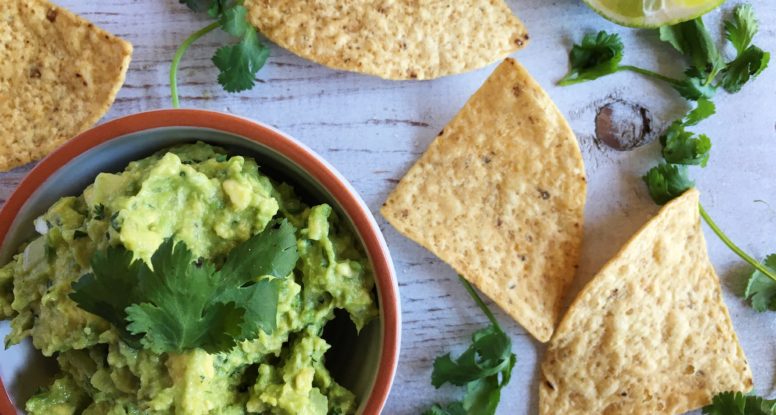
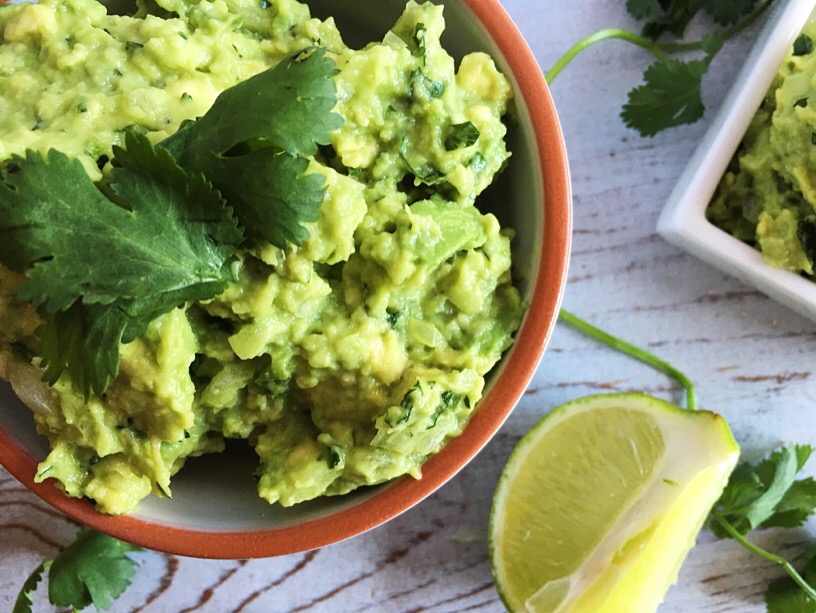
There, now you’re armed and dangerous. Time to get to the store and stock up on avocados so you can make a big batch of my No Fail Winning Guacamole!
A recipe for delicious guacamole that works every time!
Ingredients
Scale
1 ripe avocado, sliced in half and seeded
2 teaspoons -1 tablespoon fresh lime juice
1/4 teaspoon Kosher salt
1/4 cup fresh cilantro, chopped
1/2 jalapeño, finely chopped*
3 tablespoons finely chopped white or yellow onion**
Instructions
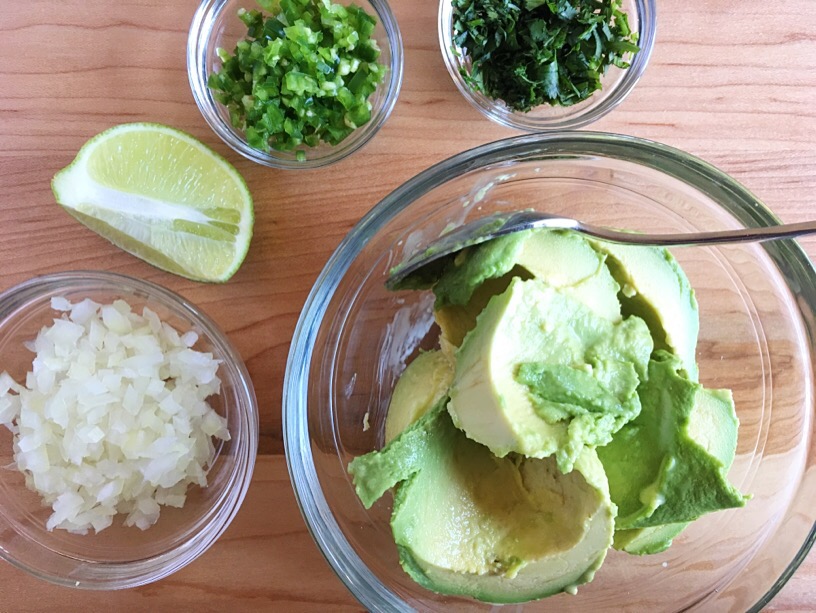
Scoop out the avocado flesh into a bowl and gently mash. Stir in the lime juice and salt. Mix in the cilantro, onion and jalapeño.
Serve and enjoy!
Notes
*If you prefer your guacamole less spicy, remove and discard the seeds and membrane from the jalapeño before chopping. Careful, those seeds are hot, so best to remove them with a spoon or knife.
**Do raw onions bother you? Try soaking them in water first before adding them to your guacamole.
Fertility Friday + Recipe for Maple Cinnamon Almonds
Do you remember back in the ’80’s and ’90’s when all fat was considered “bad?”
Looking back on that time, it was almost comical the degree to which we feared fat. Companies worked so hard removing it from their products and people went crazy buying fat-free everything. I remember noshing on a box of fat-free cookies thinking, “wow, no fat, but they sure taste good, I’m so glad they’re good for me!”
Fat is Back?
Oh dear! Luckily research has improved and we are no longer shunning fat. In fact, now we know that fat is vital to our existence. Fats provide energy, help us absorb fat-soluble vitamins, and can keep our hearts healthy. We just have to be smart about the type of fats we’re choosing and how much of them we’re eating.
But I Can’t Eat as Much as I Want?
While all fats fit, it’s important to keep moderation in mind. Saturated and trans fats are the types of fats we should limit. Research is always on-going on this, and recently saturated fast have been in the news about not being as “bad” as we once thought. My advice? Stick with moderation. Go for the whole milk, but keep your serving to one cup. Enjoy that birthday cake, but choose the small slice instead of the massive monster piece. See where I’m going with this? Don’t over-indulge. It’s never wise to eat too much of one thing, right?
Instead, focus on getting more healthy fats into your diet. We call those unsaturated (specifically monounsaturated and polyunsaturated) fats. These unsaturated fats can also help support fertility by helping control blood sugar and tamper inflammation. Where do you find them? Great question!
Where to Find The Fantastic Fat:
Sources of polyunsaturated fats: fatty fish such as salmon, mackerel, sardines; flax seed and flax seed oil, walnuts and edamame
Sources of monounsaturated fats: nuts (like in these Maple Cinnamon Almonds!) and seeds, avocado, canola and olive oil
Putting it Together
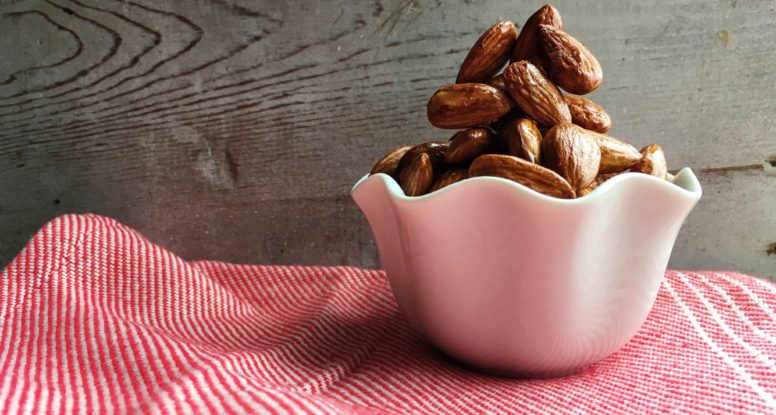
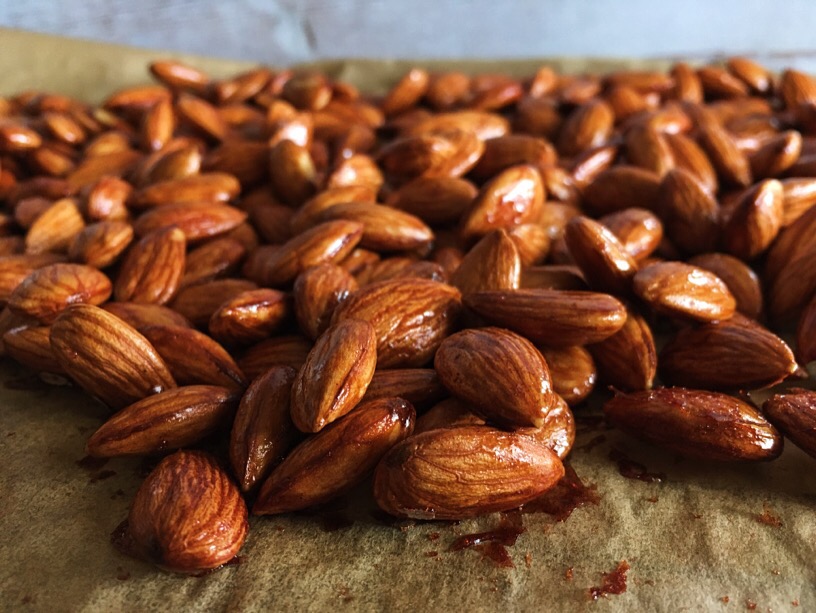
It’s easy! Eat fat, but make smart choices. Stick with moderation and balance your intake with other foods. Eating this way just makes sense! Feeling inspired? Get into your kitchen and make these yummy Maple Cinnamon Almonds so that you can enjoy some of those nutritious healthy fats!
Super easy snack made with almonds, maple syrup and ground cinnamon.
Ingredients
Scale
1/2 teaspoon Kosher salt
2 tablespoons maple syrup
1 tablespoon water
1/4 teaspoon ground cinnamon
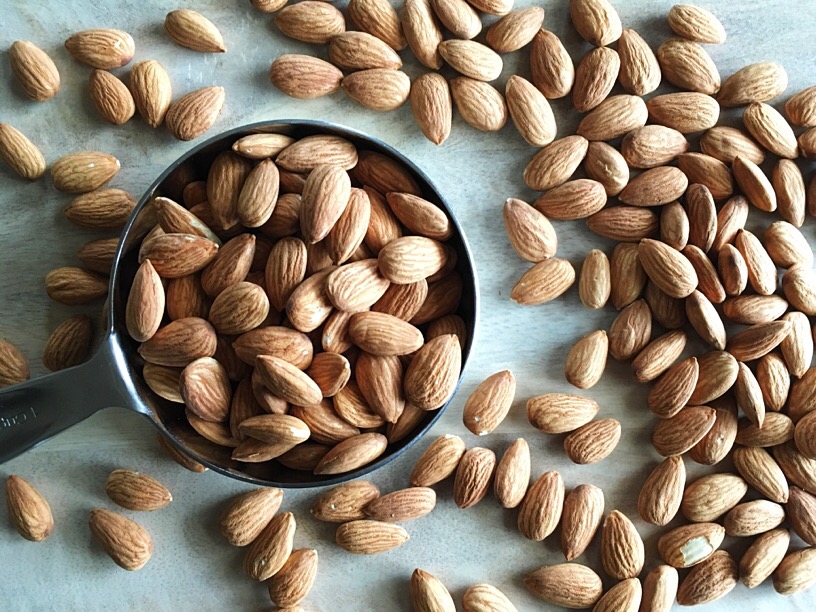
2 1/2 cups almonds
Instructions
Preheat the oven to 300’F and line a sheet pan with parchment paper.
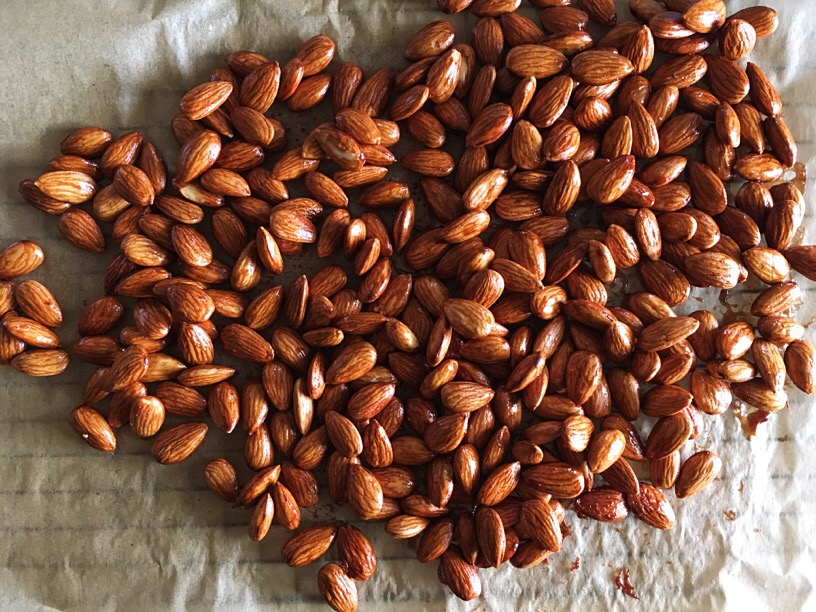
Place the salt, maple syrup, water and cinnamon in a medium pot and set over medium heat. Bring to a boil and stir to combine. Pour in almonds and stir until almonds are well coated. Spread out on prepared sheet pan and bake 20 minutes, rotating the pan half way through cooking time.
“Simplify, simplify, simplify!” Henry D. Thoreau, eloquently and prophetically proclaimed in his famous work, Walden.
That demand to simplify seems even more relevant today than it likely was in 1854, when Walden was first published. How many of us challenge that decree everyday? Adding more things that instead “complicate, complicate, complicate!” Ugh. Thoreau’s mantra is one I’m trying (somewhat successfully) to practice in my daily life. I’m not taking the easy way, but the smart, simpler way. Case in point, I recently got so frustrated with making healthy lunches for my family. PB&J was in the lunch box more than I would’ve liked. Of course there’s nothing wrong with that sandwich, but variety is a good thing.
Inspired by Thoreau, I decided to “simplify” lunch.
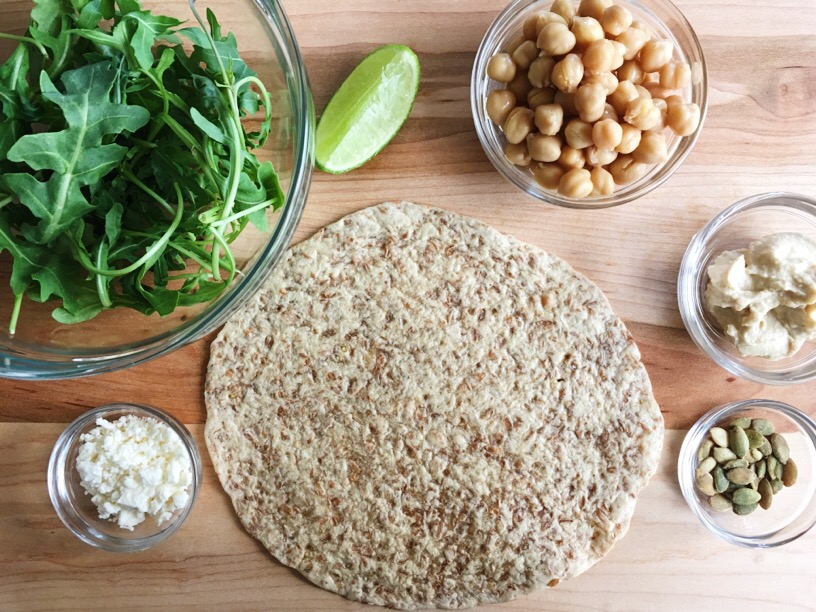
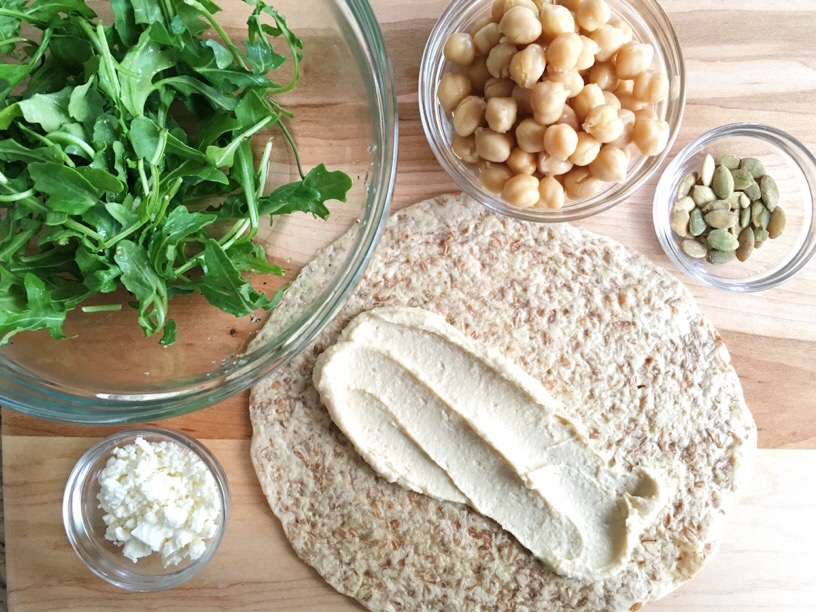
And with this Chickpea Hummus Wrap, I simplified on execution, but didn’t sacrifice taste or flavor! Yay! It all starts with a whole grain wrap and continues with layers of flavor. Canned chickpeas and pre-washed baby arugula keep things easy and fast. Flavor boosters like feta cheese and pepitas add a simple, yet tasty addition.
Luckily, the Recipe Redux theme for this month was how to get out of our “lunch rut.” How appropriate! Fortunately I figured out just how to do that with this Chickpea Hummus Wrap!
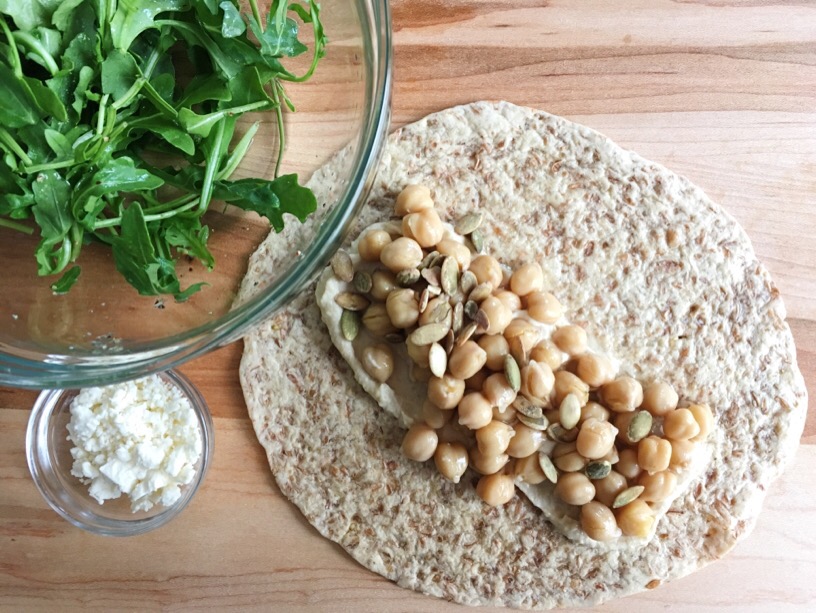
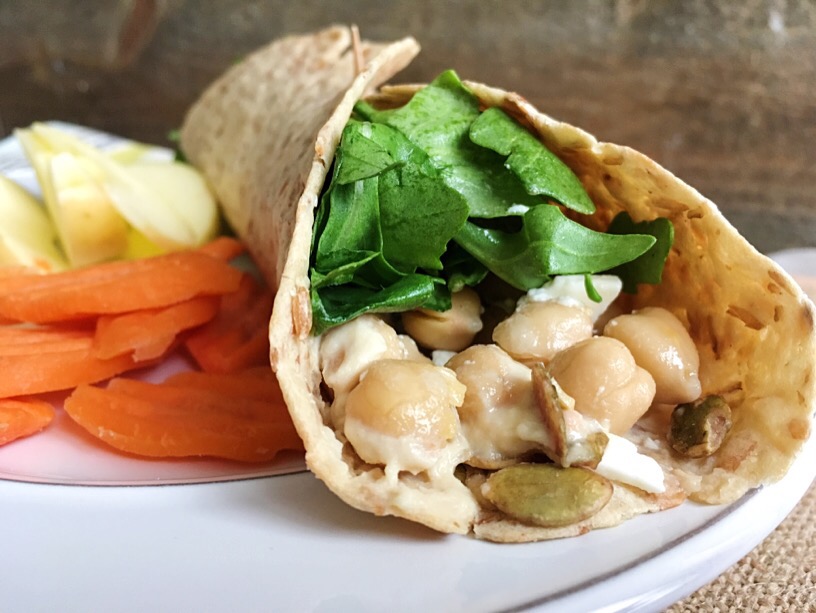
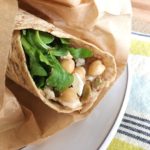
And here are the pretty picture of my Chickpea Hummus Wrap:
Time is of the essence! But don’t forget about good nutrition either! These simple chickpea hummus wraps make lunch easy, delicious and nutritious!
Ingredients
Scale
1 cup baby arugula
1 teaspoon fresh lime juice
pinch teaspoon freshly ground black pepper
pinch teaspoon Kosher salt
1 (8-inch) whole wheat tortilla or wrap
2 tablespoons plain hummus
1/3 cup chickpeas
1 teaspoon toasted pumpkin seeds
1 tablespoon crumbled feta cheese
Instructions
Toss the arugula with the lemon juice, black pepper and salt.
Lay tortilla on a clean work surface. Spread the hummus down the middle of the tortilla and top with the chickpeas. Sprinkle on the pumpkin seeds and feta cheese, then the arugula mixture.
Roll up and enjoy.
Notes
Want more? Just multiply ingredients by desired serving size and divide everything evenly among tortillas.
Love cheese? Sure you do! How about grilled cheese? Oh yes, of course you do!
Did you know that this delicious comfort food can actually be a nutritious choice, even when it comes to fertility? It’s true!
And here’s some amazing news, not only is it National Grilled Cheese Month, but it’s also Fertility Friday and that means it’s time to get started on this series of posts dedicated to nutrition and fertility. In last week’s post, I introduced you to this series and today, I present you with the goods I promised – delicious, nutritious insight on food and fertility. Once you’re done here, don’t forget to check out Liz’s post over at Shaw Simple Swaps for her amazing post and recipe. You don’t want to miss it!
Ok, back to that grilled cheese. First, let me say that I love that these two days are intertwining, because grilled cheese can be a nutritious, fertility food. Who knew, right? Well, I did, but let me explain. It’s all about variety and moderation and fertility friendly foods.
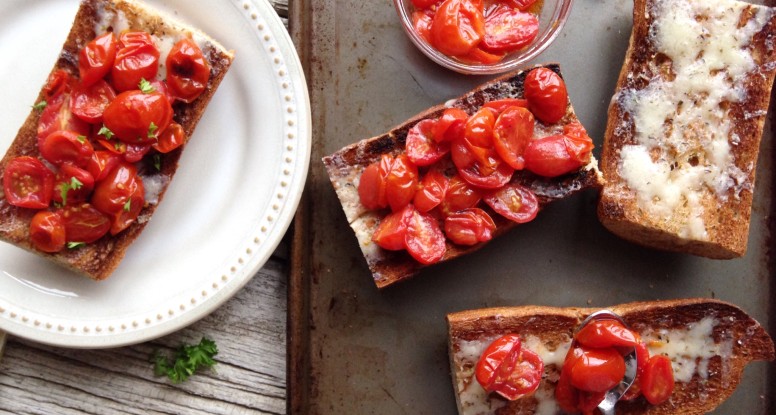
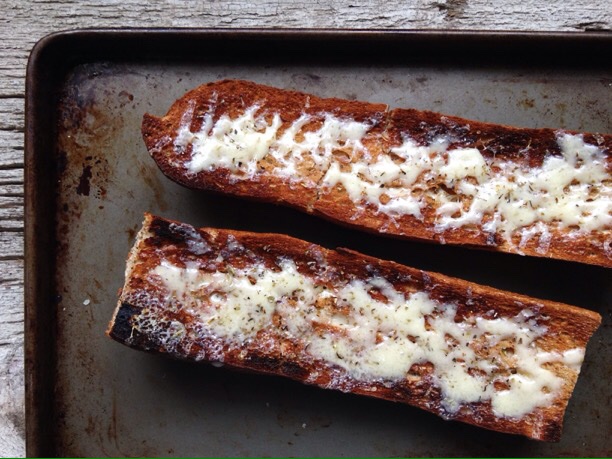
Let’s take my recipe for Sharp Cheddar Grilled Cheese with Broiled Tomatoes as an example:
Whole Grains: This recipe starts with a whole grain baguette base. Why whole grain bread? Well, because it is more nutritious than it’s refined, white bread counterpart. Whole grains have more vitamins and nutrients and even more fiber. See, I told you, more nutrition!
Fertility Focus – Whole grains help regulate blood sugar. Who cares about blood sugar? You should. You see, refined white breads, sugary cereals and candies can cause your blood sugar to spike quickly. Your pancreas has to work over-time to drive that blood sugar down. To do this, it sends out a handy hormone known as insulin to do to battle all of that sugar. This results in a high level of insulin in your bloodstream which have been indicated by research, to inhibit ovulation. So, no thank you white bread, white rice, chips and the like. I’ll stick with my whole grains!
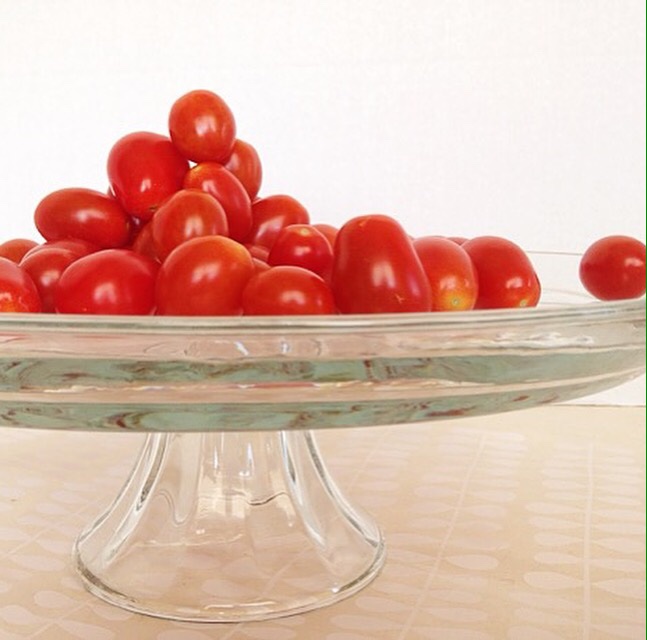
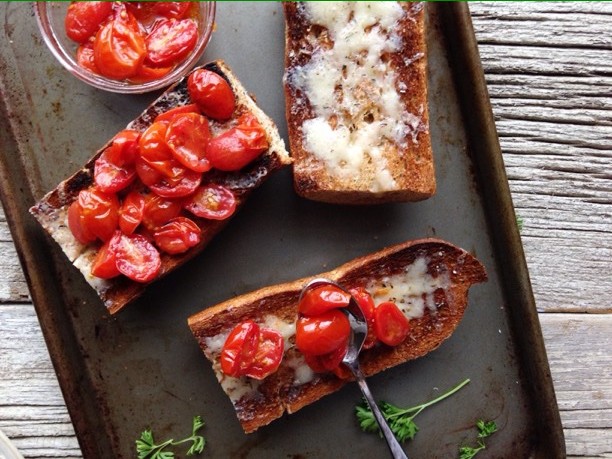
Tomatoes: Who doesn’t love a sweet, juicy tomato? Ok, well, I didn’t until my early 20’s, but I’ve learned my lesson. These little red dynamos pack a serious nutritional (we’re talking Vitamin C and Vitamin A) punch. So eating them is a real win-win in my book! Tomatoes are also a great source of lycopene, a compound responsible giving tomatoes their vibrant red color. Lycopene just happens to also be a powerful antioxidant. Antioxidants keep us healthy by preventing damage from free radicals. This is great health insurance, considering if free radicals are left to their own devices, they can do serious harm to our healthy cells and DNA.
Fertility Focus – Men, take note. Lycopene may offer some benefits in terms of fertility. More research is needed, but there is evidence that lycopene could help with not only sperm count, but also sperm viability. Seems like a good reason to eat more tomatoes to me.
Whole Milk Cheese: This recipe uses sharp, whole milk cheddar cheese because of it’s great flavor. Sharp cheddar is so brilliantly savory and rich, that you don’t need a lot of it. And here’s the good news, cheese might be a great fertility food (see below) plus it’s also a fabulous source of bone-building calcium.
Fertility Focus – The Nurses Health study revealed that women who ate ate least one serving of whole milk or dairy foods a day were less likely to experience infertility caused by an inability to ovulate. What does this mean for you? It means you can try swaping one serving of your typical low-fat or fat-free dairy foods with their whole milk counterparts. But tread lightly here, as those foods will still be high in calories. Bottom line, make this temporary adjustment but modify other foods in your diet to allow for the extra calories.
Amp up the nutritional value of your grilled cheese by adding delightfully delicious broiled tomatoes.
Ingredients
Scale
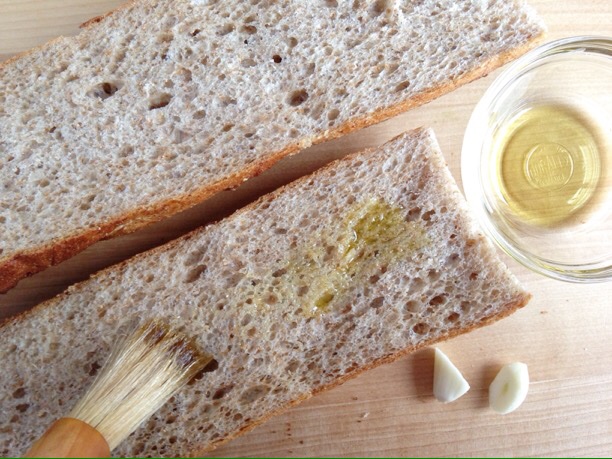
1/2 (15-ounce) whole-grain baguette, sliced in half horizontally
1 teaspoon + 1 tablespoon olive oil
1 garlic clove
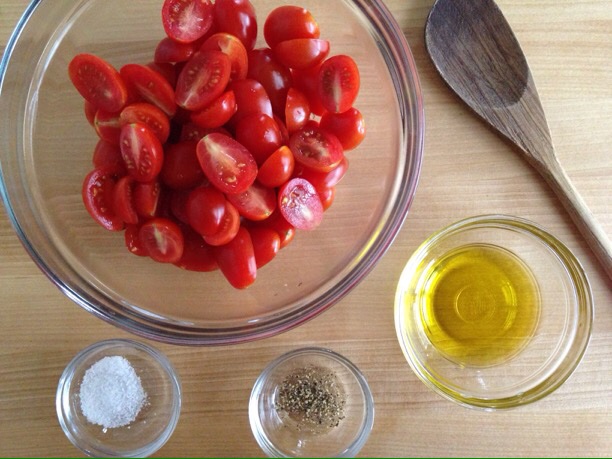
1 1/2 cup cherry tomatoes, halved
1/4 teaspoon Kosher salt
freshly ground black pepper, to taste
1 cup shredded sharp cheddar cheese
dash Italian seasoning
Instructions
Preheat the broiler.
Place the cut baguette on a medium-size sheet pan. Brush the cut sides of the bread with 1 teaspoon olive oil. Slice garlic clove in half and rub over cut sides of the baguette. Place in the oven and toast 1-2 minutes or until lightly browned.
To a mixing bowl, add the tomatoes, 1 tablespoon of olive oil, salt and black pepper. Spread out onto a small sheet pan lined with foil. Broil for 5 minutes, stirring halfway through cooking time. Remove and reserve.
Sprinkle cheese evenly over bread slices, then dust with Italian seasoning. Place in the oven and broil 3-4 minutes.
To serve: Distribute the broiled tomatoes on top of toasted bread halves, cut as desired. Serve immediately.
Notes
For more fun and flavor, consider topping with fresh herbs before serving. Fresh, thinly sliced basil or freshly chopped parsley would be a fabulous addition!
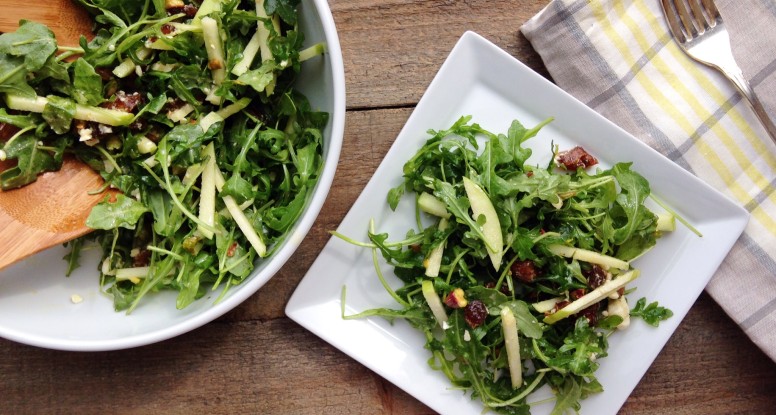
And it’s time to switch things up a bit. Yes, romaine is good and so are tomatoes and all of the other “usual” salad suspects, but why not try something new? What would you say to Arugula Salad with Apricots and Champagne Vinaigrette?
“That’s too fancy!” Is that perhaps your answer? I sure hope not because that’s just not true. Yes, it may sound fancy, but the ingredients are simple and the recipe is easy. See, not fancy at all!
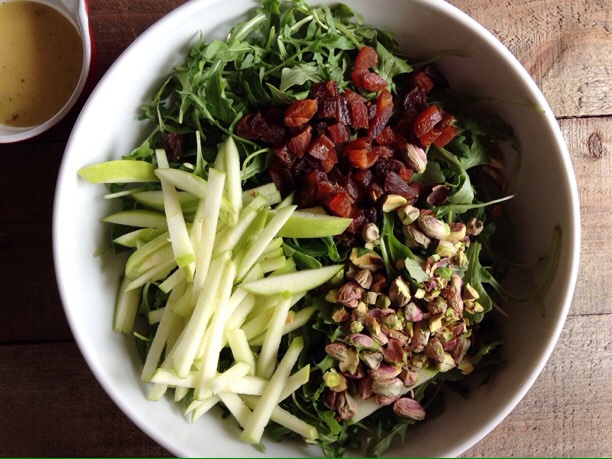
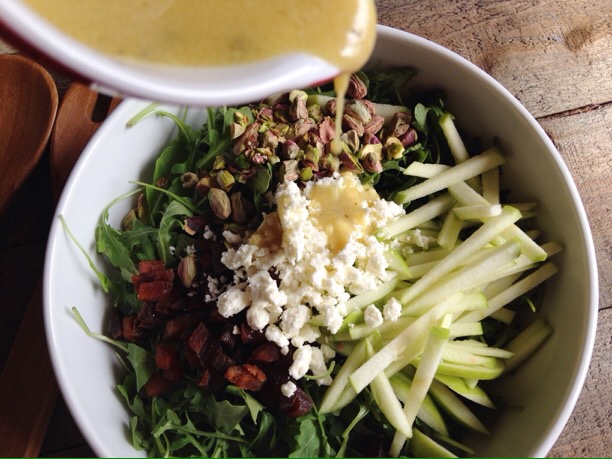
My new salad obsession just happens to begin with my favorite green, baby arugula. There’s just something special about that little green leaf. It’s just so….spicy and interesting. And I like my food spicy and interesting! When you pair arugula with dried chopped apricots (for a little sweetness), sliced apples, pistachios, feta cheese and champagne vinaigrette, you’ve got a unique salad that is incredibly interesting (and nutritious).
So bust out that bowl and salad tongs and get mixing!
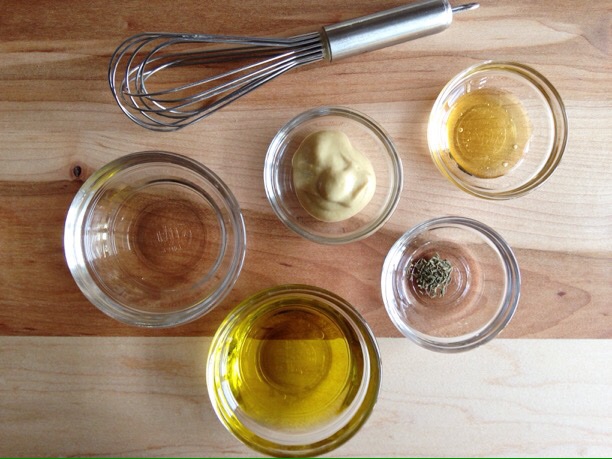
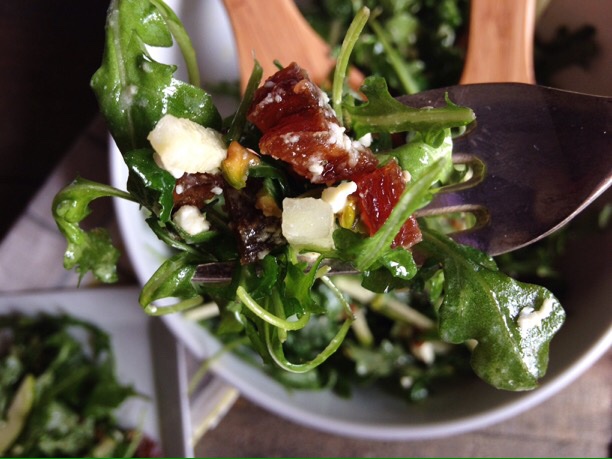
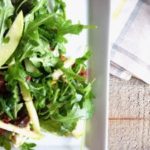
The Pretty Pictures of My Arugula Salad with Apricots and Champagne Vinaigrette:
Arugula tastes divine tossed with dried apricots, pistachios, fresh apple and a crisp champagne vinaigrette!
Ingredients
Scale
2 teaspoons Dijon mustard
1 teaspoon honey
1 tablespoon champagne vinegar
2 tablespoons olive oil
1/8 teaspoon dried thyme leaves
4 cups baby arugula, washed (2 ounces)
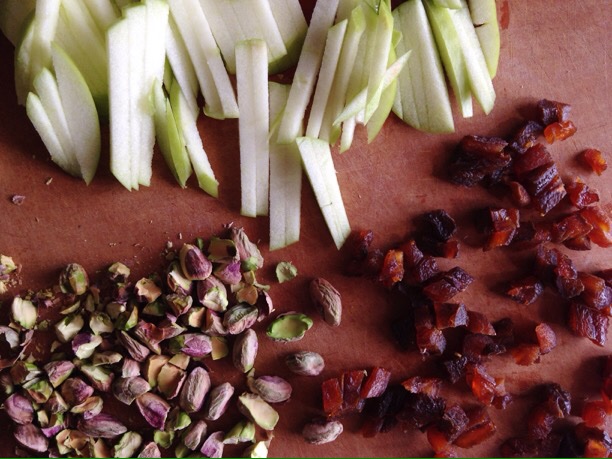
1/2 medium apple, cored and sliced into thin strips or julienned (2 1/2 ounces)
1/4 cup dried apricots, diced (1 1/2 ounces)
1/4 cup crumbled feta cheese
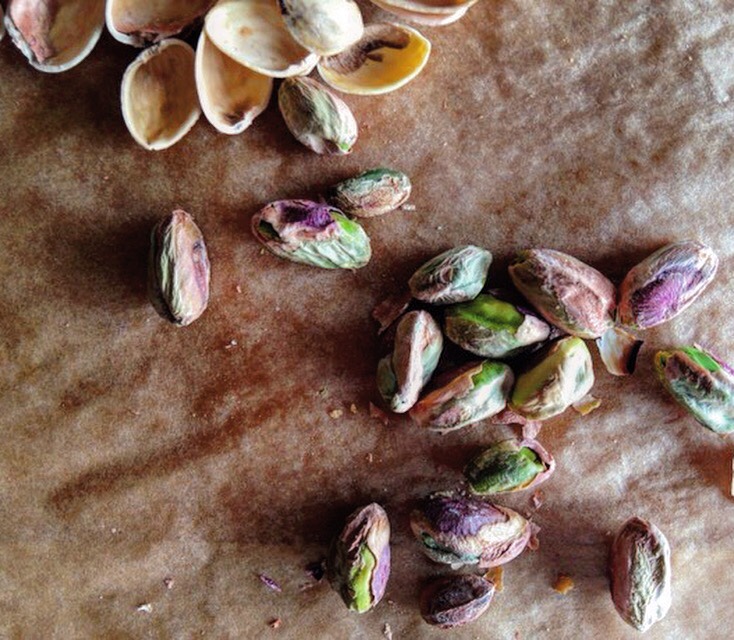
1/4 cup roasted, salted pistachios, roughly chopped (1 ounce)
Instructions
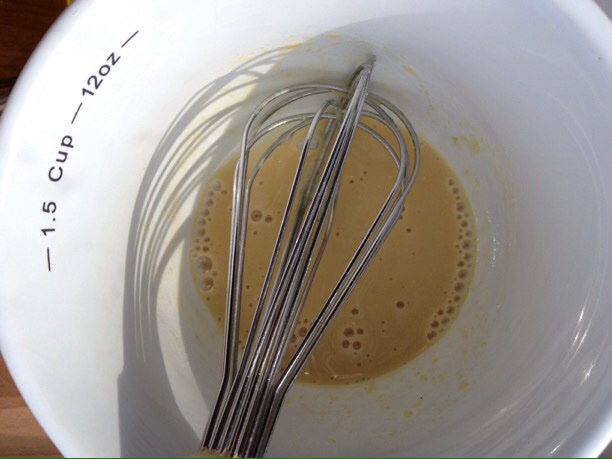
In a small bowl, whisk together the mustard, honey and vinegar. Pour in the olive oil and whisk until combined. Stir in the dried thyme.
To a large salad or mixing bowl, add the baby arugula along with the apple, apricots, feta cheese and pistachios. Pour dressing over the salad and toss to combine.
Portion onto plates and enjoy!
Notes
Make it meal! Just add sliced chicken or garbanzo beans.
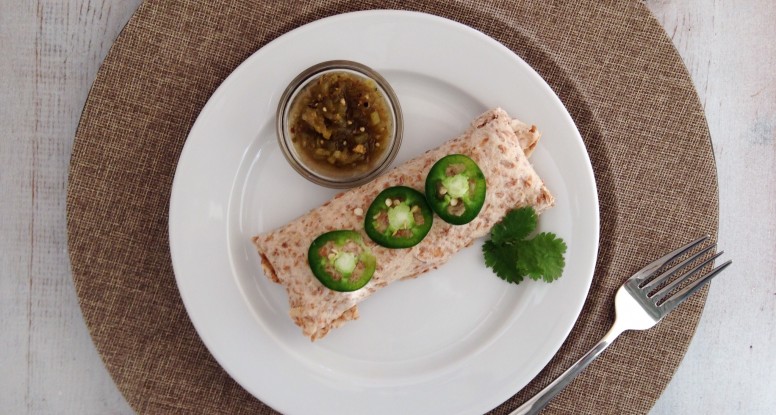
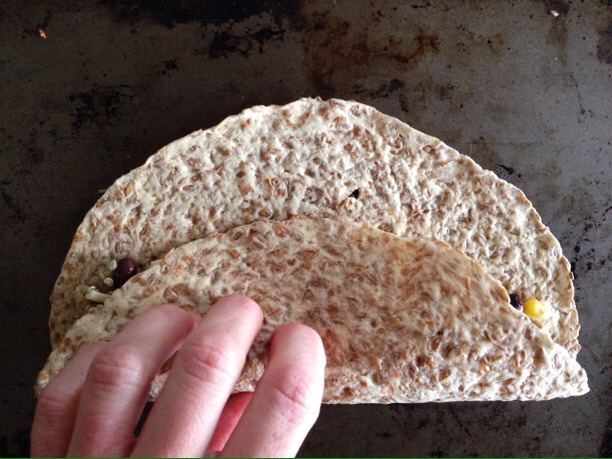
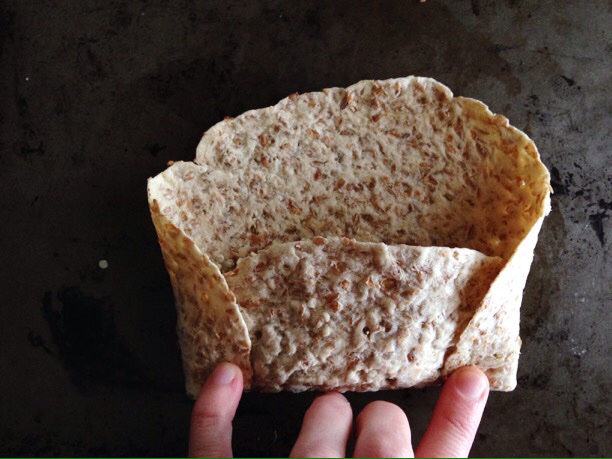
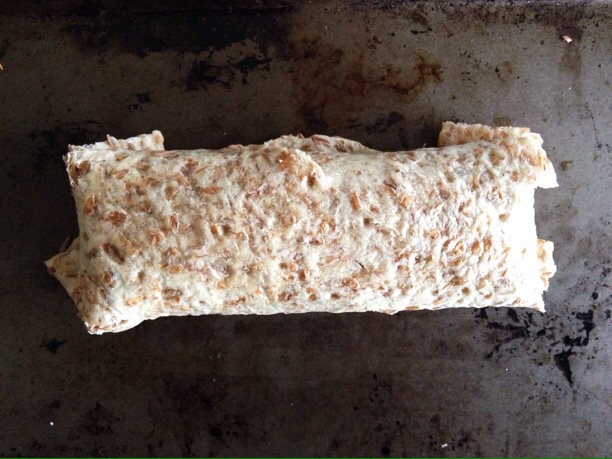
Here’s the deal, you could spend 50 cents on a lackluster burrito, or you could spend half that and have a tasty burrito loaded with nutritious ingredients. If you’re like me, you’ll choose the 15 cent burrito. Not sure how to make this amazingly inexpensive, delicious burrito? Don’t worry, I’ve got you covered. My Easy Freezer Burritos recipe is below and some pictures in case you need inspiration or instruction.
Don’t buy burritos anymore! Make them yourself with delicious, nutritious ingredients to fill you and nourish you.
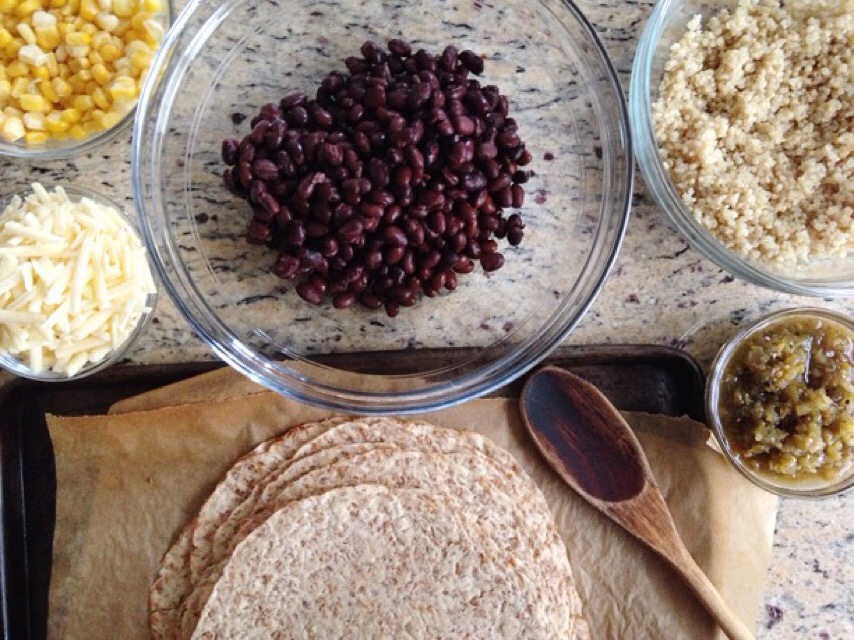
Ingredients
Scale
1 cup prepared quinoa*
1 15-ounce can black beans, drained and rinsed (about 1 1/2 cups)
3/4 cup frozen corn, thawed
1/2 cup tomatillo salsa
12 whole wheat or sprouted whole grain 8-inch flour tortillas
3/4 cup shredded sharp cheddar cheese
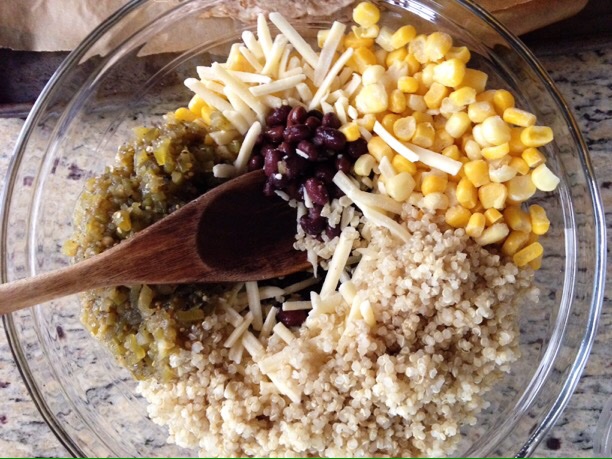
Instructions
In a large mixing bowl, combine the quinoa, black beans, corn, salsa and cheddar cheese.
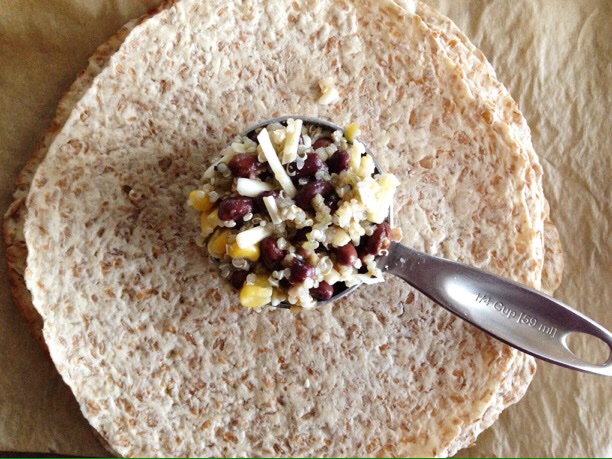
Lay tortillas out onto a clean work surface then spread 1/4 cup bean mixture down the middle of each tortilla.
To roll: Fold one end of the tortilla to meet the other. Gently push back the tortilla and ingredients so they are tight. Fold outside edges inward, then roll until burrito is closed. Repeat the process with the remaining burritos.
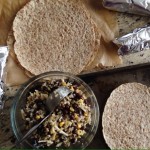
To freeze
Tear 12 sheets of foil. Place a burrito in the center of each piece of foil and tightly roll up. Place foil-wrapped burritos in a freezer bag. Label and date them before storing them in the freezer.
To enjoy
Remove burritos from foil and place on a microwave-safe plate. Cover and cook on high heat for about 1 minute. Check and add more time if necessary. If you’re unsure, use a food thermometer and cook until internal temperature reaches 165’F.
Notes
Makes 12 burritos
*Of course I wouldn’t leave you hanging! Here’s how you prepare the quinoa: https://www.sarahaasrdn.com/freezer-quinoa/
Why? Because they are awesome for you nutritionally (high in fiber, plenty of amazing vitamins and minerals, vegetarian protein, etc) and they taste great so many different ways.
Think I’m just pulling a crazy dietitian stunt on you?
No way! I love tasty food just as much, if not more, than you do. I would never recommend a food that I didn’t deem “tasty.” Now way!
But why chickpeas Sara?
Chickpeas are the underdog in the bean world seeming to only really be appreciated for their necessity in making hummus. Boo to that I say! Chickpeas belong front and center and here’s just the dish that does that.
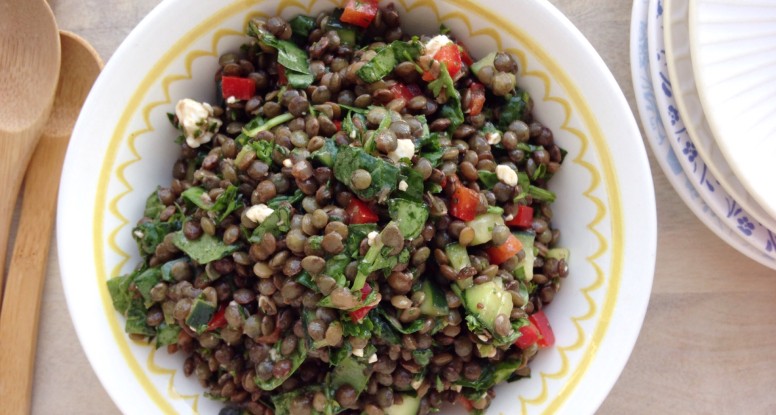
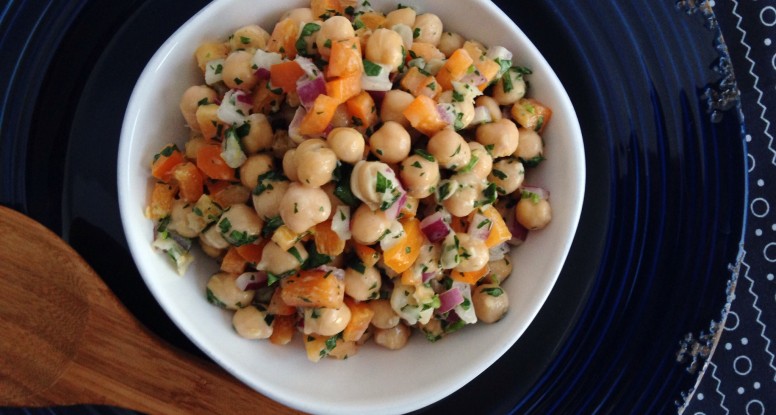
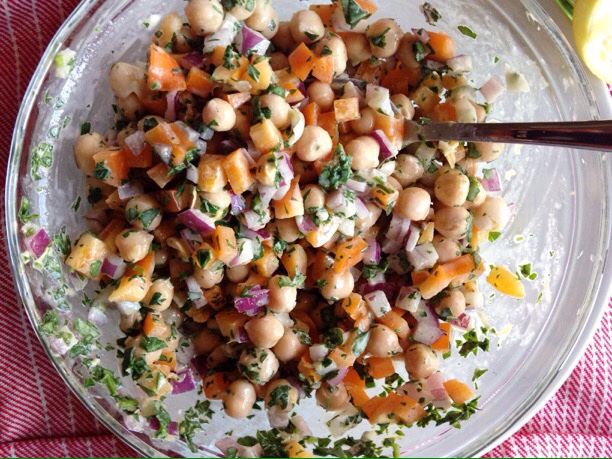
Meet my Chickpea Salad with Tahini Dressing!
This salad is booming with flavor and it’s not only craveable, it’s addicting. Nothing beats lots of fresh parsley and lemon and when you add in creamy tahini, you’ve got a dressing that really shines.
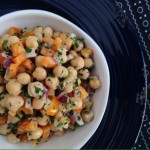
So here you go my friends, my Chickpea Salad with Tahini Dressing!
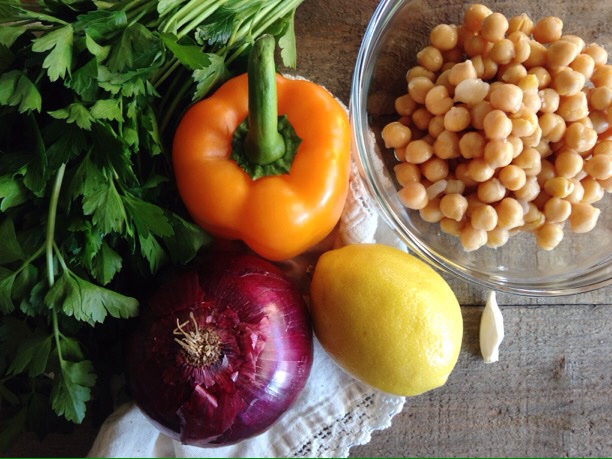
A refreshing, yet hearty salad made with chickpeas, bell peppers, parsley all tossed in a tangy lemon-tahini dressing.
Ingredients
Scale
1 clove garlic, minced
1 tablespoon tahini
2 tablespoons fresh lemon juice
1 teaspoon honey
1 tablespoon olive oil
1 tablespoon water
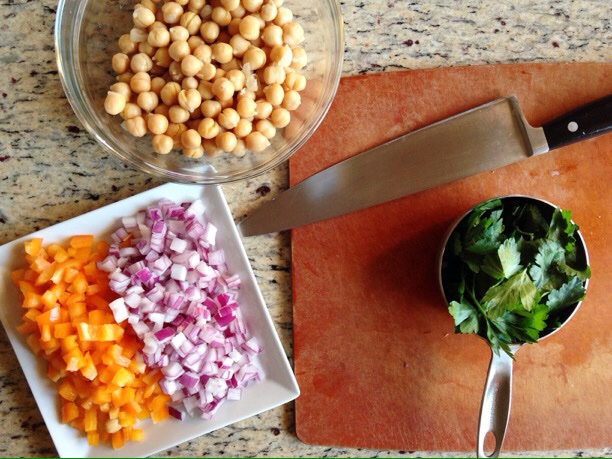
1 15-ounce can chickpeas, drained and rinsed
1 red or orange bell pepper, seeded and diced (about 1cup)
1 cup diced red onion
1 cup parsley, chopped
salt, to taste
black pepper, to taste
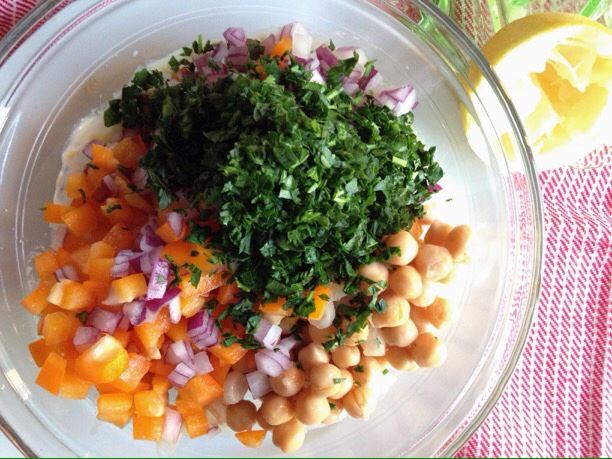
Instructions
In the bottom of a mixing bowl whisk together the garlic, tahini, lemon juice and honey. Add the olive oil and continue whisking until combined, then add the water. Toss in the chickpeas, bell pepper, red onion and parsley and toss to coat. Season with salt and pepper.