Cacao.
It’s a fun word. Say it. Seriously, say it out loud. Super fun, right?
Fun and popular, cacao sure is sitting pretty these days. It’s trendy and it’s hip…even though it’s really nothing new.
Nope, cacao has been around for awhile. Never heard of it? Sure you have, it’s also known as cocoa, the more modern-ish term we typically use here in America. Cacao (and cocoa) refers to the dried beans from the cocoa tree. Generally, cacao is synonymous with the unroasted or raw version of the cocao bean, with cocoa being the roasted and sometimes more processed cacao bean. Cacao can be turned into everything from “nibs”( essentially broken pieces of cacao beans) to powder.
If cacao isn’t new, then why this surge in popularity? Well my guess it’s because people are looking for all kinds of ways to add a nutritious boost to their smoothie bowls, oatmeal, shakes and everything in between. Cacao is a good choice then as it’s got a pretty nice nutrition profile, containing several antioxidants and minerals like magnesium and iron. But like anything, enjoy in moderation.
Looking to try cacao beans? Then try my recipe below for Cacao Pretzel Snacks. They are super easy to make and provide a nice introduction to cacao.
And a big thank you to the Recipe Redux! This recipe was inspired by this month’s theme of building a recipe using an ingredient I’ve never used before.
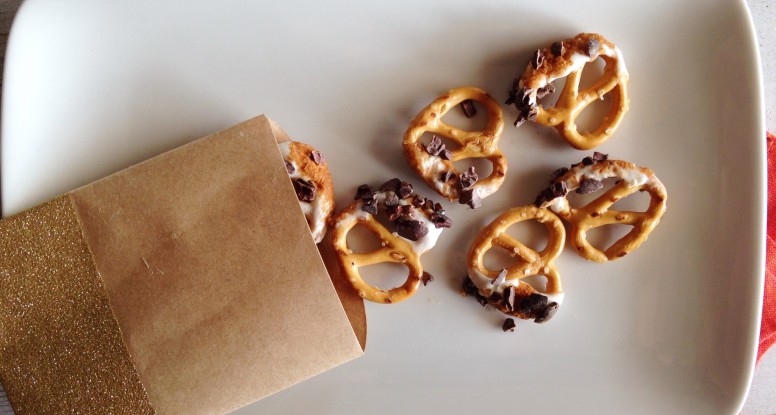
And the Pretty Pictures of Cacao Pretzels Snacks:
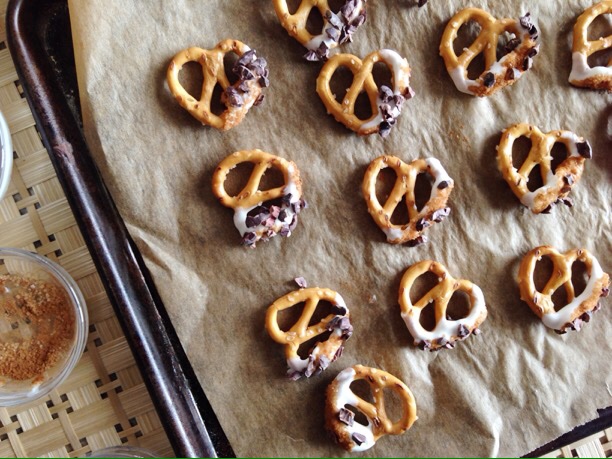
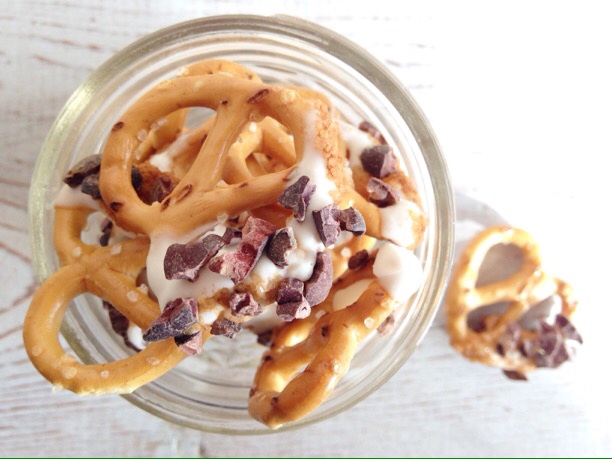

Cacao Pretzel Snacks
Description
A simple snack made with whole grain pretzels, Greek yogurt and cacao nibs.
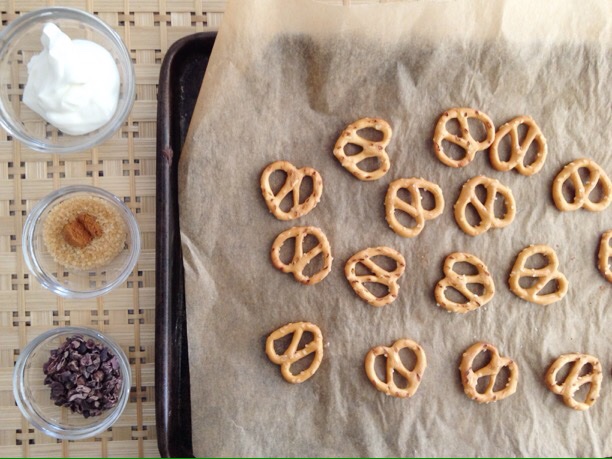
Ingredients
- 1 teaspoon Turbinado sugar
- 1/8 teaspoon ground cinnamon
- 2 tablespoons plain, low-fat Greek yogurt
- 2 teaspoons cacao nibs
- 20 whole grain pretzels twists
Instructions
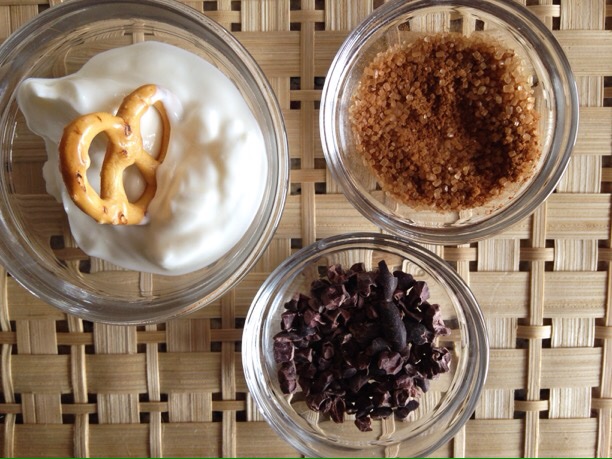
- Combine the sugar and cinnamon in a small bowl. Place the yogurt and cacao nibs in separate small bowls.
- Dip half of each pretzel in the yogurt, then the cinnamon sugar mixture and finally in the cacao nibs. Place coated pretzels on a clean sheet pan and place in the freezer for 15 minutes.
- Remove from the freezer and enjoy.
Notes
- Mix it up! Add a dash of cayenne pepper to the sugar mixture or add crushed nuts to the cacao nibs. Have fun by coming up with your own, unique flavors!
Nutrition
- Serving Size: 4
- Calories: 124
- Sugar: 2
- Sodium: 520
- Fat: 1
- Saturated Fat: 0
- Unsaturated Fat: 1
- Trans Fat: 0
- Carbohydrates: 25
- Protein: 3
- Cholesterol: 0