Why I made this recipe: Because “soup season” has officially begun in my household and because I really enjoy a bold-flavored, hearty soup like this Red Curry Quinoa Soup.
Why I love this recipe: Well, for the reasons I made this soup and for a few more too. First, quinoa is one of my favorite grains, not only is it nutritious, but it cooks super fast. That means this soup comes together fast too! Why else, you ask? Because it’s totally satisfying. There’s nothing I dislike more than a weak, bland, watery soup. This one is none of those things!
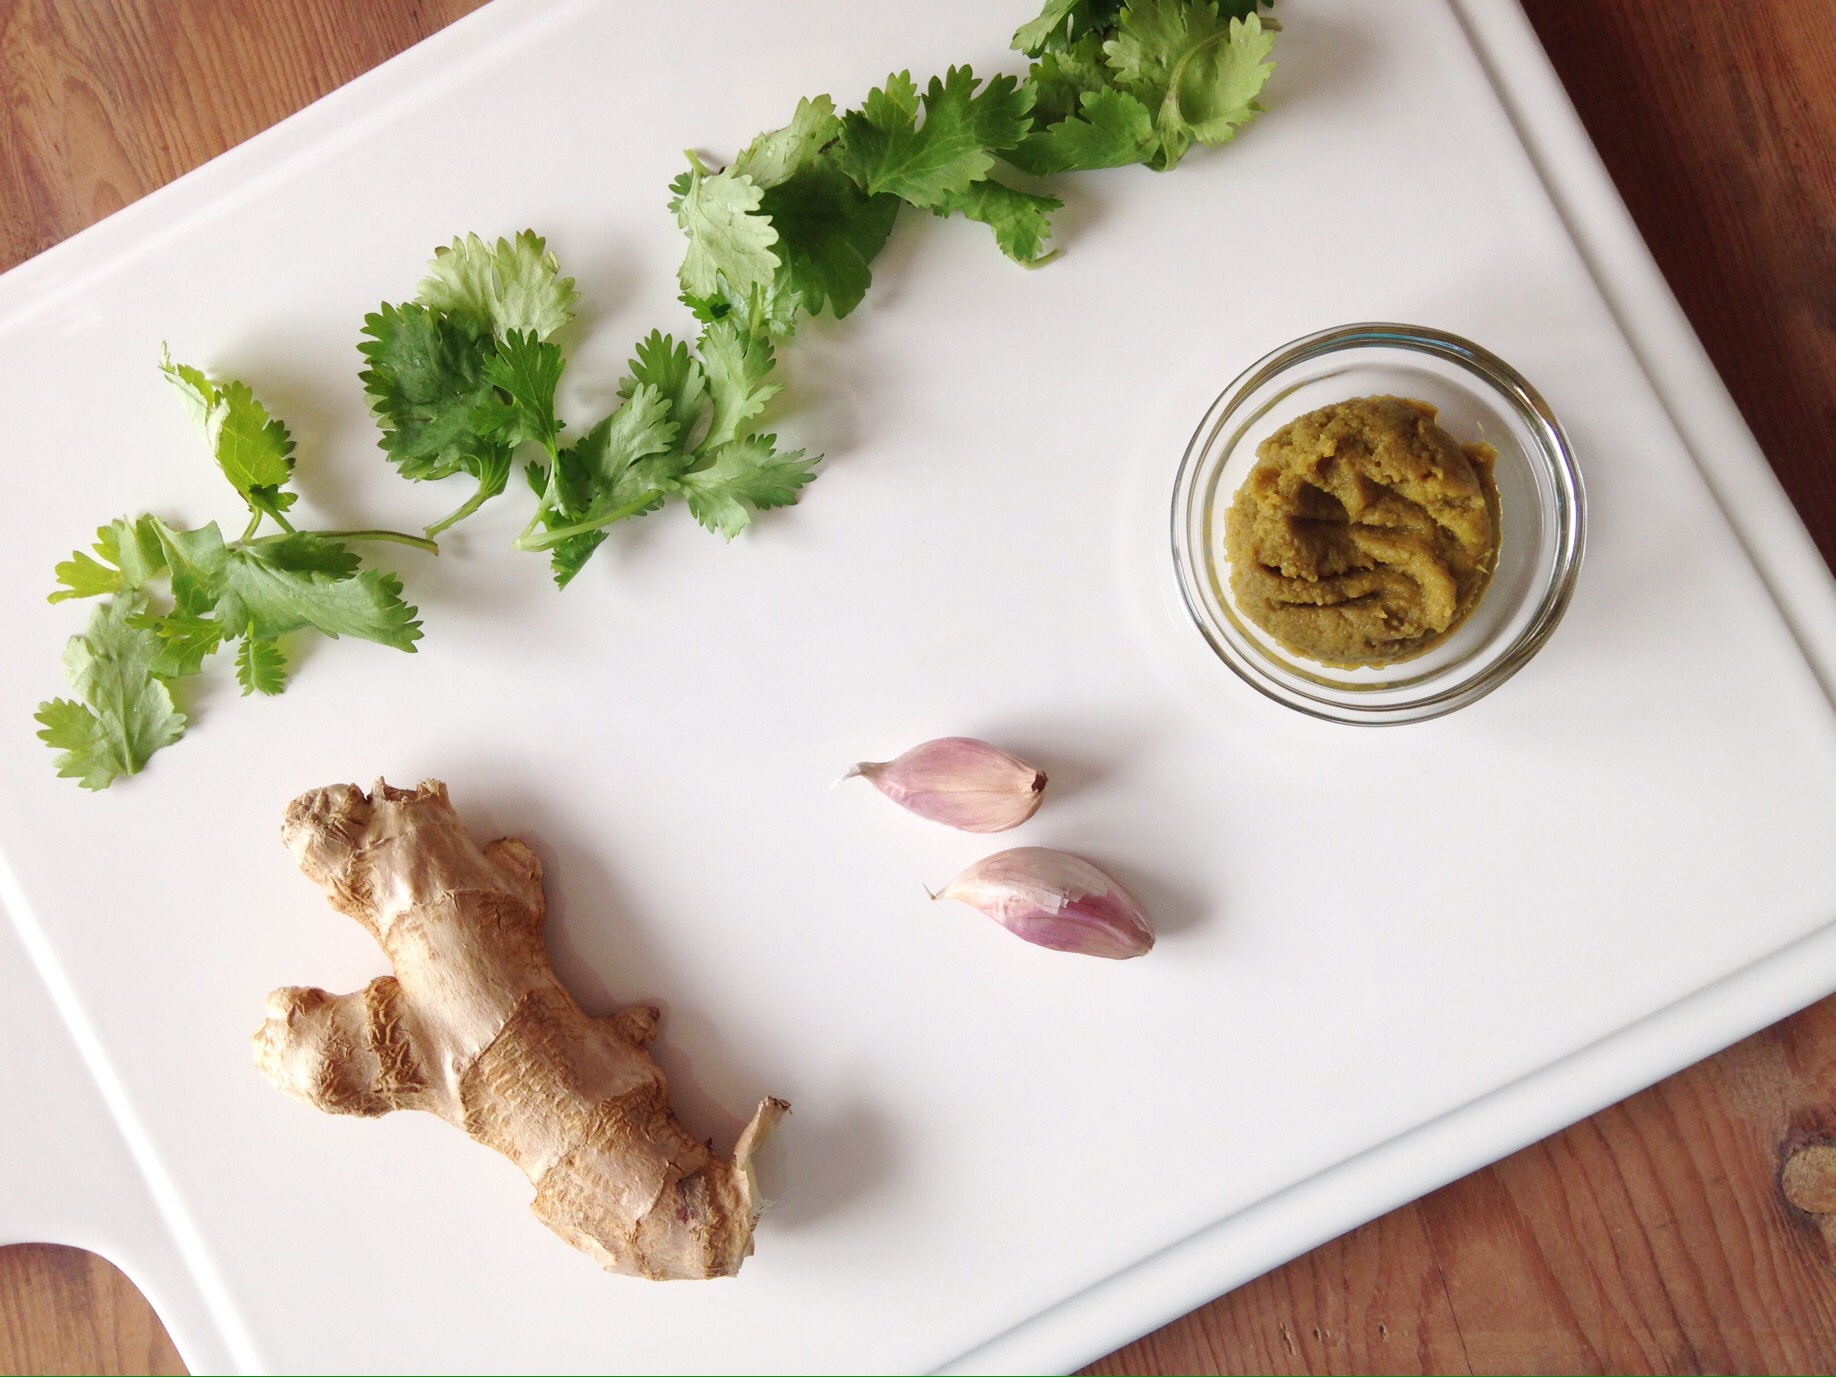
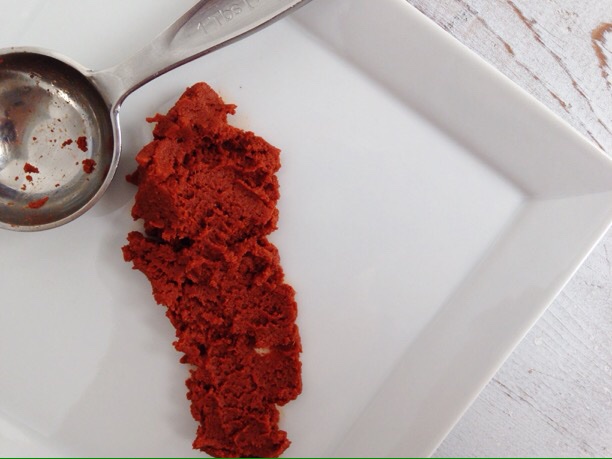
How this recipe is healthy: Oh, that quinoa! Not only does it cook fast, but it is so nutritious! A perfect source of vegetarian protein and loaded with fiber and iron, it’s a delightful alternative to rice and other grains. And how about that red curry paste! Never heard of it? Well, let me introduce you to your new kitchen staple. This stuff is simply magical. Typically used in Thai cooking, it adds serious depth of flavor to any dish you make, plus a little heat. All of that flavor doesn’t even come at a caloric cost either! The ingredients, usually chili peppers, garlic, galangal (or Thai ginger), shallot, spices and kaffir lime are foods that are loaded with antioxidants and other nutrients, that also happen to be amazingly flavorful. A true culinary and nutritional gem.
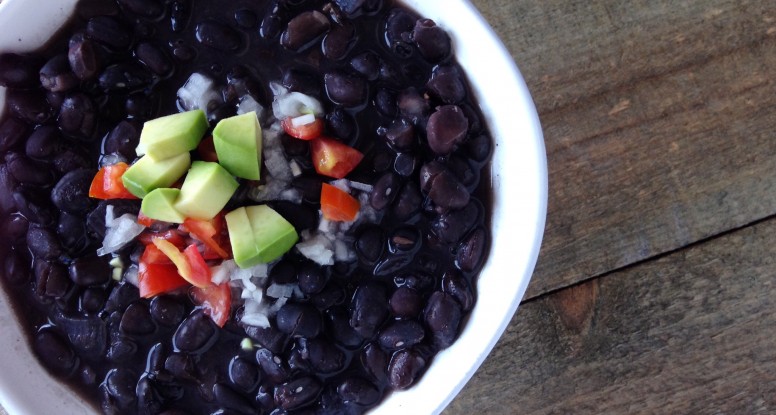
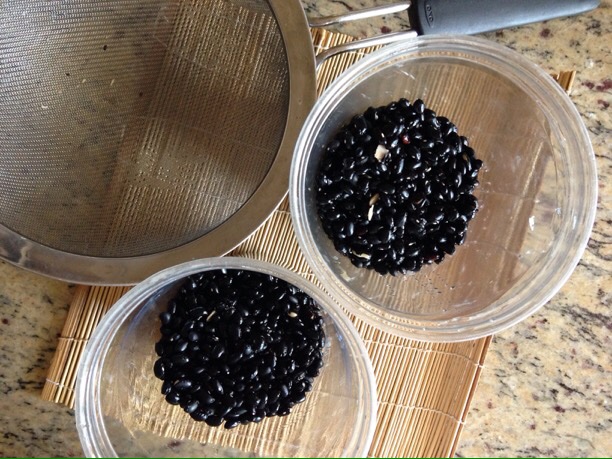
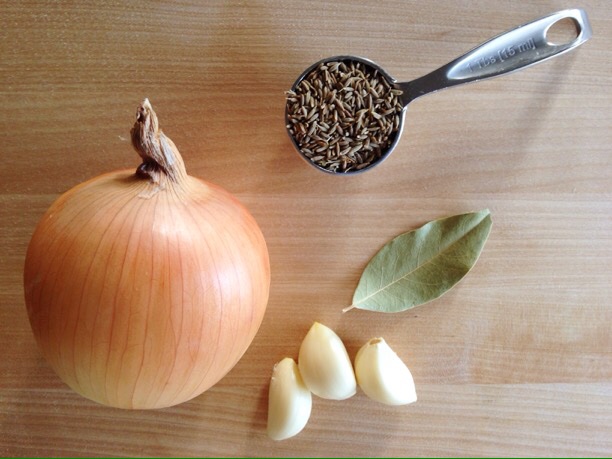
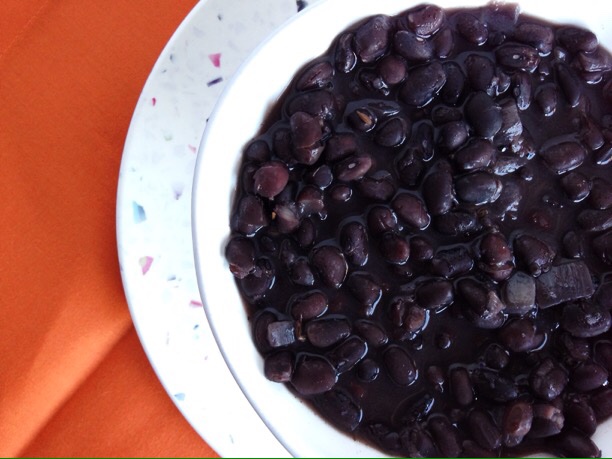
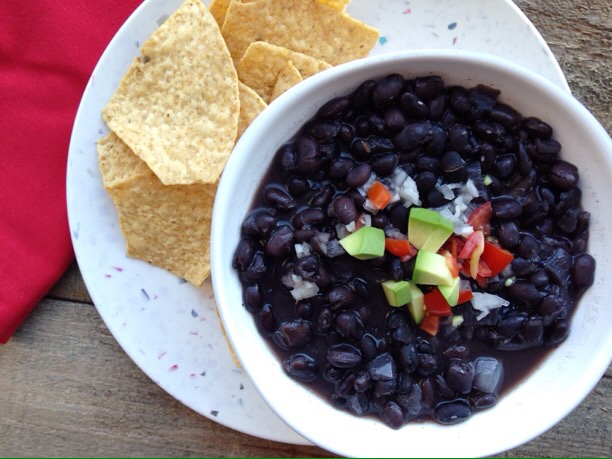
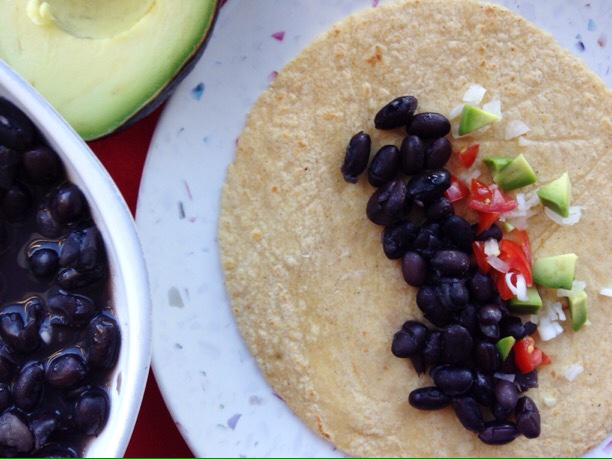
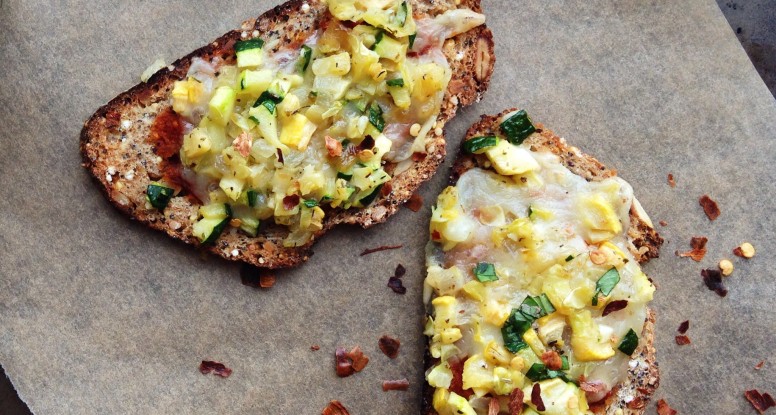
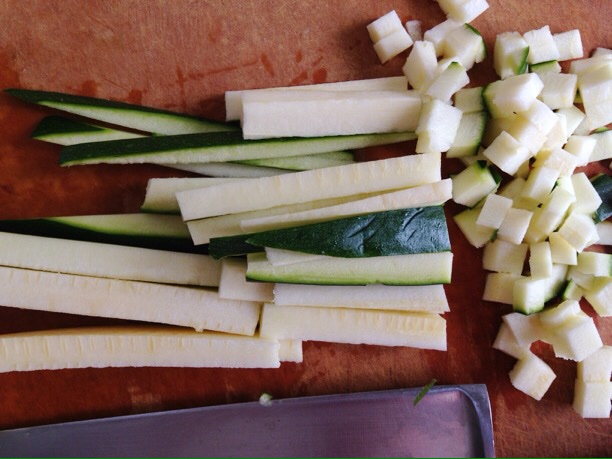
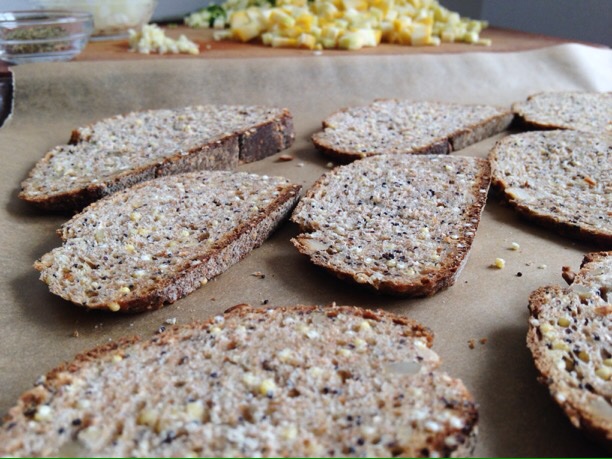
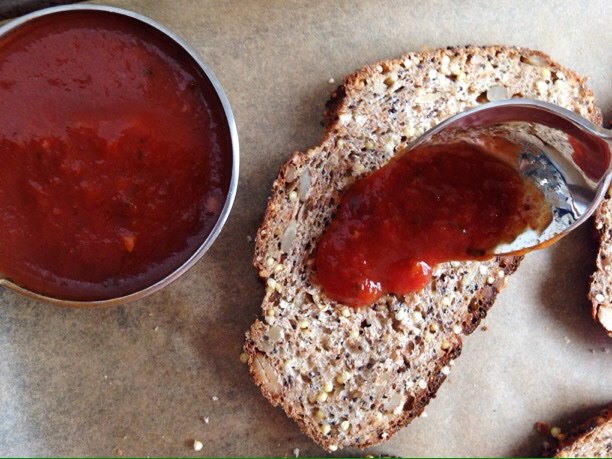
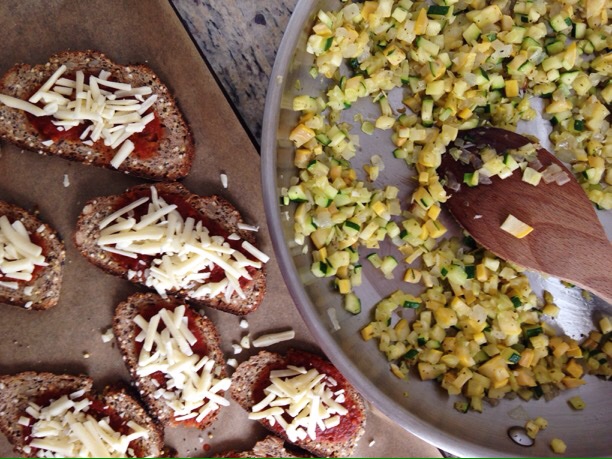
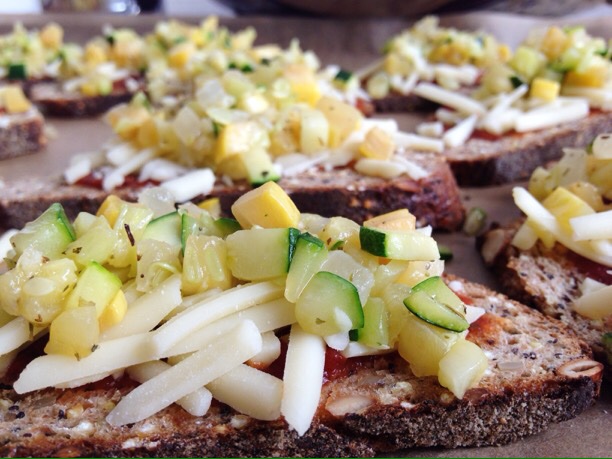
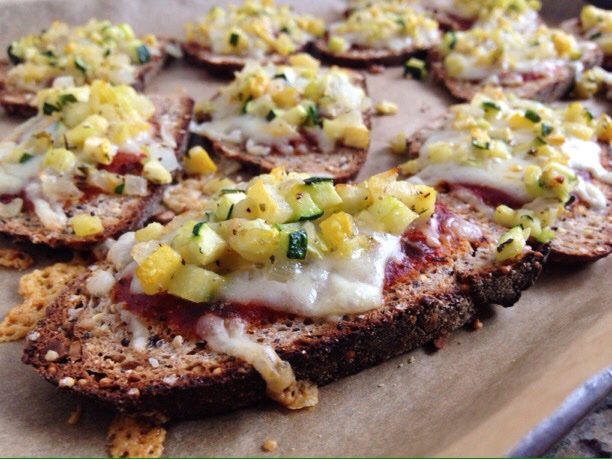
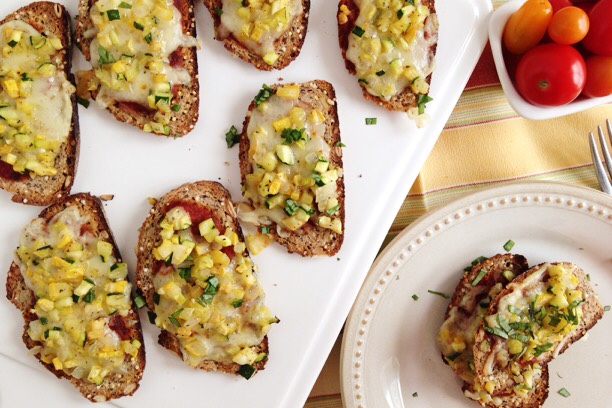
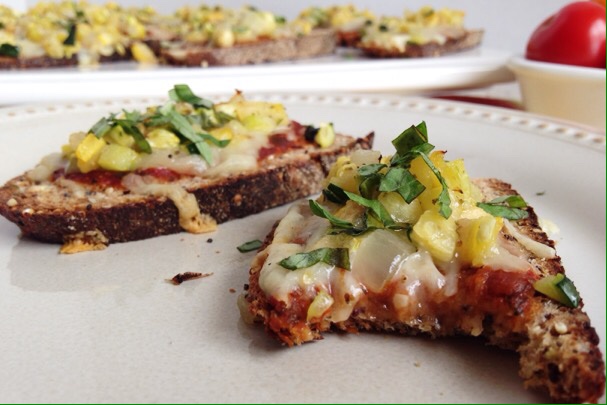
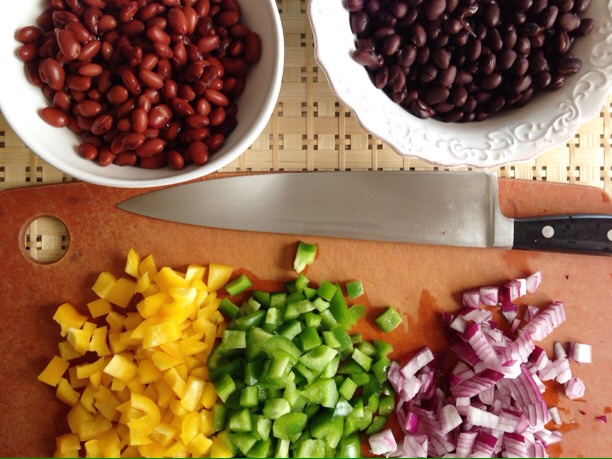
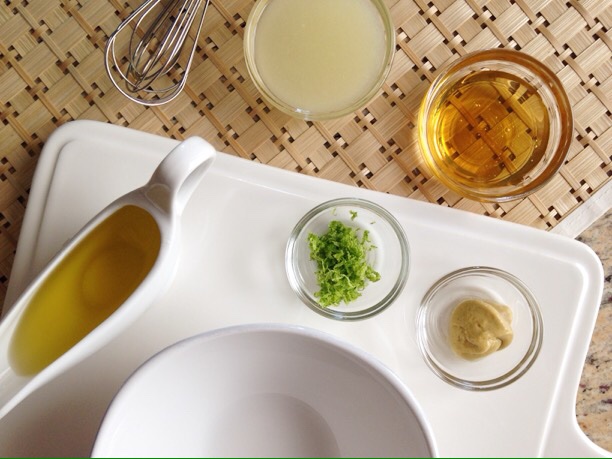
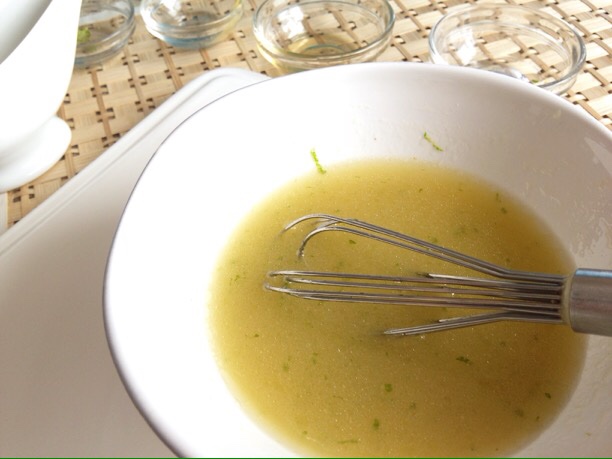
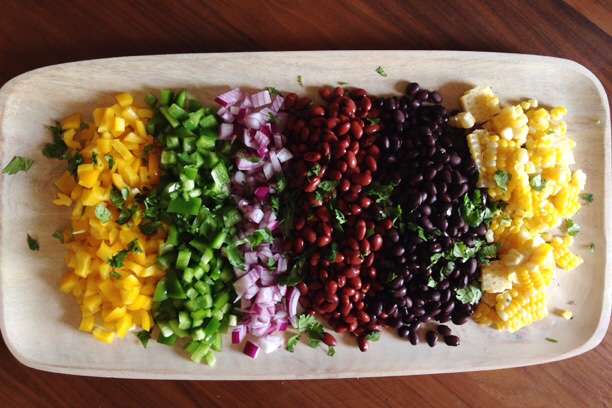
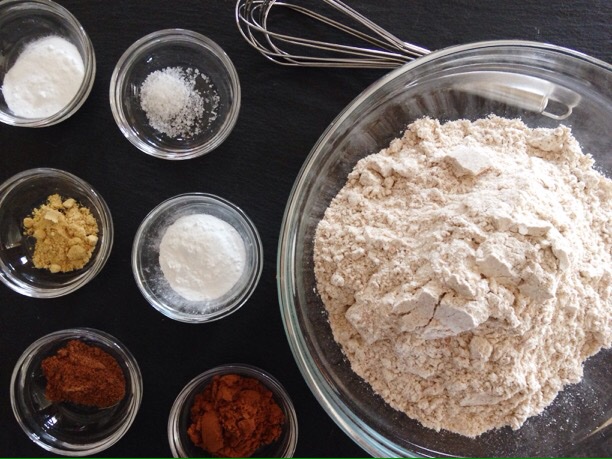
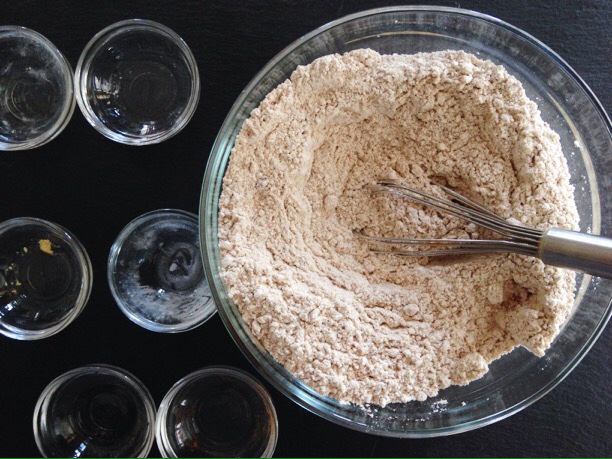
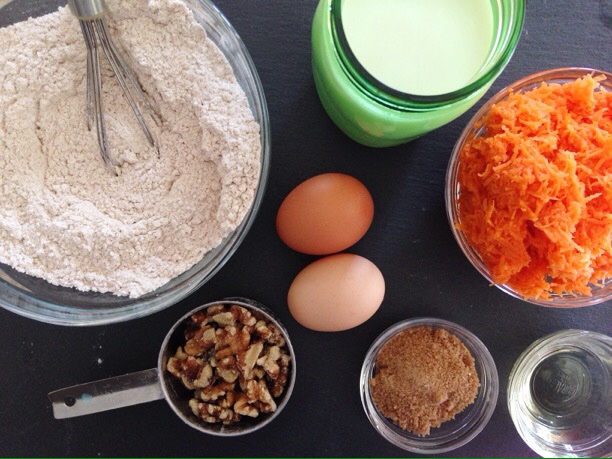
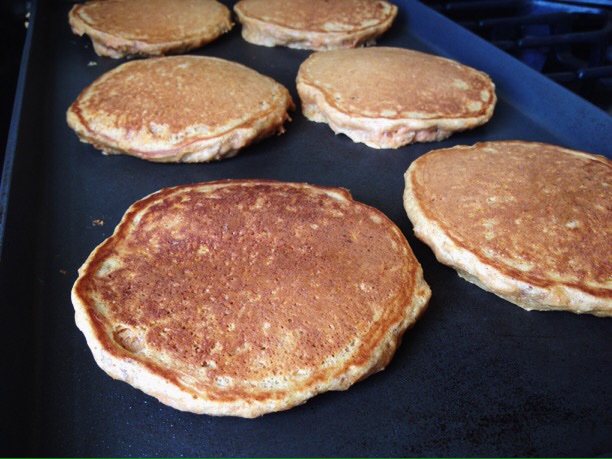
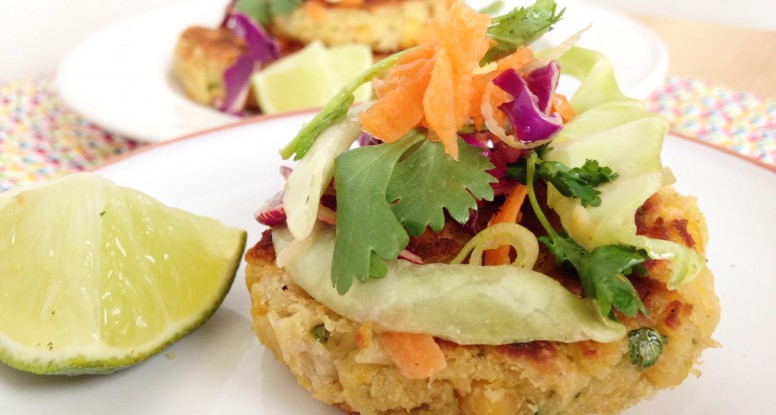
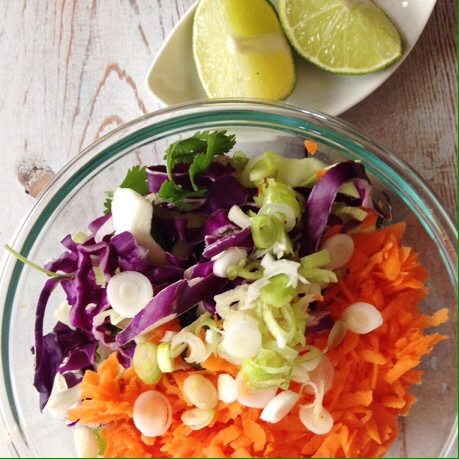
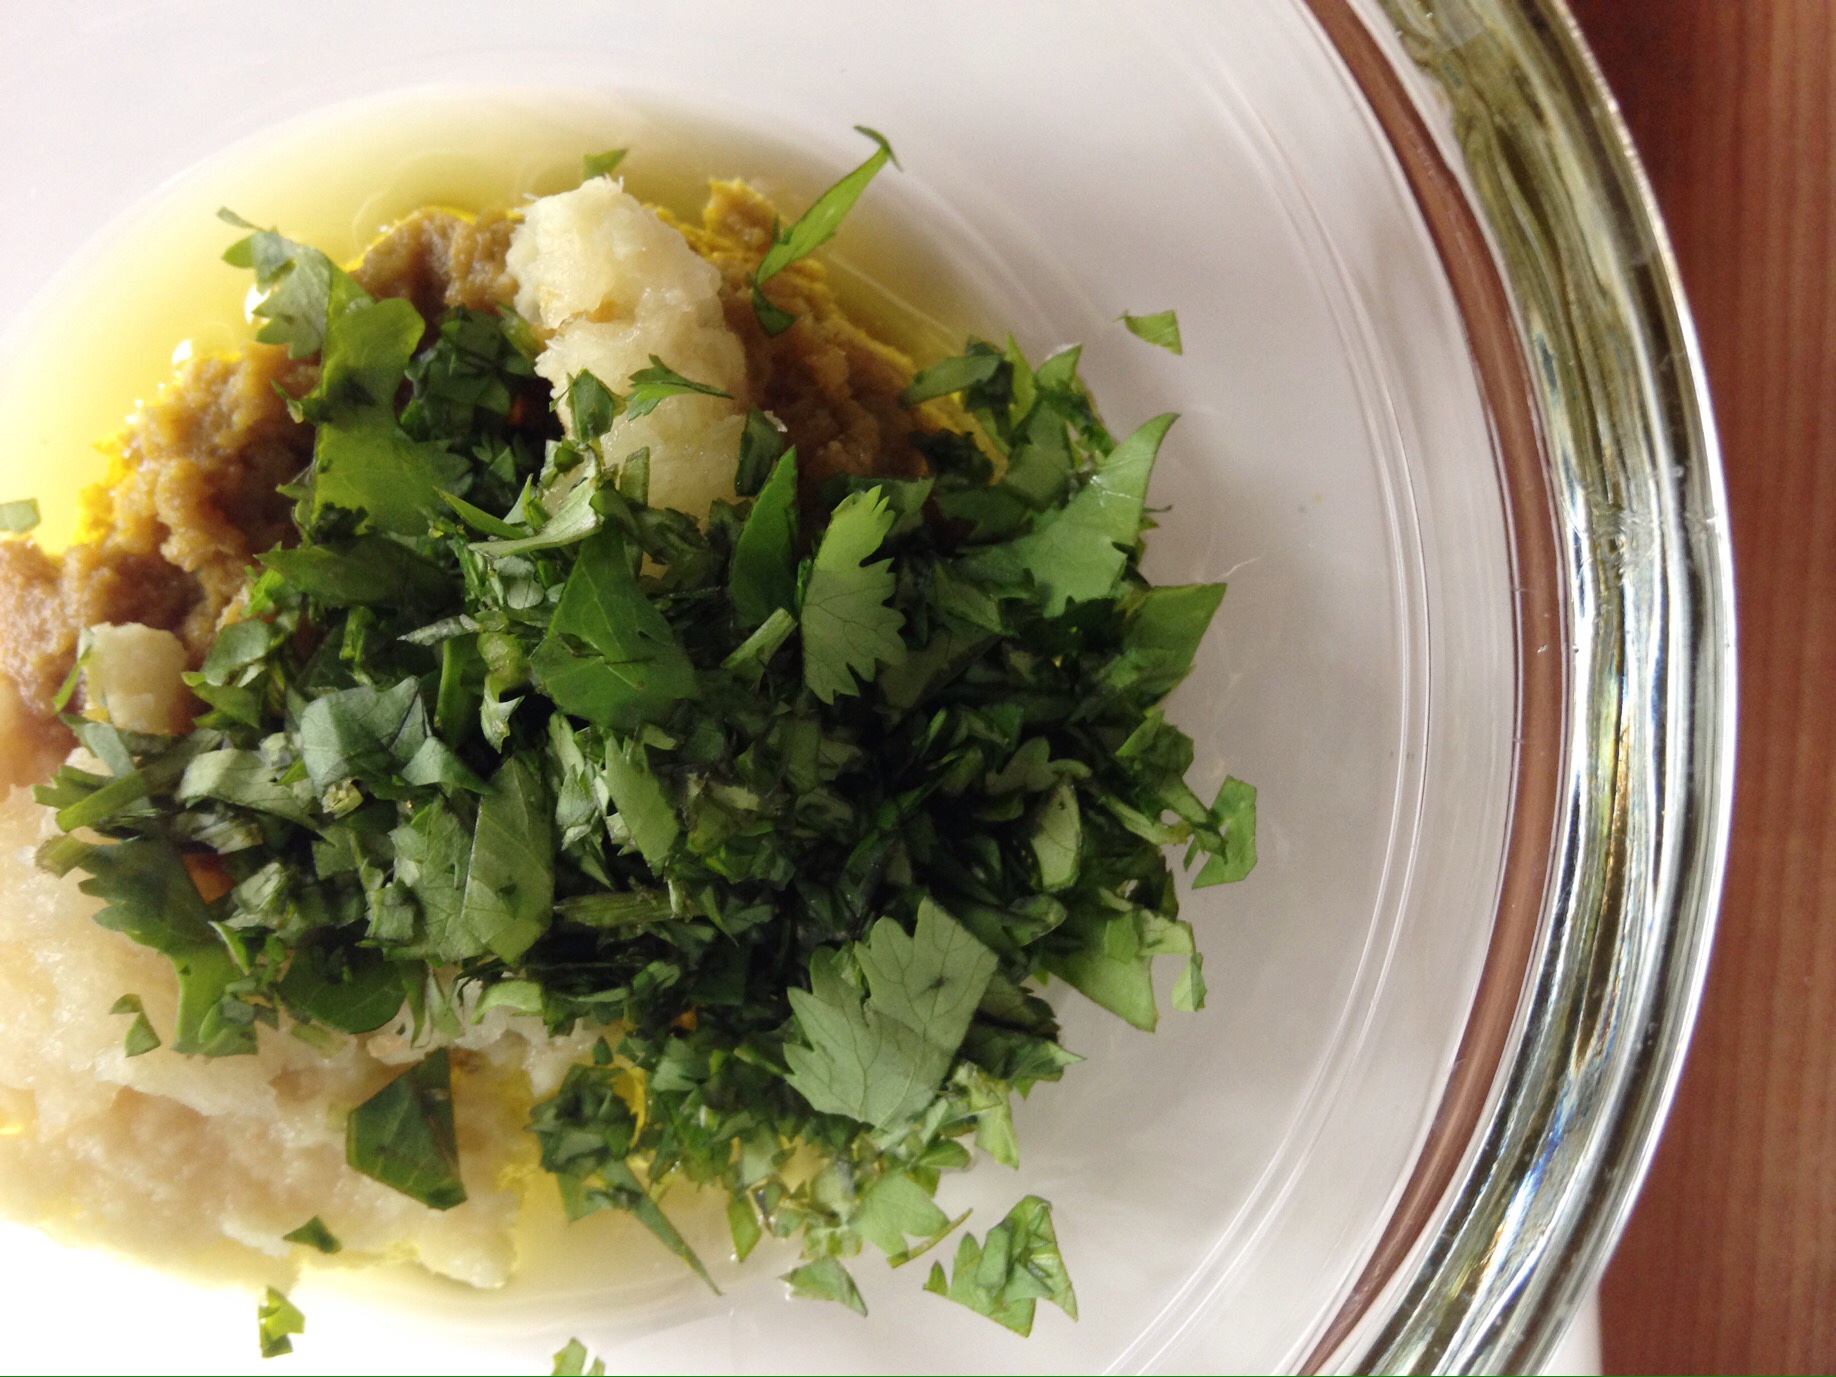
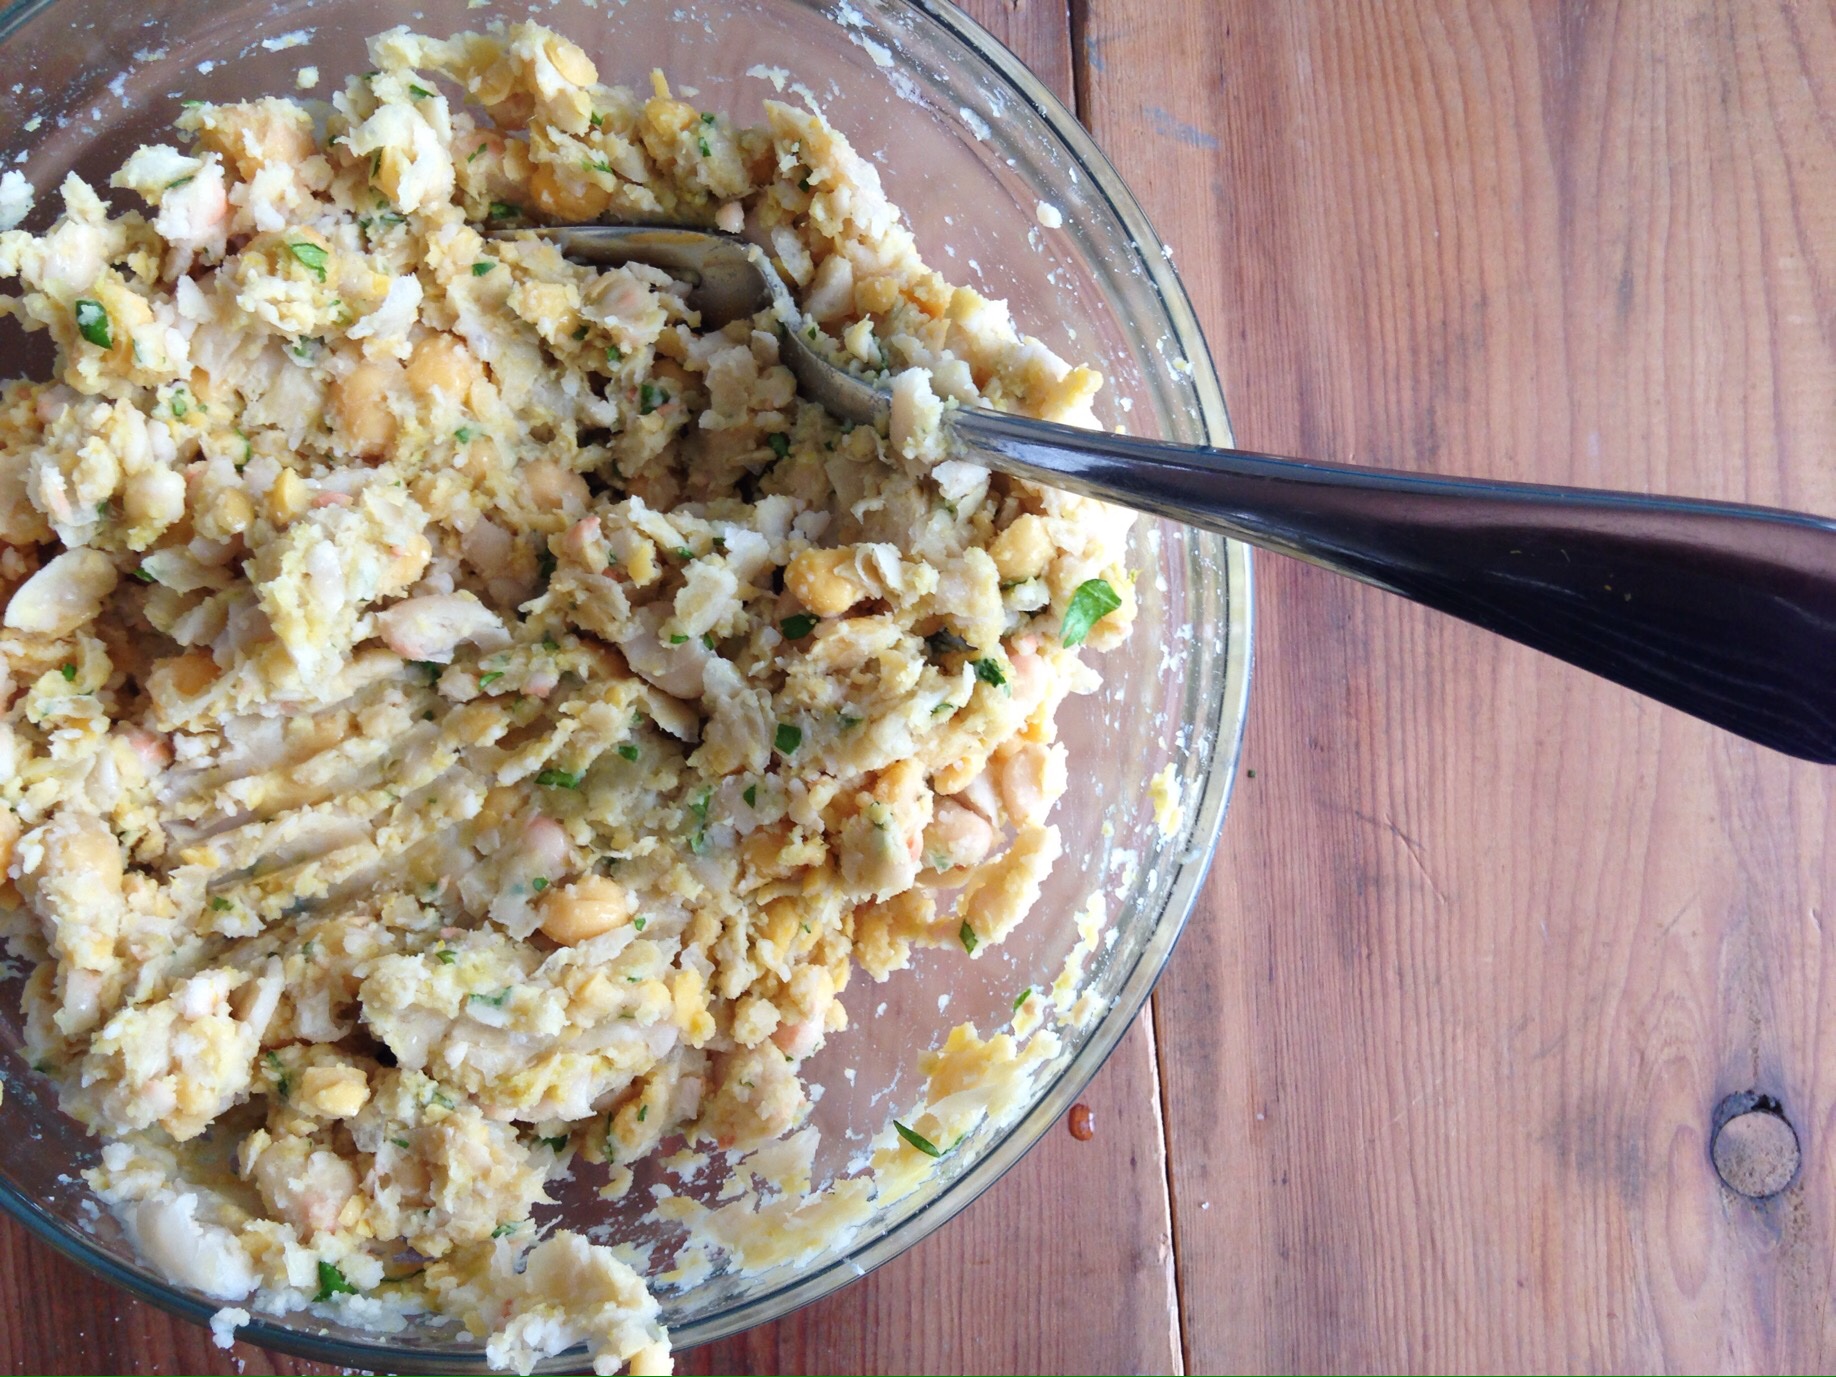
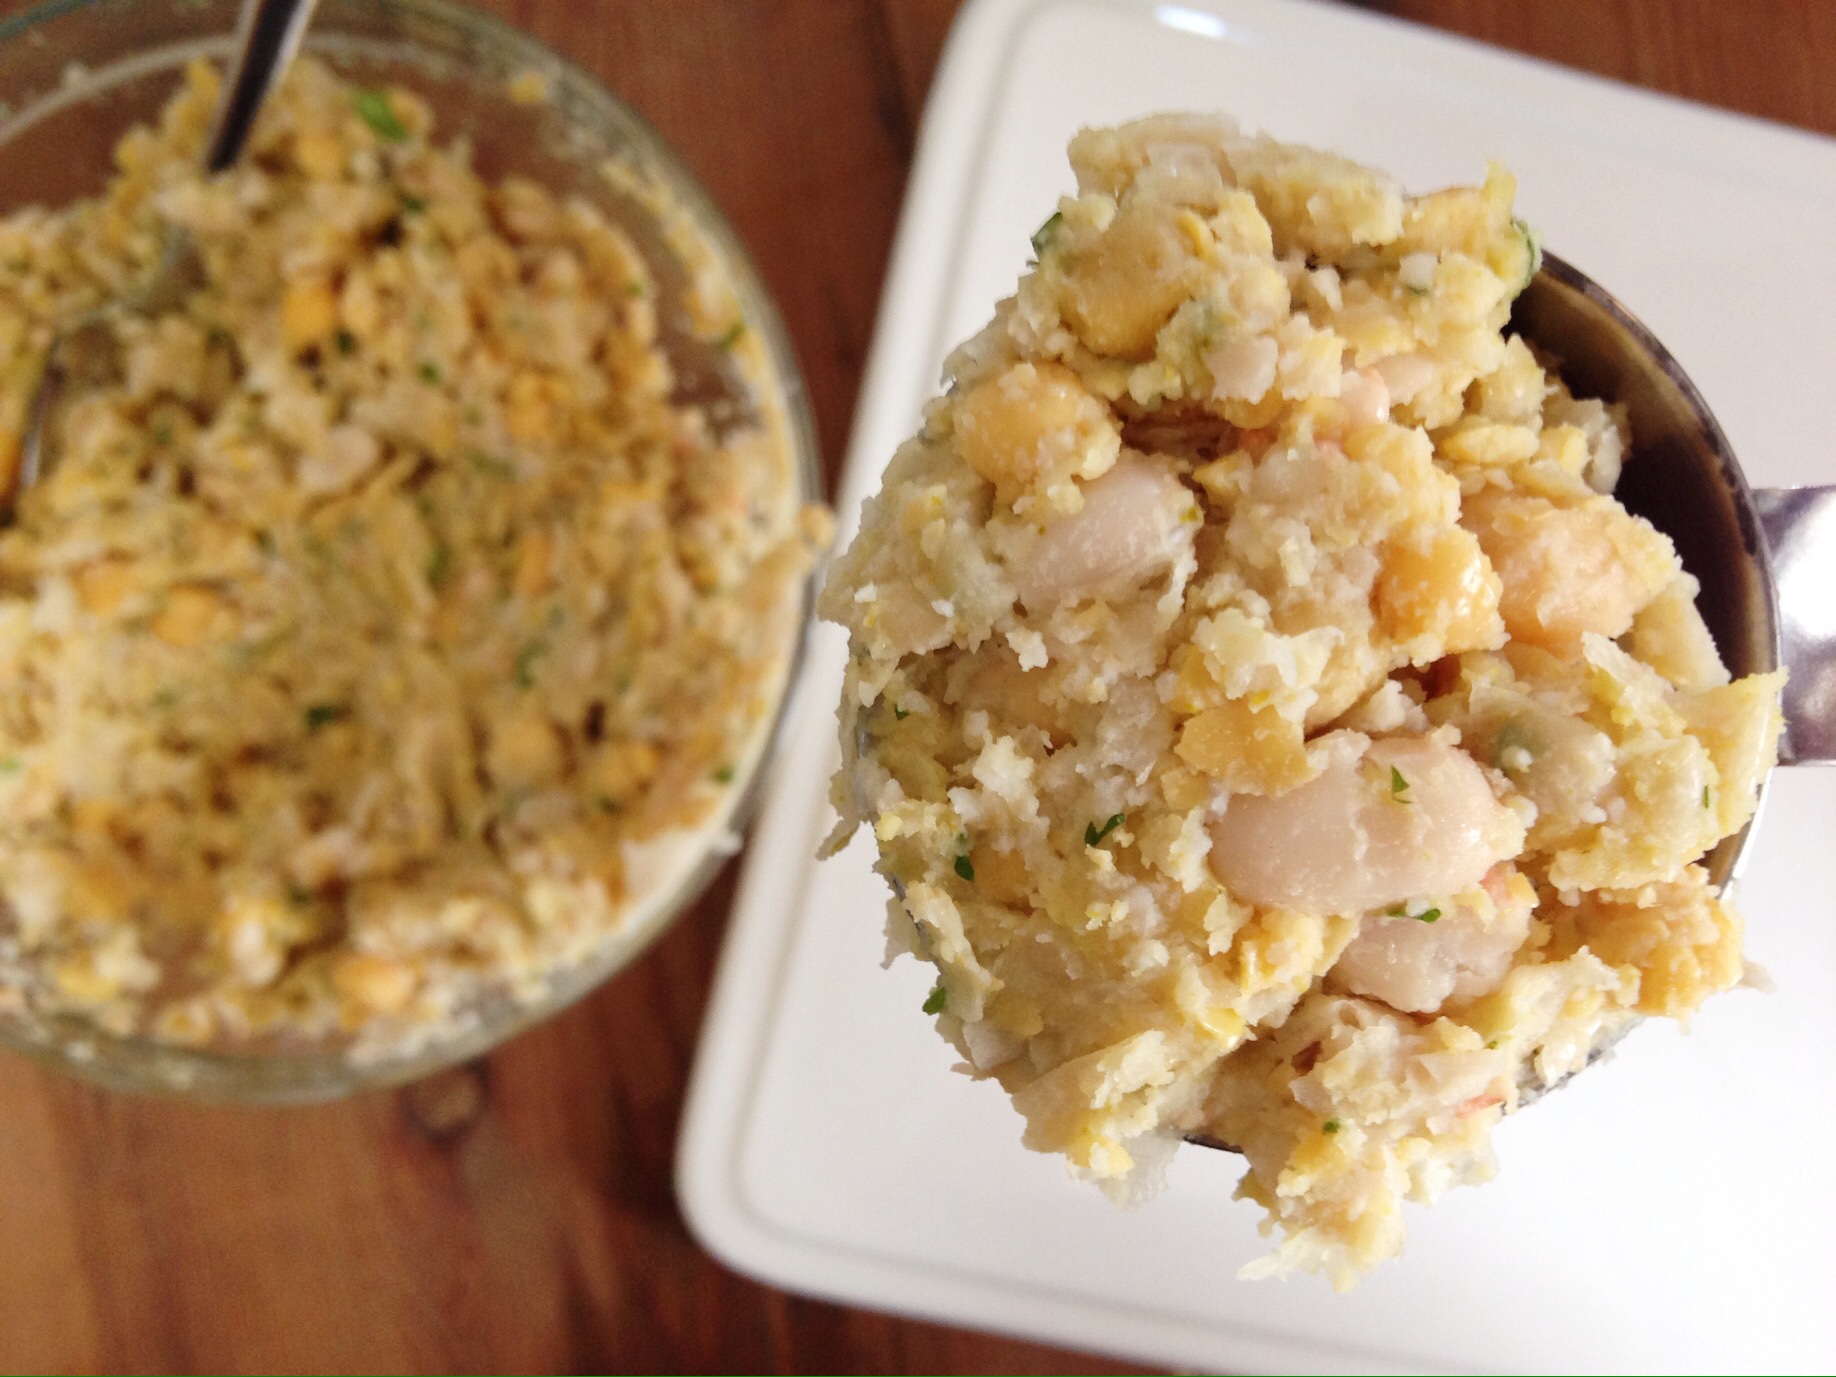
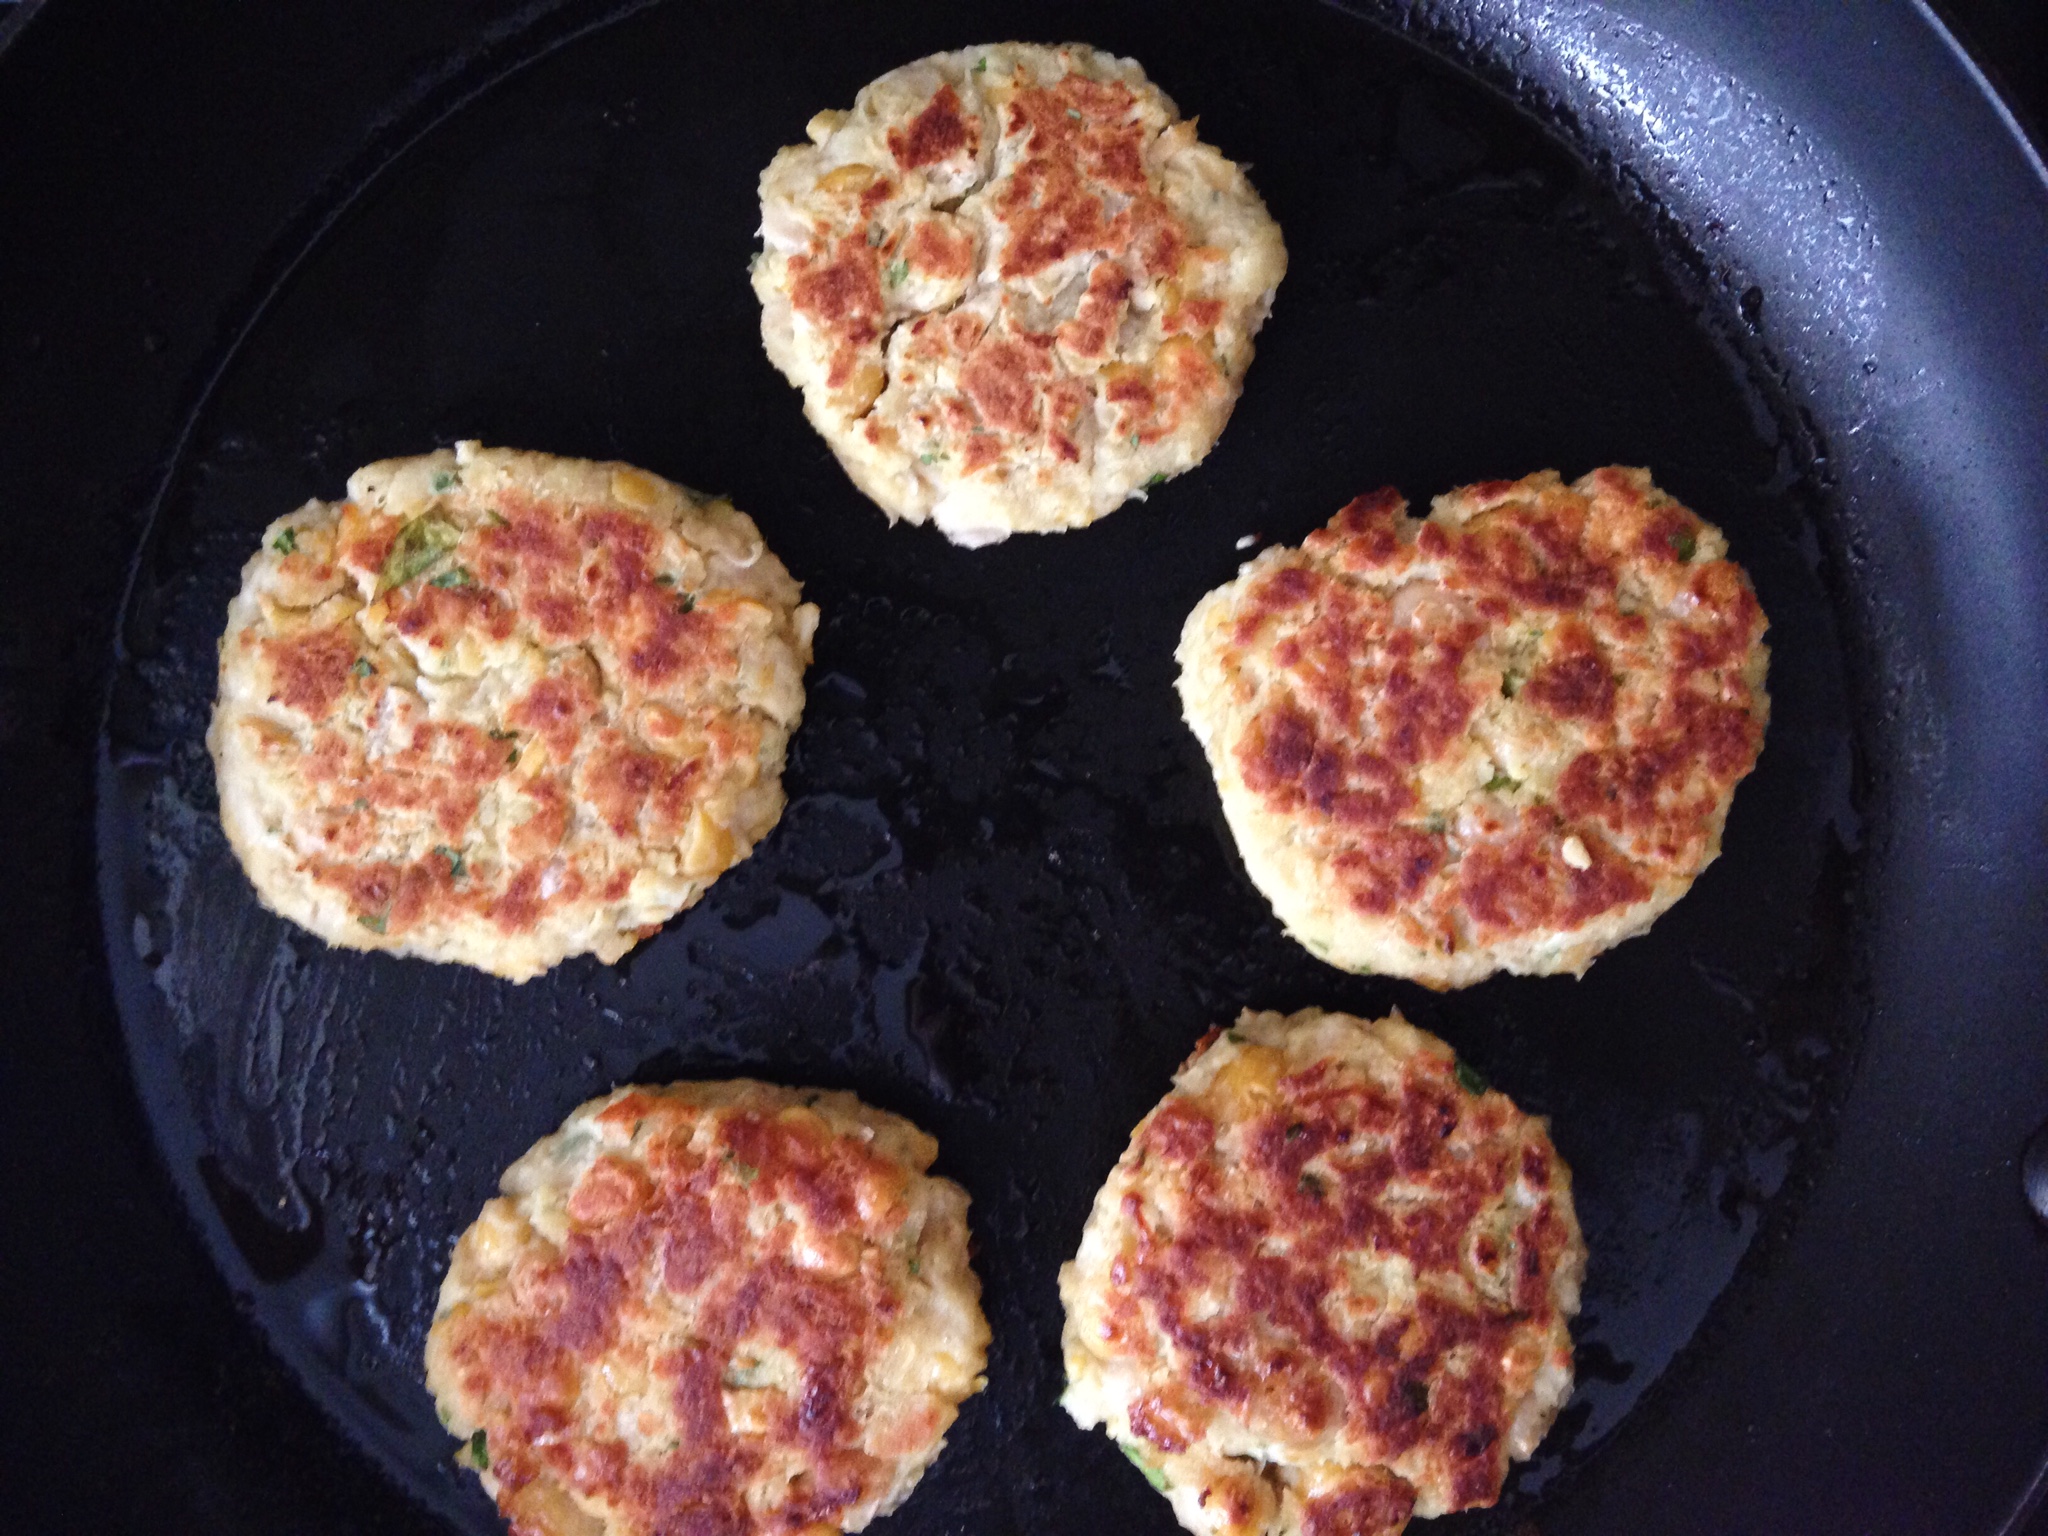
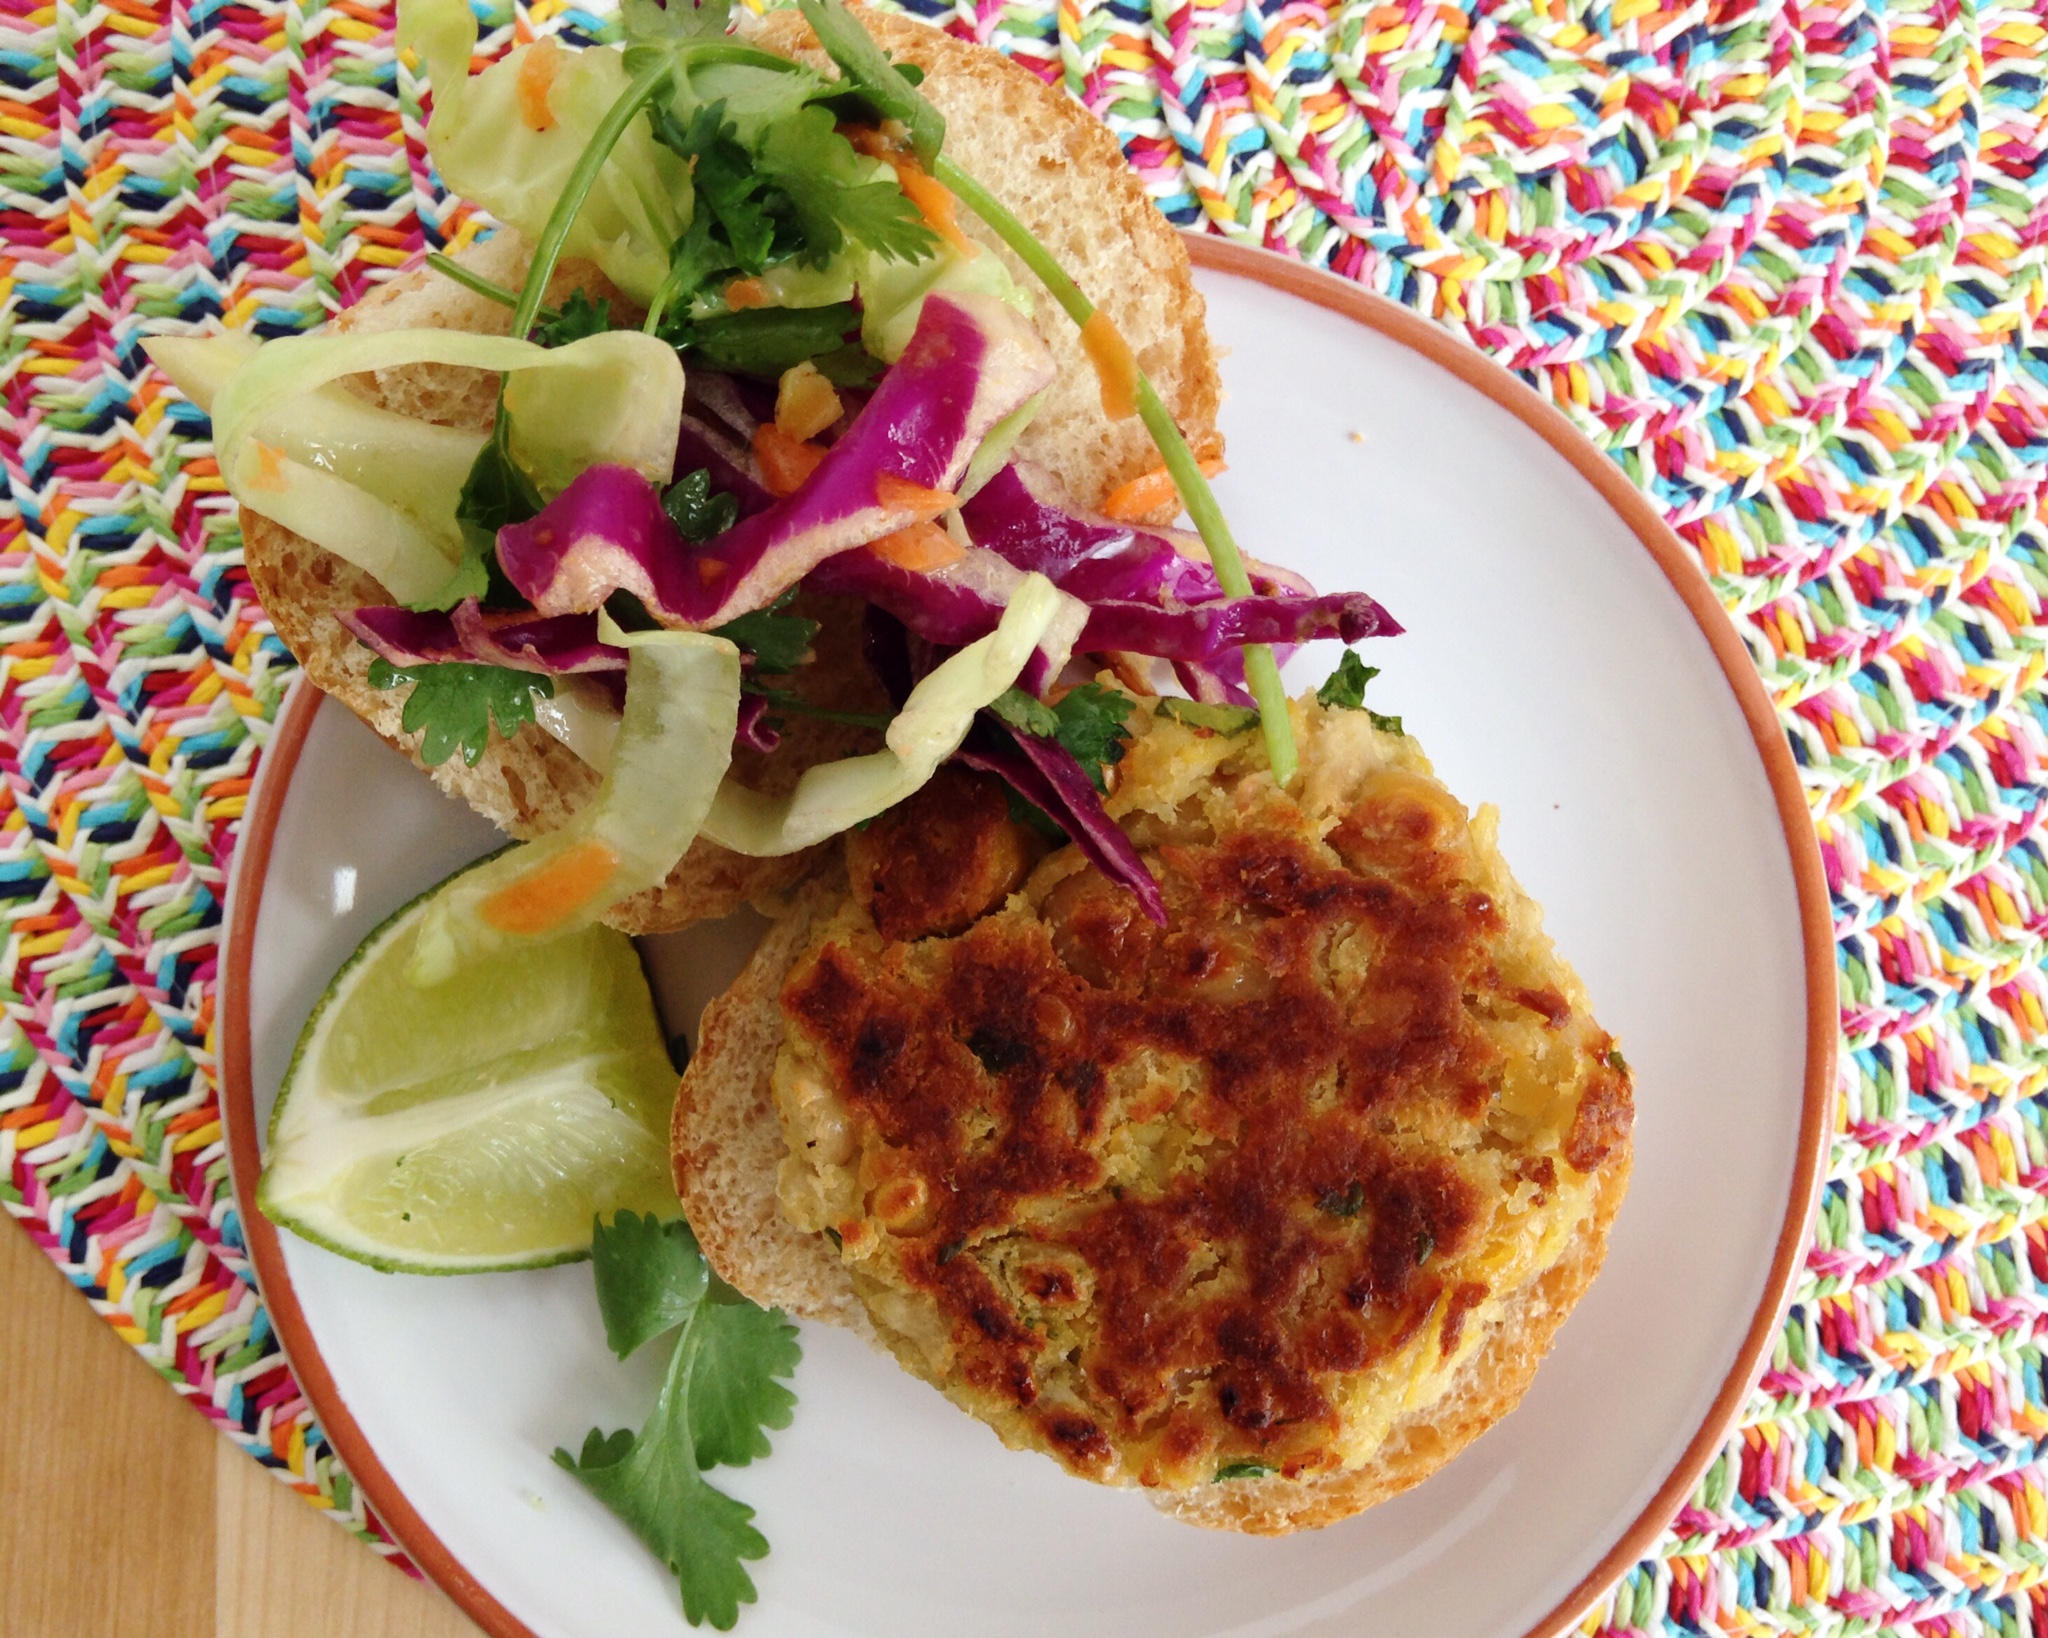
And here are the pretty pictures:
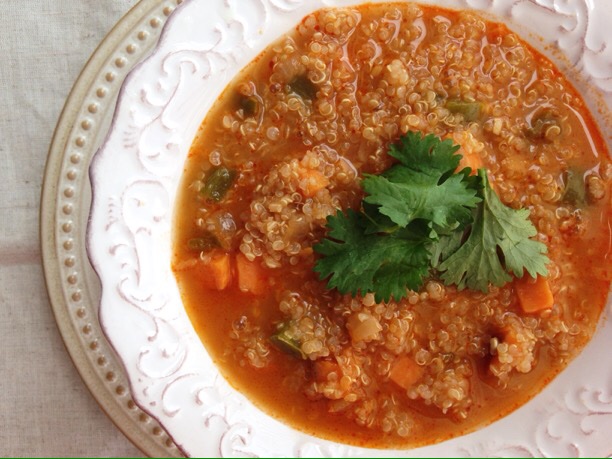

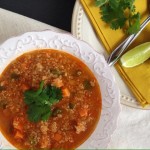
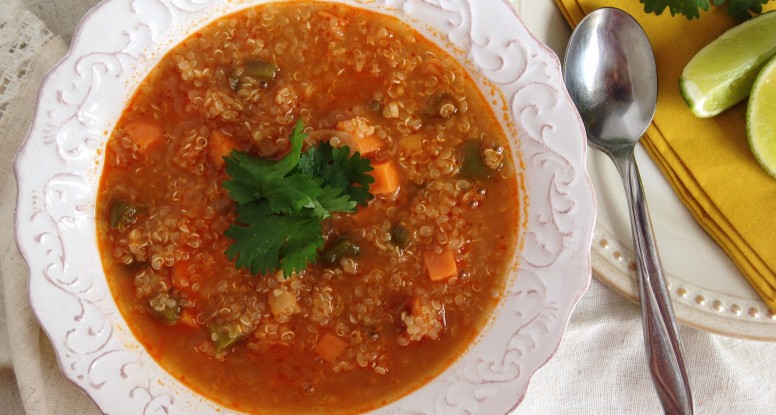
Red Curry Quinoa Soup
Description
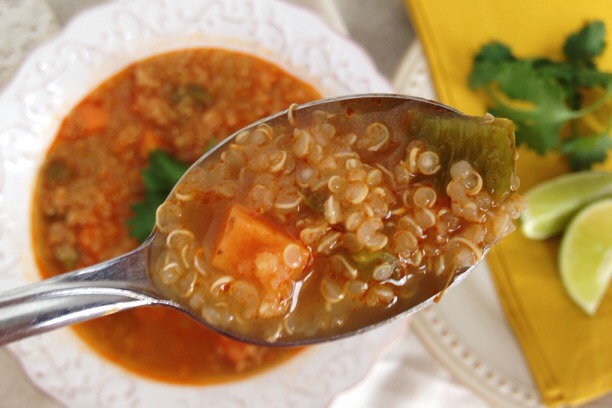
A hearty soup made with earthy, robust red curry paste, fresh vegetables and quinoa.
Ingredients
- 1 tablespoon olive oil
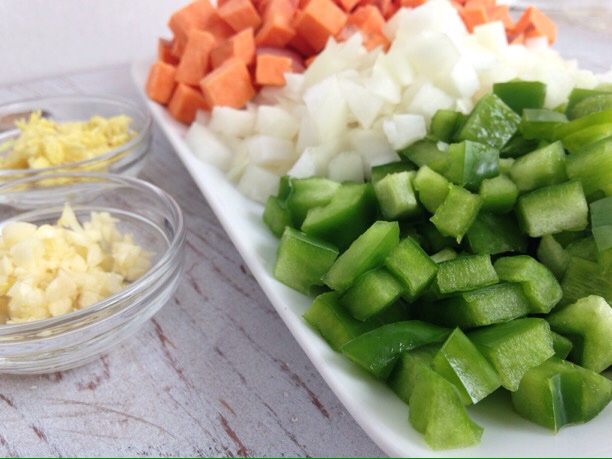
- 1/2 yellow onion, diced (about 3/4 cup chopped)
- 1 green bell pepper, seeded and diced
- 1 medium sweet potato, diced (about 1 1/2 cups chopped)
- 2 cloves garlic, chopped
- 1 tablespoon red curry paste
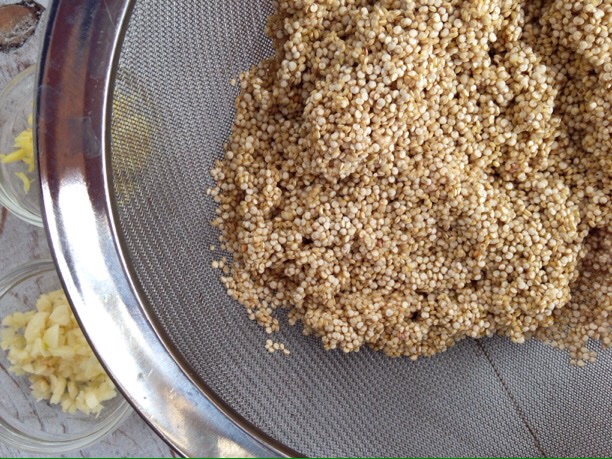
- 2 teaspoons peeled, chopped fresh ginger
- 1 cup quinoa
- 4 cups vegetable or chicken broth (or water)
- 2 tablespoons lime juice
- Sea or Kosher salt, to taste
- 1/4 cup chopped fresh cilantro
Instructions
- Heat the oil in a pot set over medium-high heat. Add the onion, pepper and sweet potato and cook, stirring frequently, about 10 minutes.
- Add the garlic, curry paste and ginger and cook, stirring, for 1 minute. Add the quinoa and cook 1 minute more. Stir in the broth and bring to a boil. Reduce heat to a simmer and cook for about 20 minutes or until potatoes are tender and quinoa is cooked.
- Remove from heat and add the lime juice. Season with salt to taste and garnish with fresh cilantro before serving.
Notes
- Cut the potatoes into half-inch cubes, this helps them to cook more quickly. And don’t worry if they’re not exactly a half-inch, just about that size is perfect! 🙂
- Portion is a generous 1 cup.
Nutrition
- Serving Size: 6
- Calories: 164
- Sugar: 2
- Sodium: 637
- Fat: 4
- Saturated Fat: 1
- Unsaturated Fat: 3
- Trans Fat: 0
- Carbohydrates: 26
- Protein: 6
- Cholesterol: 0